Whether you are interested or not, I managed to pick up one of these very cheap on the internet but it had a couple of small faults that I am hoping to be able to sort out, so below is a few notes on what I got up to one cold Friday in December….
Known Faults
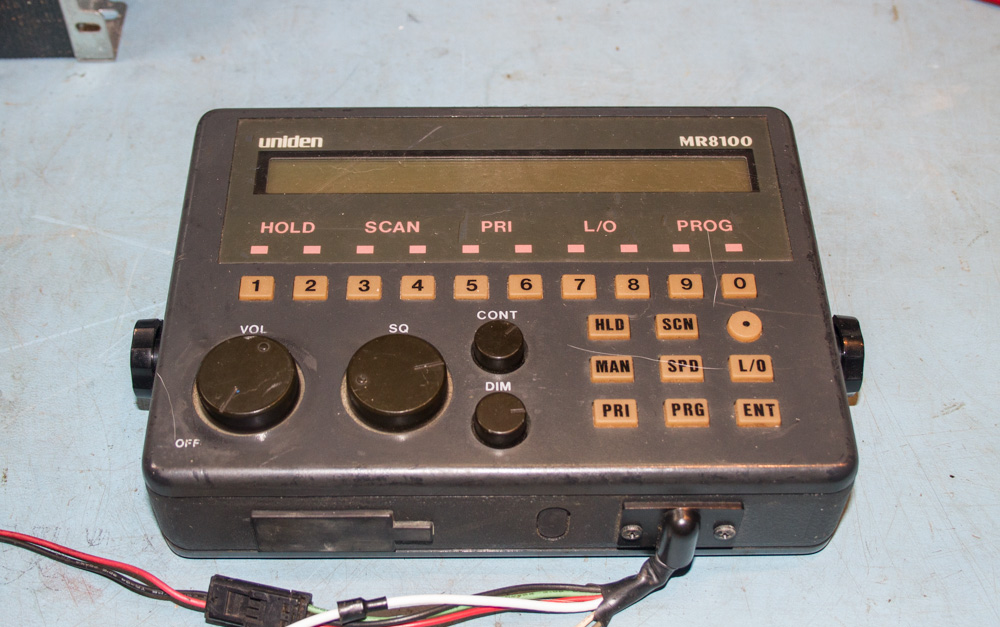
Very low audio level out of the extension speaker jack.
Number ‘0’ Key is somewhat intermittent.
That’s it for the moment….
First job was to try and locate a Schematic at the least, but even this was proving a little difficult, I had contacted both the USA and Australian offices of Uniden to try and purchase a copy of either the Schematic or the Service Manual but no help at all, and for future reference, in the e-0mail that I got from both offices, it is mentioned that:
Uniden do not offer any support for anyone in Europe
….End of story! Not exactly customer focused, and very unfriendly in fact in the way that both e-mails were worded, well at least I now know not to get a Uniden in future, I think this attitude is somewhat stupid, it must hurt there sales? oh well, onwards we go…
Troubleshooting!
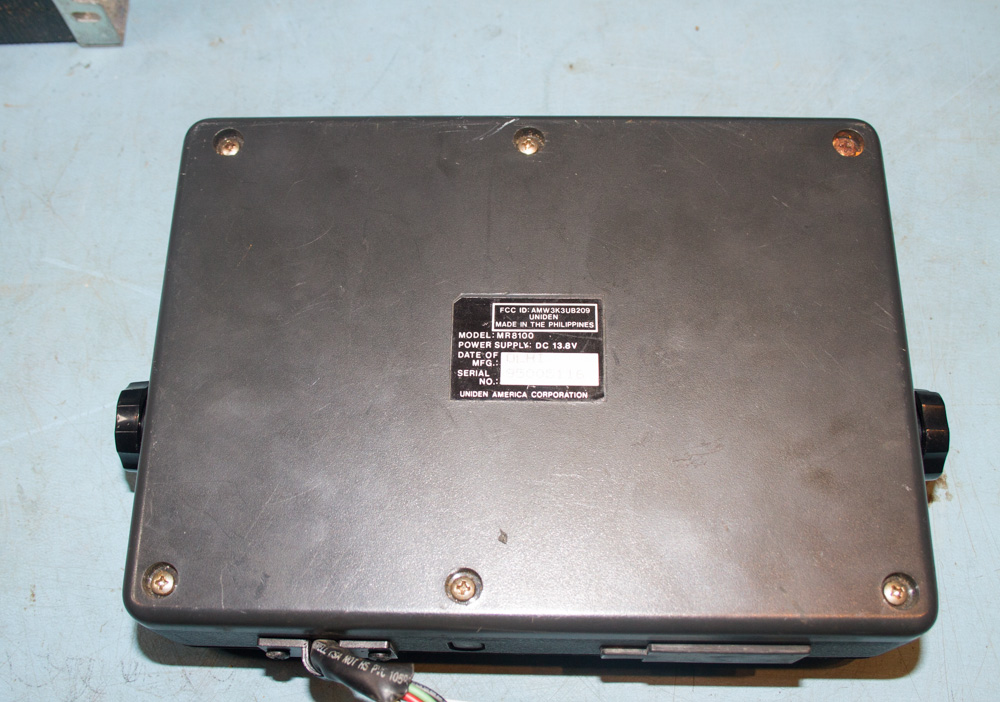
With no other alternative, I flipped the unit over and removed the 6 screws that were in the back of the case. I noticed that one of the screws (the top right) has a layer of rust on the top of the screw head, a bit more than you would normally see in an old unit, especially as all the others were clean and shiny., but it may mean that this was exposed to either damp or water on the past, so I half expected to see some water damage when I looked inside.
Uniden MR8100 Scanner Back Cover
The back cover comes off fairly easily and looking inside I can see that it is quite clean, especially for a unit this old.
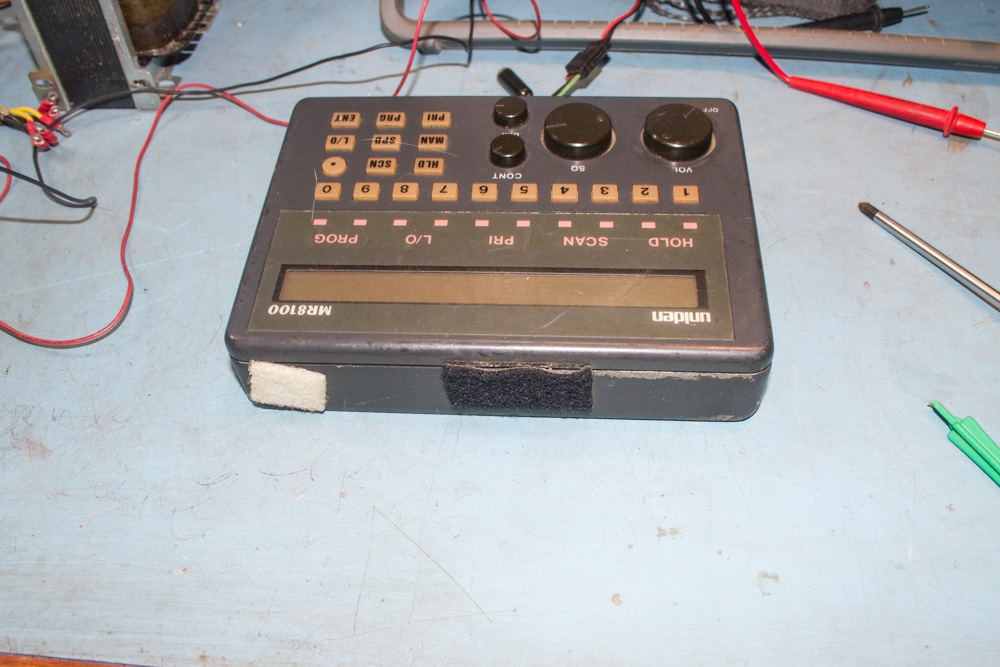
Someone had stuck a few bits of valcro onto the top of the unit, I had to peel a bit of this back so that I could detect the front display from the main body of the scanner.
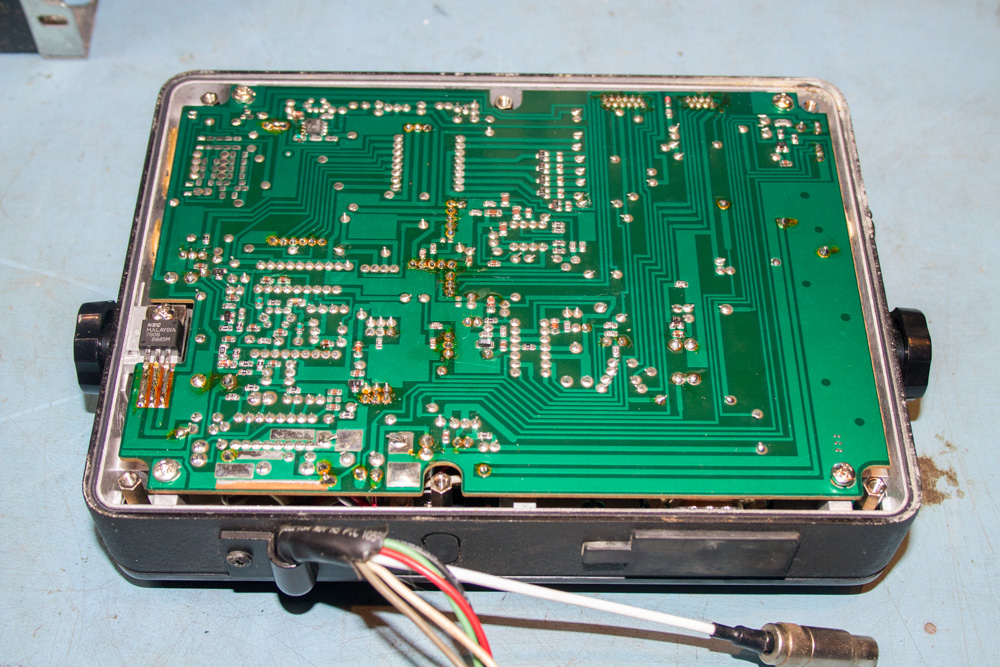
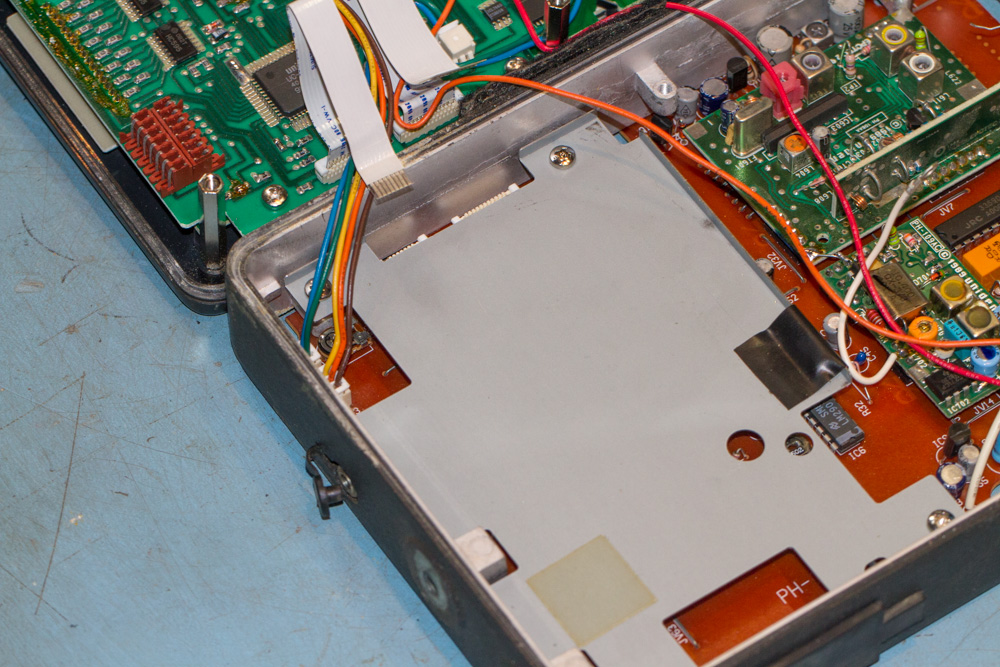
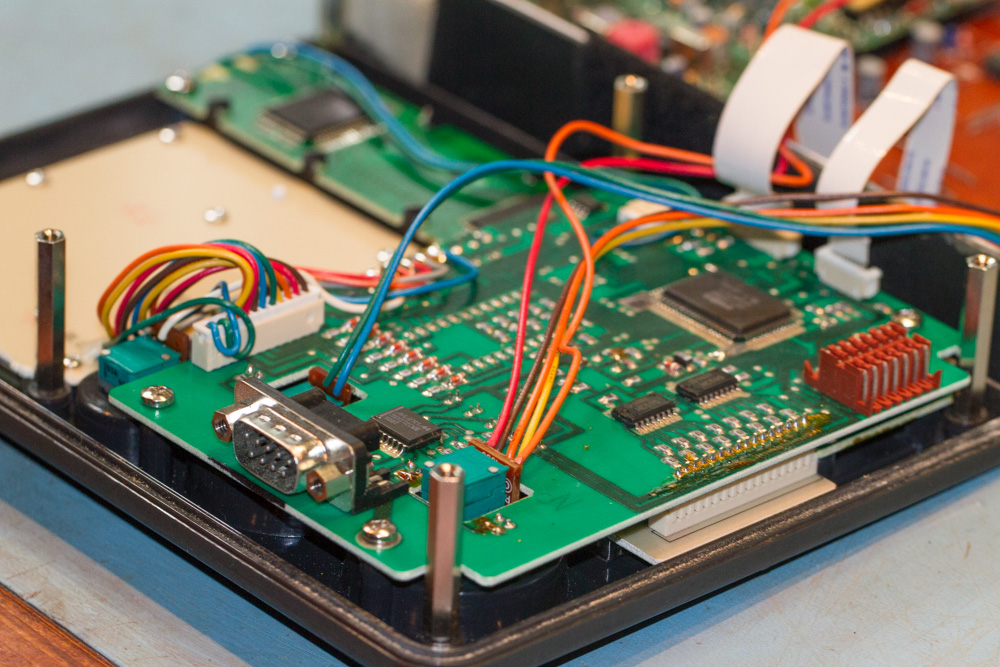
The first look at thje inside shows up loads of re-work that has been done, old flux not been cleaned off, and quite a few poor solder joints
Very carefully lift the front display up and then carefully pull out the two ribbon cables that link the front cover to the base unit. Make sure that you don’t twist these when you do this as they could tear which will leave you with a real headache.
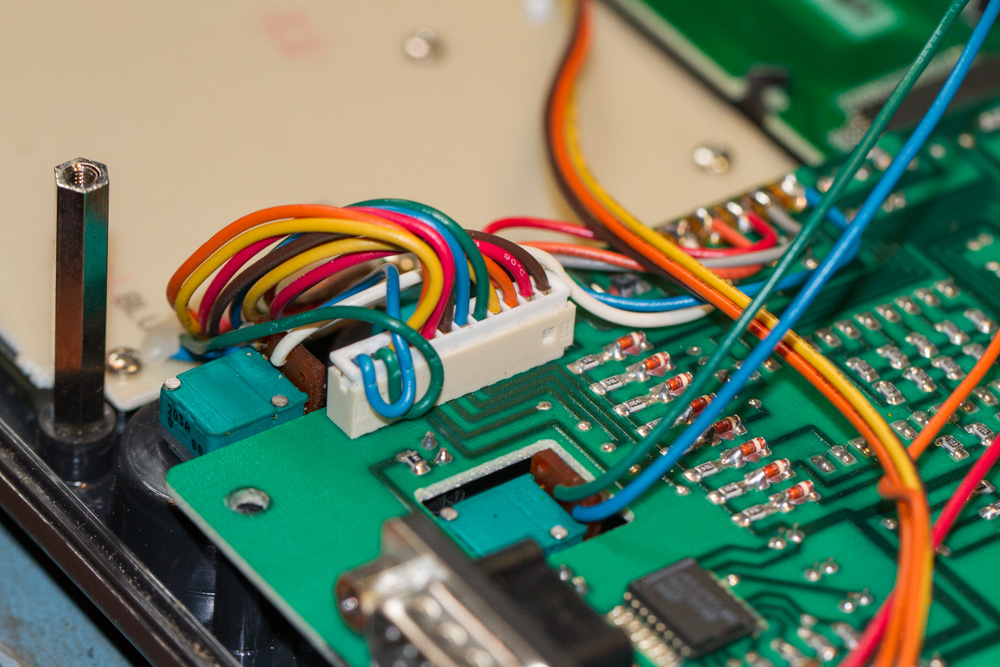
Next we need to remove the two connections from the Volume and Squelch controls, the connectors are different sizes so there is not need to labels these prior to removal.
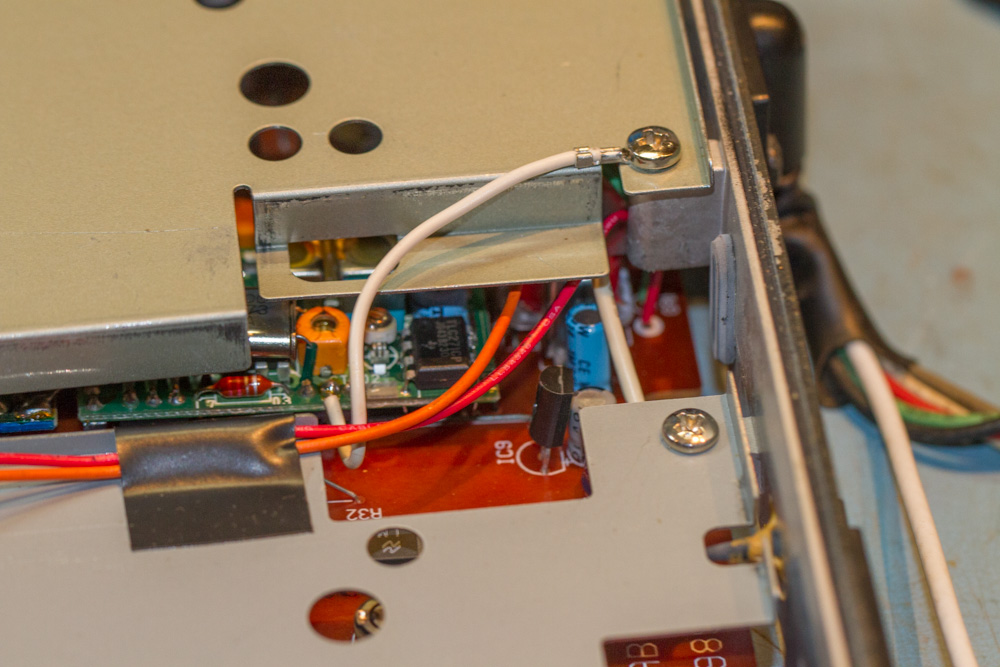
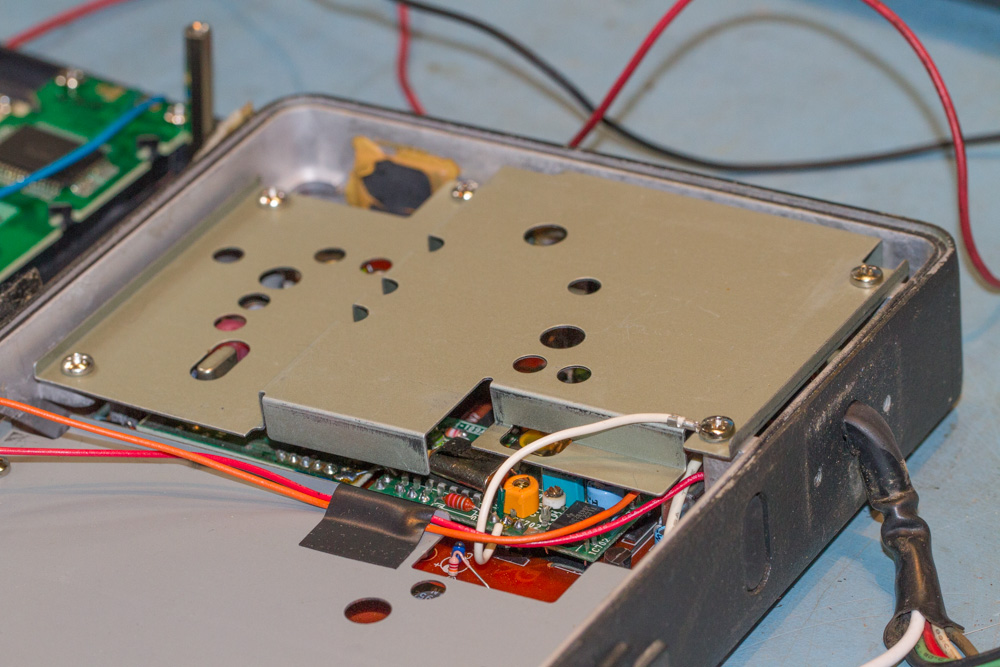
There are two wires from the Volume control that disappear under one of the shields, so this shield will have to be removed.
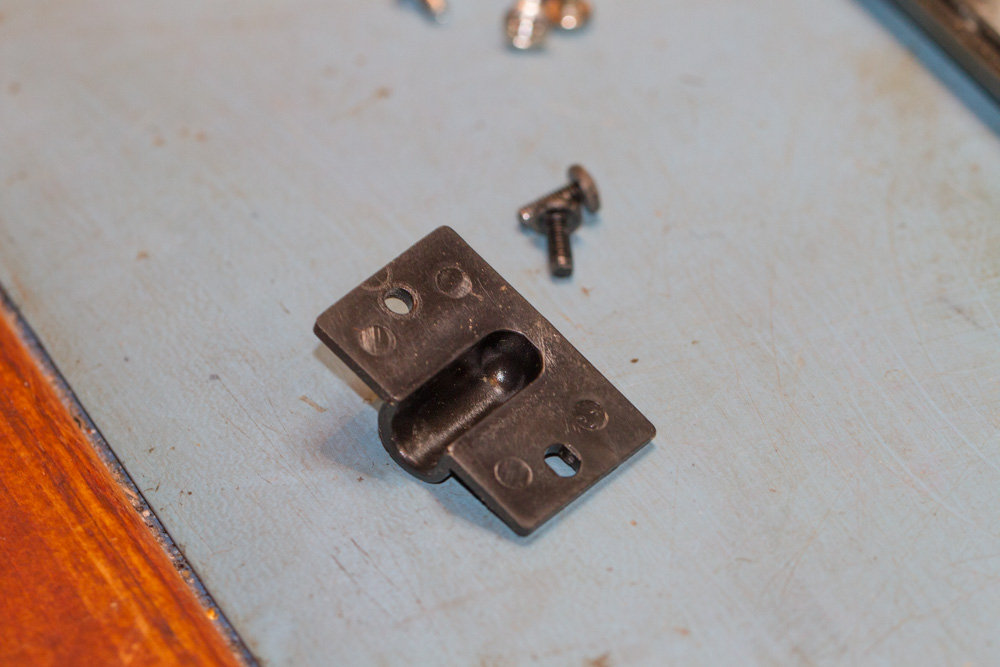
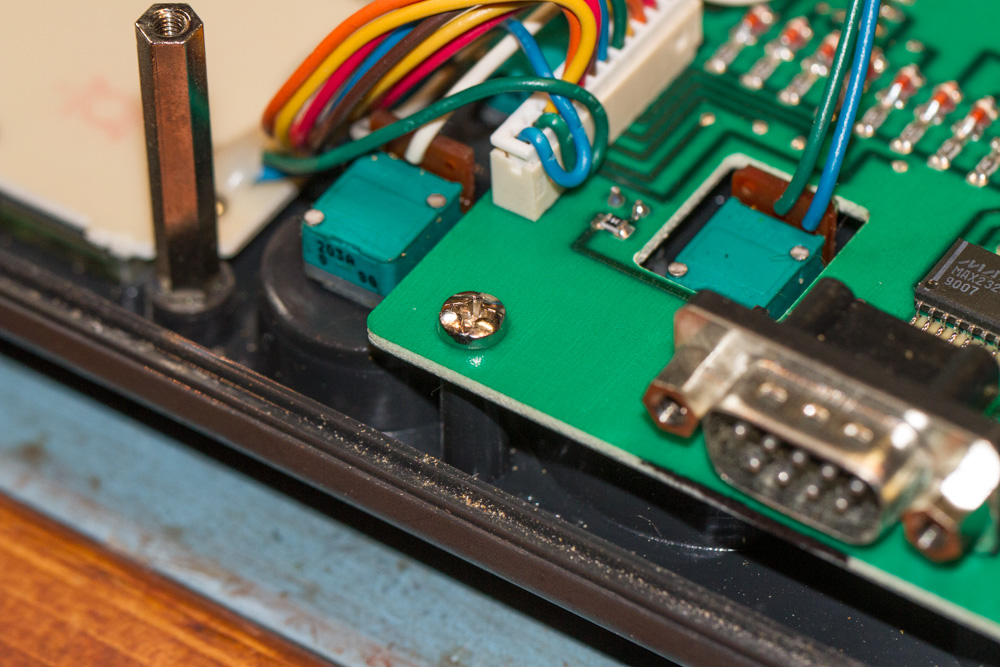
Next I decided to remove this small plate from the bottom of the scanner, this holds the cables in place and hopefully will stop any breakages from happening, although hopefully a break in the wire would be the easiest of fixes for this scanner.
Once removed this protection plate can be put to one side.
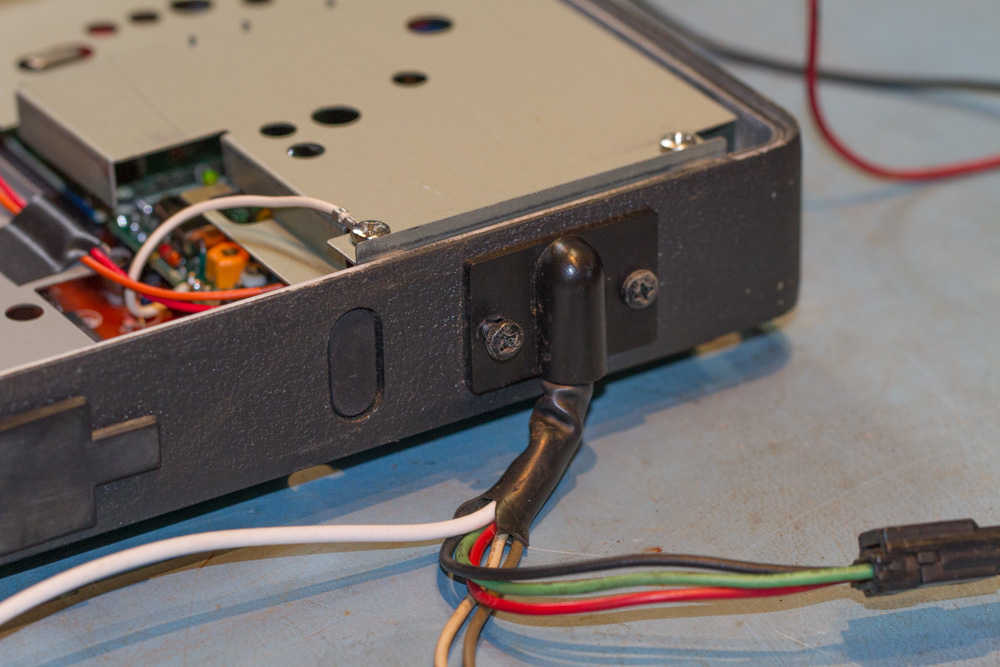
There are no breaks in the outer sleeving so it looks as though the cables will be intact, though I will confirm this later.
Ok, Now back to the shielding and this plate can be removed from the scanner.
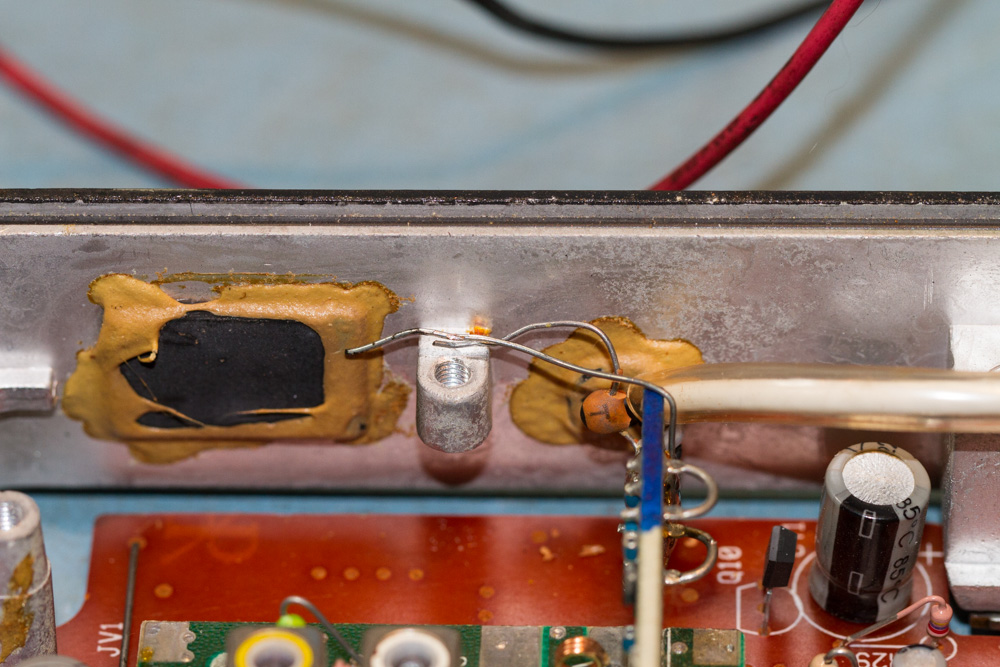
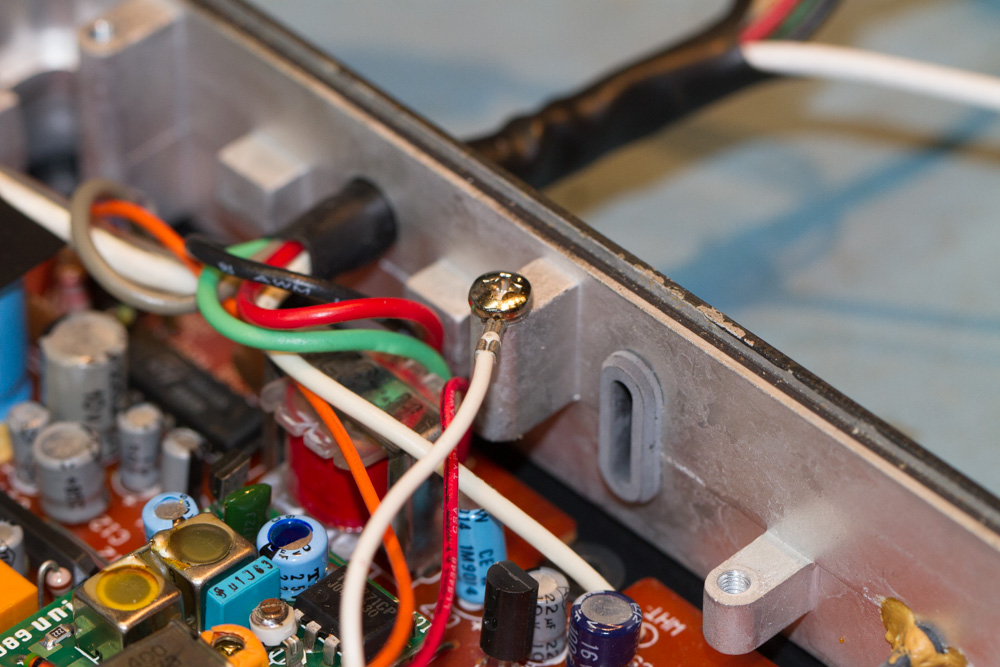
There is nothing you hate more than seeing two floating wires in an electronic piece of equipment! These were hidden under the shielding and once it was removed, I can presume that these were from the power switch which seems to be fitted to these models, but not fitted in this one, and you can see the glue behind it around the two holds that would have had power switch and something else fitted, but at this time I am not sure what, not good though!
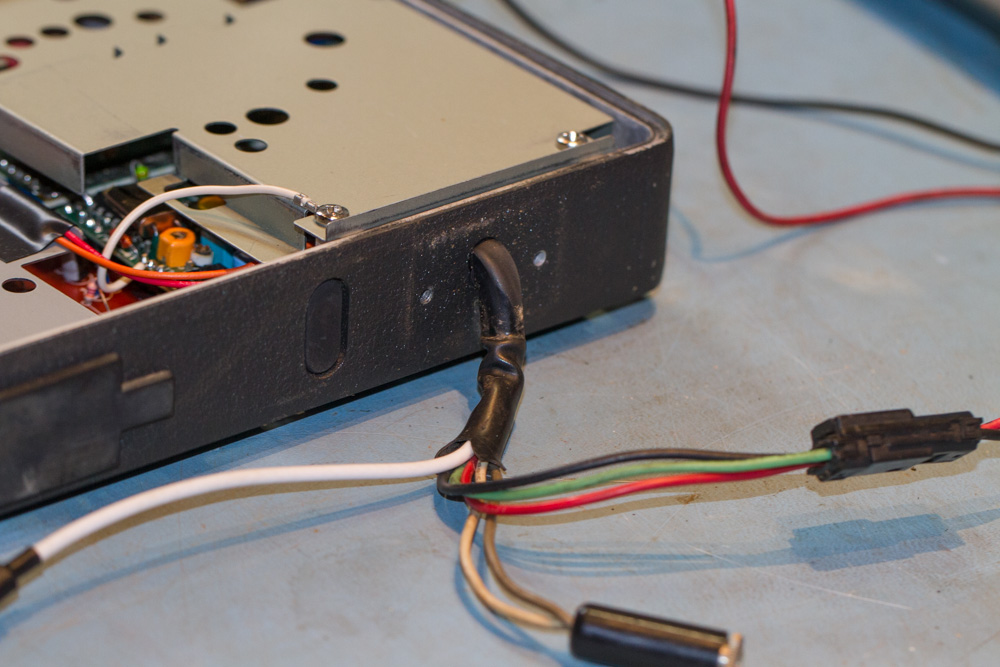
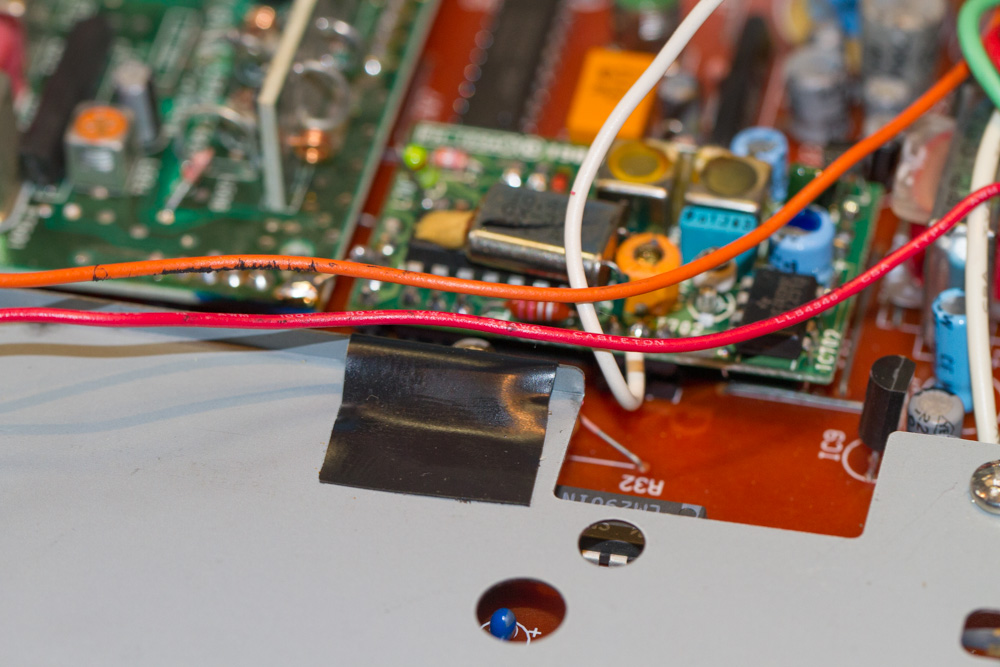
These two cables can be pulled out from underneath the tape that is holding it down to the shielding.
Another view of the bare cables found underneath the shielding.
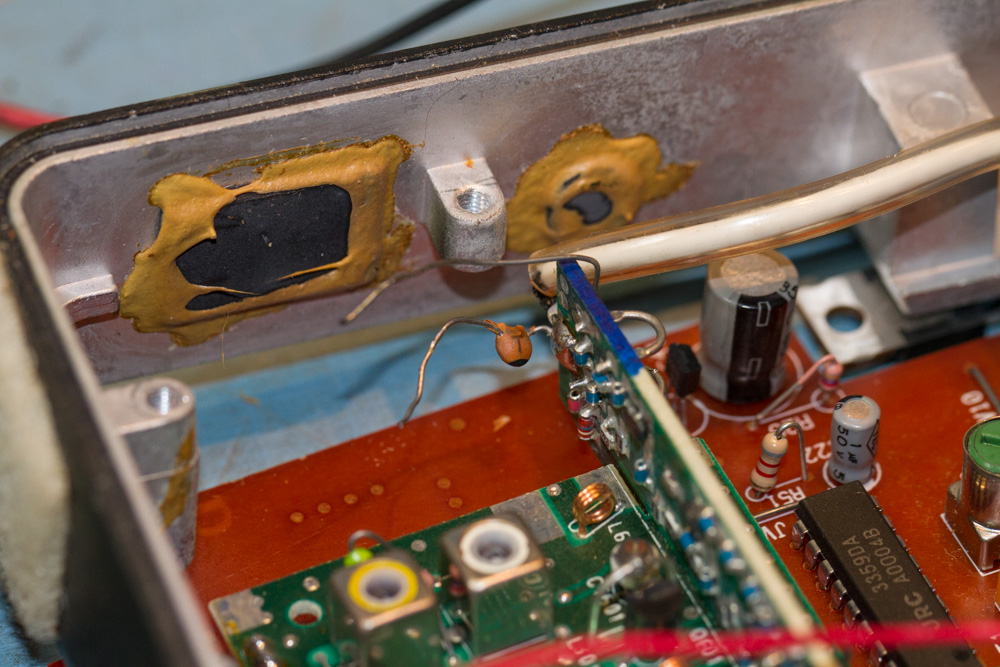
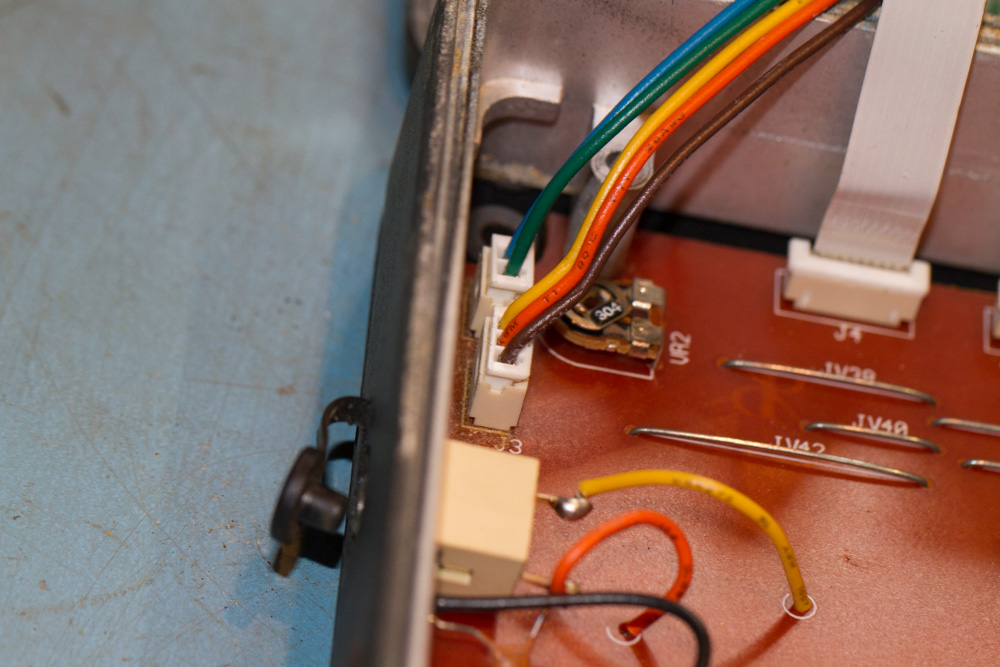
Here are the two connections form the Volume and Squelch control that we will need access to so this bit of shielding will also have to be removed as well.
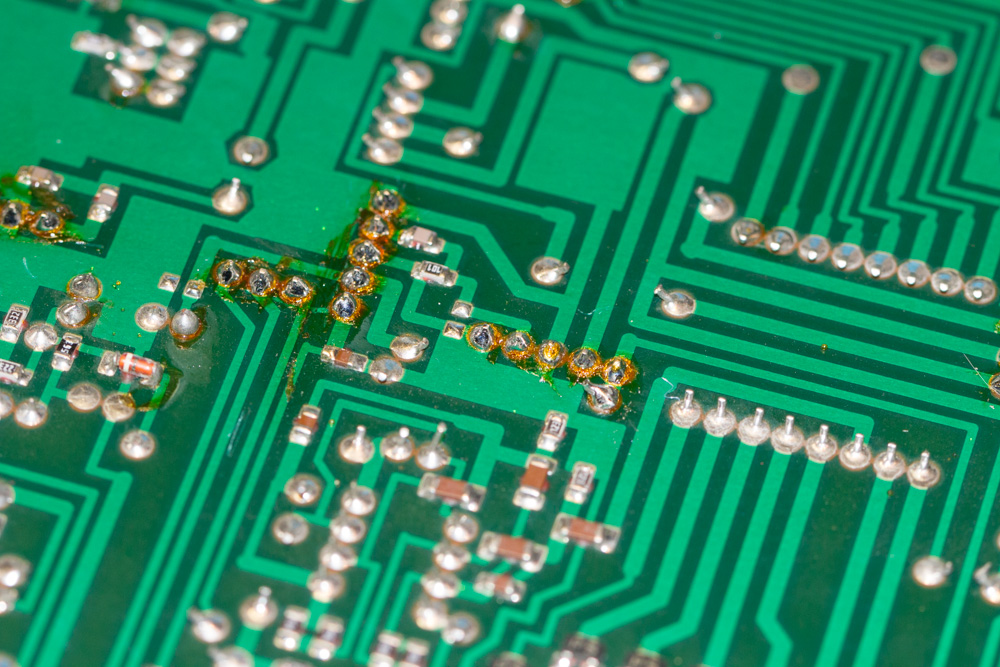
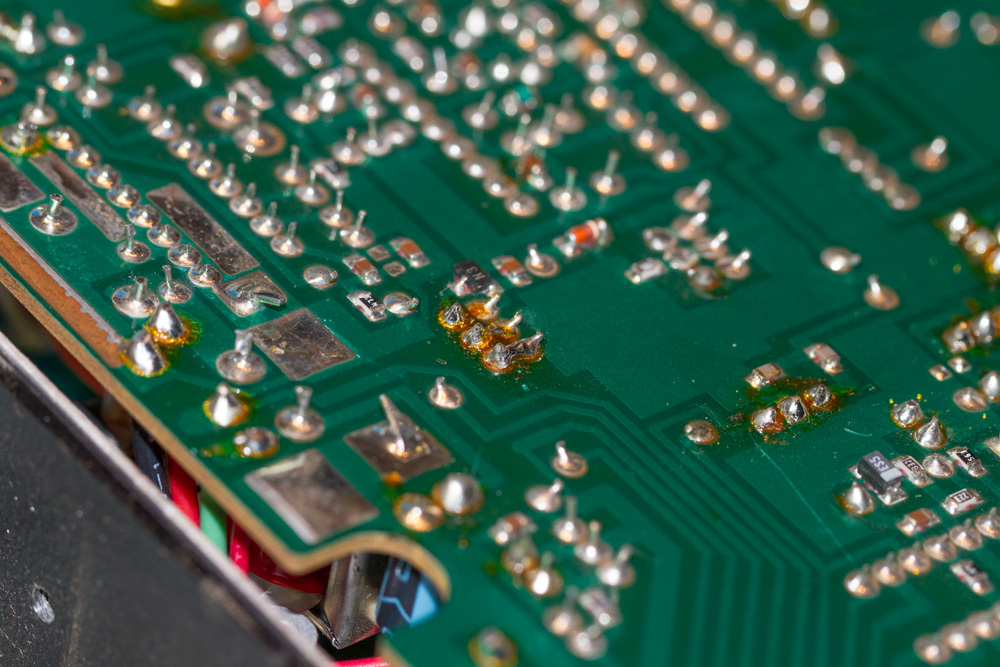
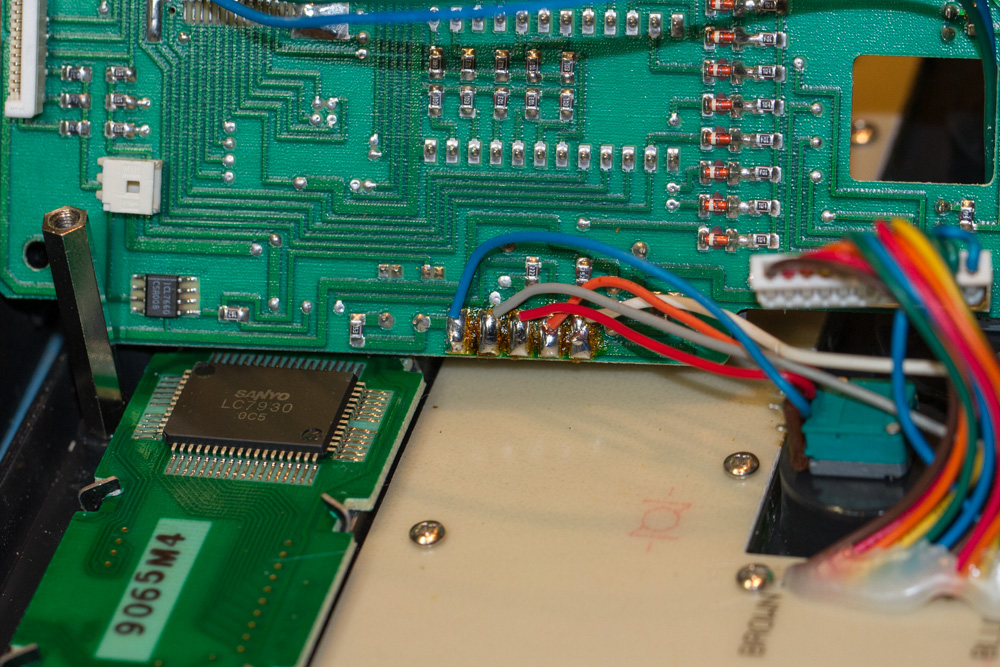
There are loads of signs of desoldering and possible repair work being carried out to this unit, I will check these out later and possibly clean and resolver these joints properly.
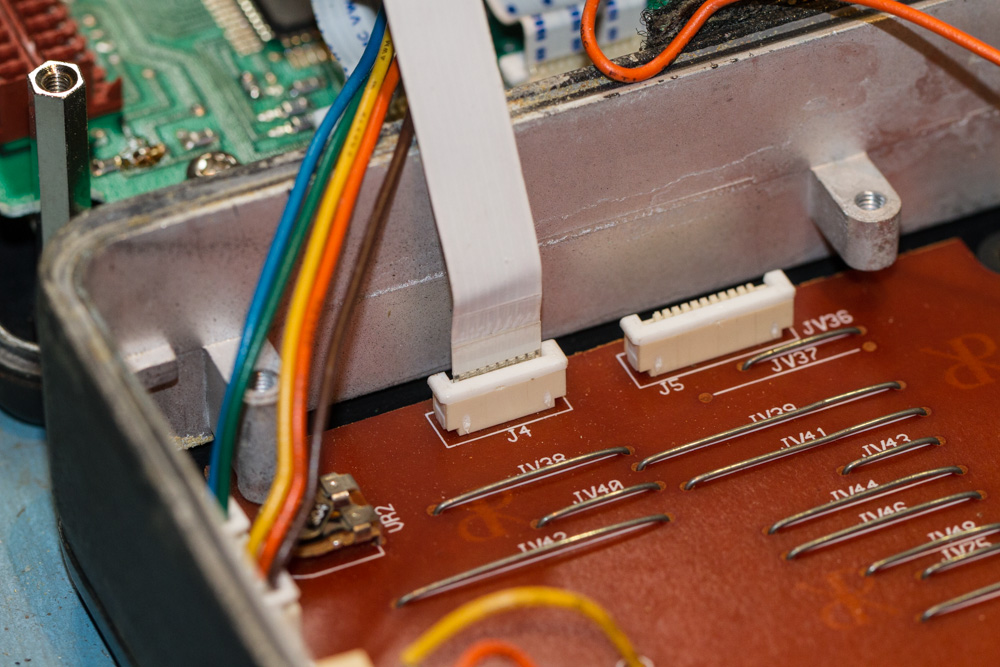
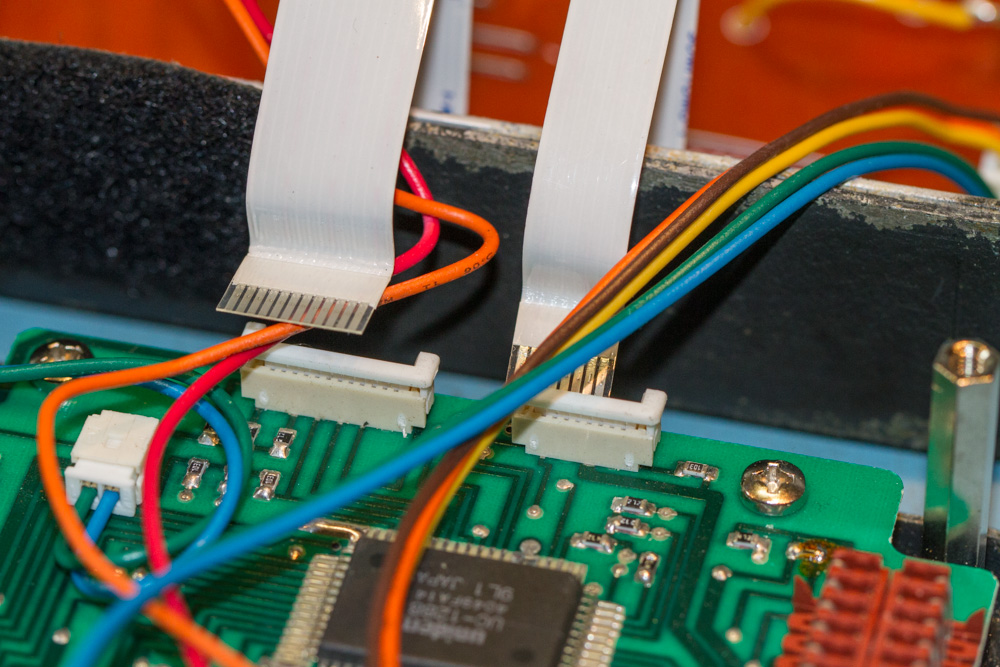
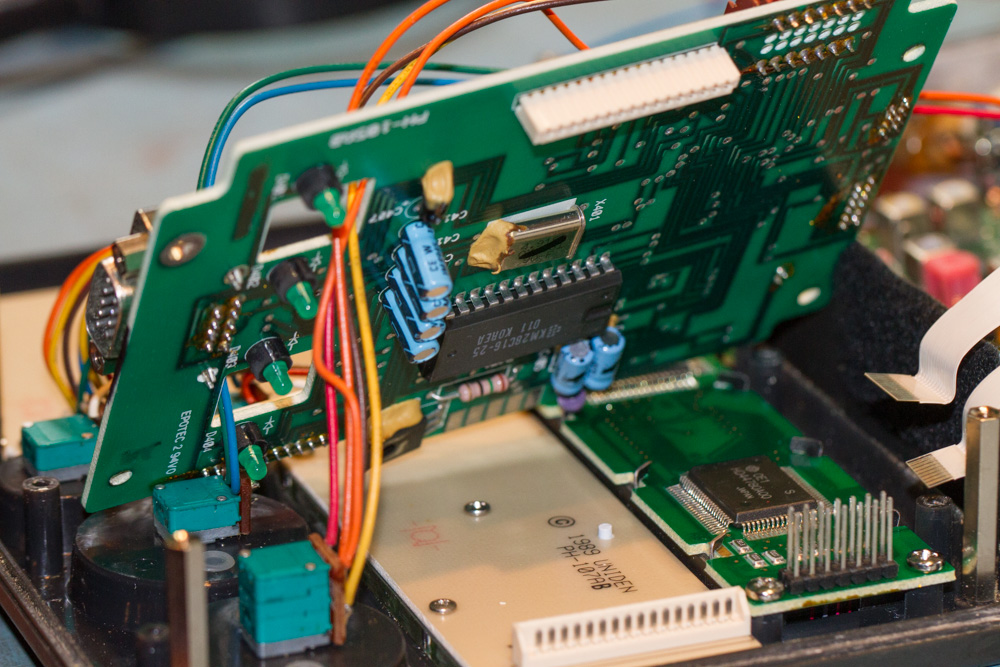
To test these units I will need to re-attach the flat ribbon cables, care must be taken here to make sure that they go in level and also that they are not bent or twisted, this type of cable can often be a lot more brittle than they look, especially with age. The connection blocks need to be unlocked before the cables are fitted, care should be taken here as well to not pull out the clamp from the base of the connector, these can be easily broken which would cause a rather large problem.
I need to re-attach the earth connection before testing.
The two connections to the Volume and Squelch connection have to be removed.
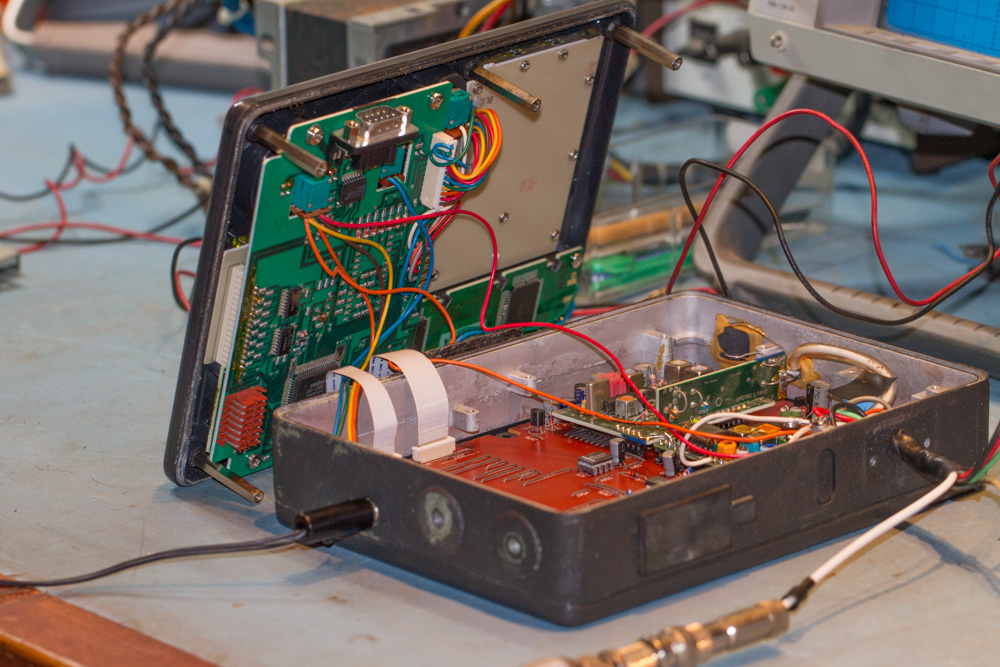
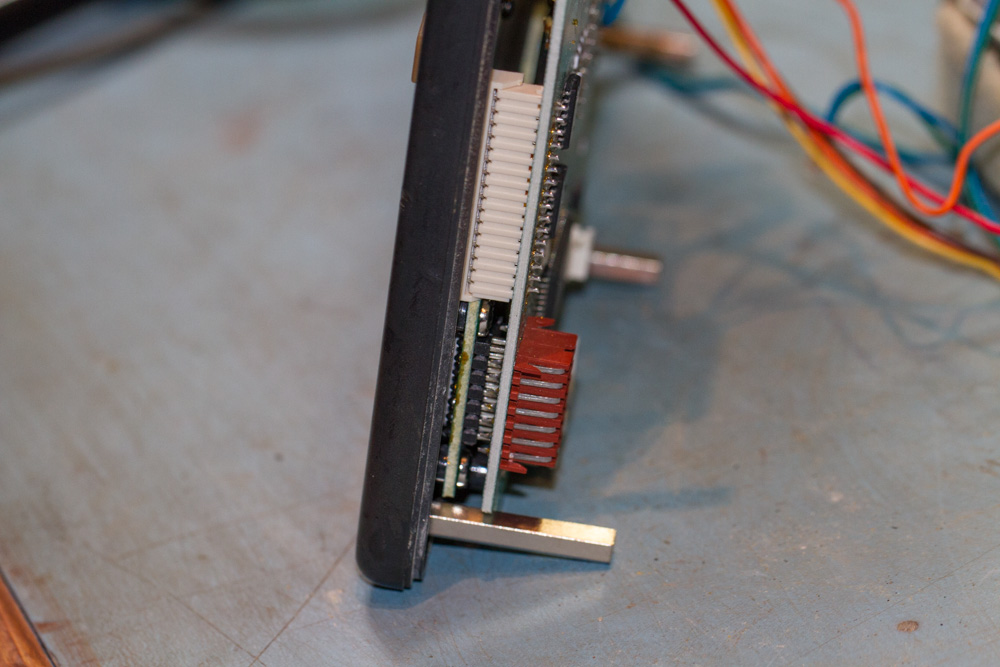
This is the best way to test the scanner and still have access to the components.
Now for the troubleshooting bit.
First off, we get audio from the ear phone jack socket on the side of the unit but if I connect a speaker to the extension speaker socket the audio is very low, but still there (just), so lets look at the simplest option, check the wires that come through the base of the unit hoping for a break!
I checked out both leads and could not find an open circuit an both of the leads from the extension lead socket to the PCB, then looking at the PCB and following the traces I could see that the same connections went straight through to the earphone socket without passing though any components, so this left the actual extension speaker socket itself, surely it would not be this easy?
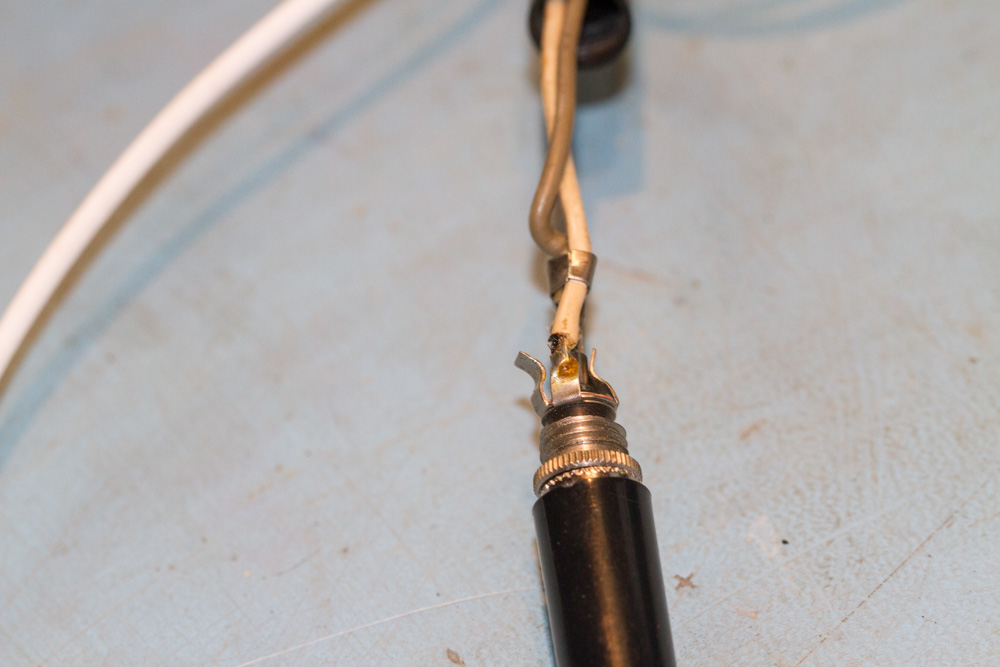
But on removing the outer case of the socket I could see that the small pieces of metal that acted a s a catch to hold the jack plug in place were shorting out the connections, so I got a screwdriver and just pulled these out of the way, and then retested the scanner and we now have the full level of audio that I would expect!
I really love the simple fixes…. Something tells me that the next bit will not be as easy, i.e. the Number ‘0’ key!. But before this I need to put a better quality socket on the end of these leads…
OK, Now on to the next part of the fix, and for this I need to get to the switches for the keyboard, these are underneath this board, which will have to be moved out of the way to get to the screws.
This time I will remove the ribbon cables from the other end than before, again making sure as to not damage the connectors or the cable itself.
Again we need to remove the two connections from the Volume and Squelch controls.
There are 4 self tapping screws that need to be removed so that we can gain access to the keyboard board that is underneath this one, this is the first screw.
The second screw.
The third screw.
The forth and final screw.
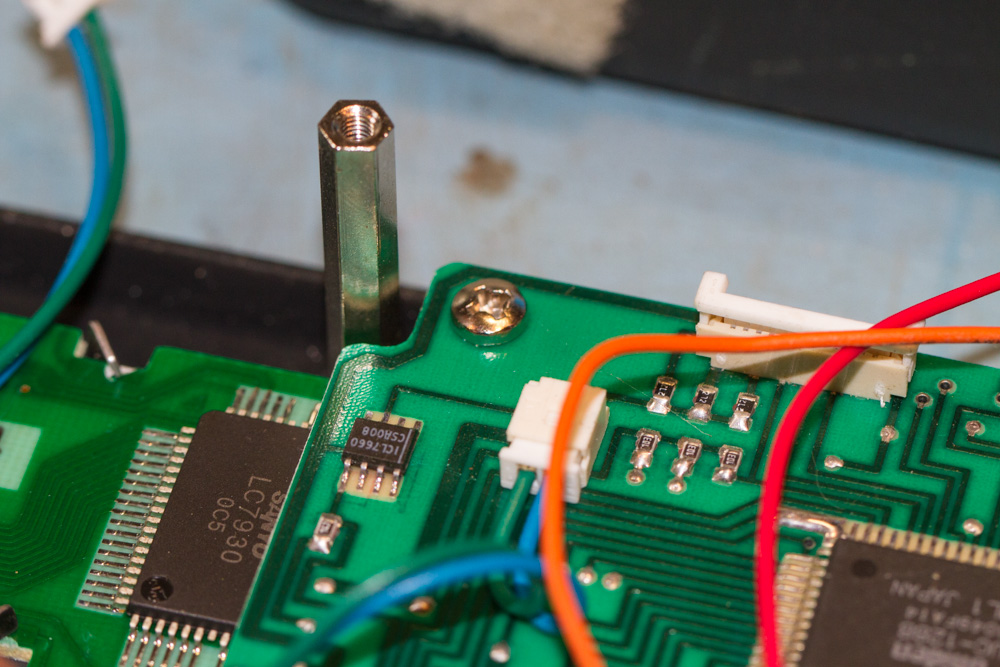
We now need to remove this connection that is from the Display Board.
Now unplug this connection that is from the keyboard board the we are trying to get to.
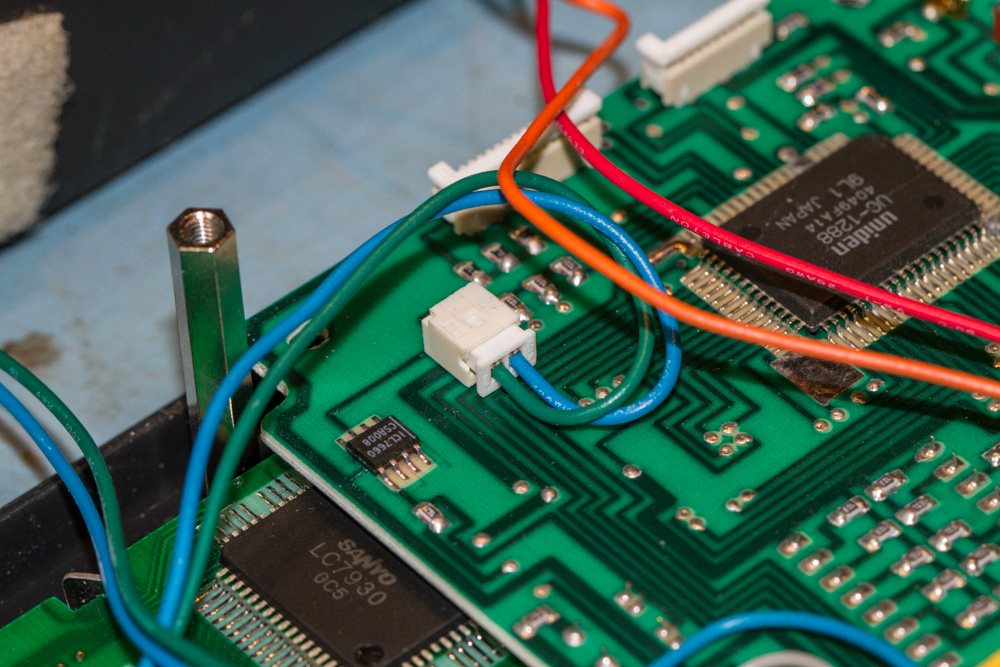
Finally we have two push fit connections between the board that we are trying to remove and the two boards that are underneath this.
Now that the top board is loose, we can move it into the position shown below. Although the board is not out of the way, we can access the 13 small self tapping screws that hold the keyboard switch board in place. You will have to move the board around a little but you should be able to reach all the screws OK. It is not worth de-soldering the wires to get the board out of place as there is plenty of room to work.
Next job is to start removing all the screws from the keyboard PCB board.
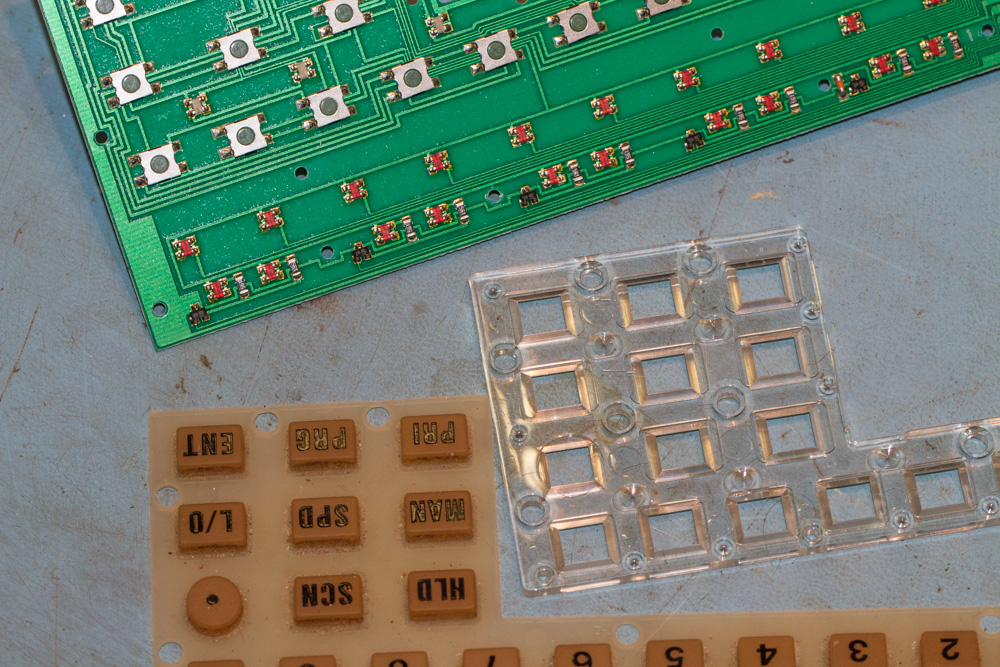
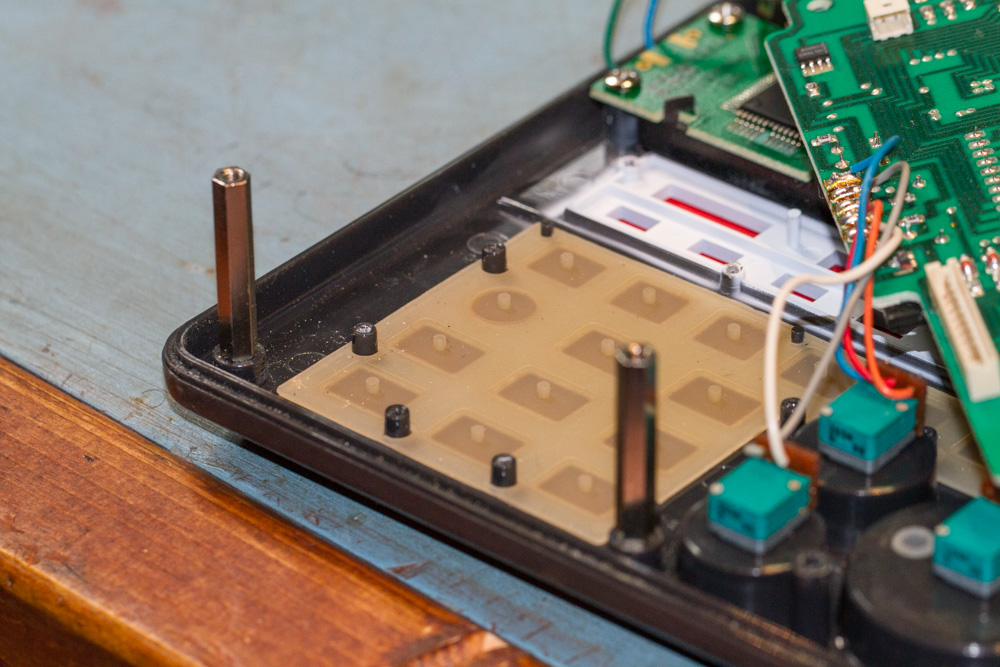
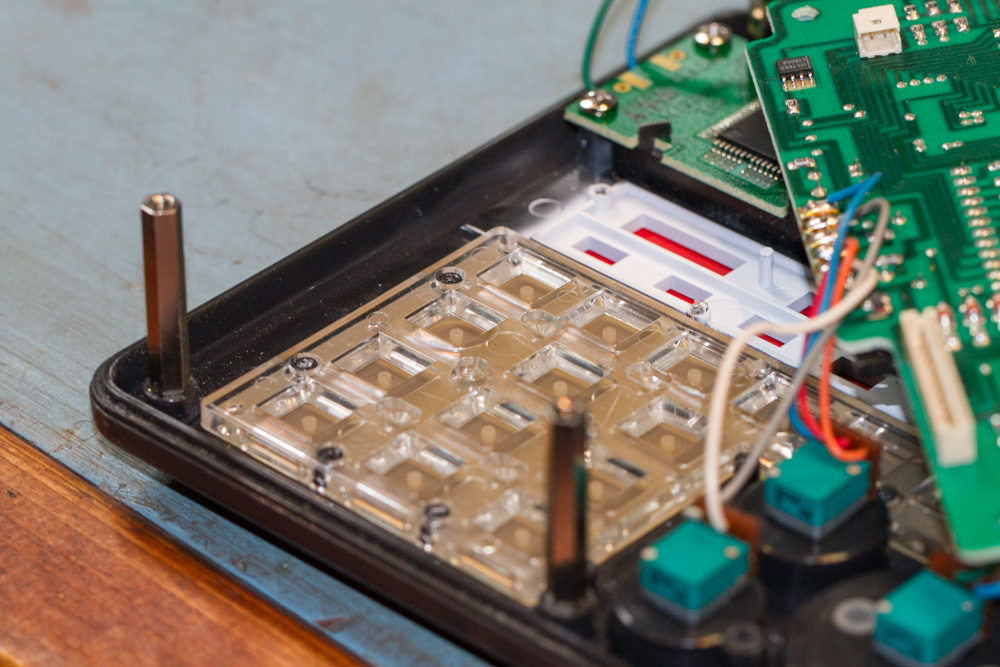
With all of the screws taken out the PCB can be removed from the unit. Underneath this is a clear plastic spacer which also needs to be removed, and then finally the keyboard membrane.
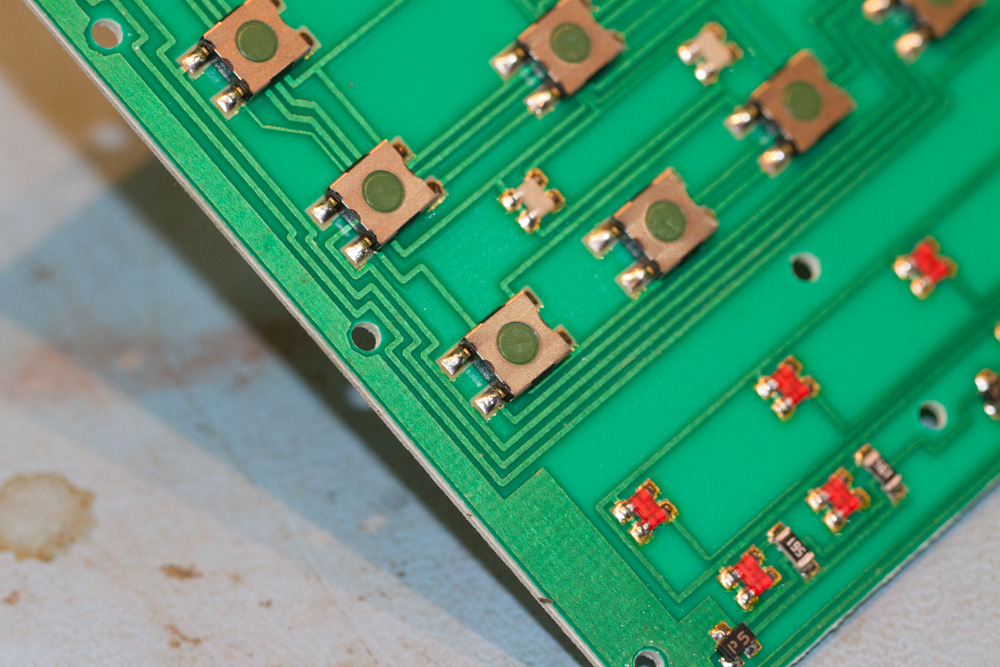
The switch that we have a problem with is the one in the bottom left of this image, so first job is to test it with a Digital Multimeter.
And sure enough the switch is very intermittent, so this has left me with two ways to sort this out.
Now this style of switch is actually quite common and I may have one here from an old piece of equipment, so I think I can replace this with another fairly easily, but then there is another way that can get sorted out right away and that is to swap it over with one of the other switches that is not used that often, and for this I thought that the ‘L/O’ switch would do the trick, then if at a later date I find something suitable I can then swap it over then.
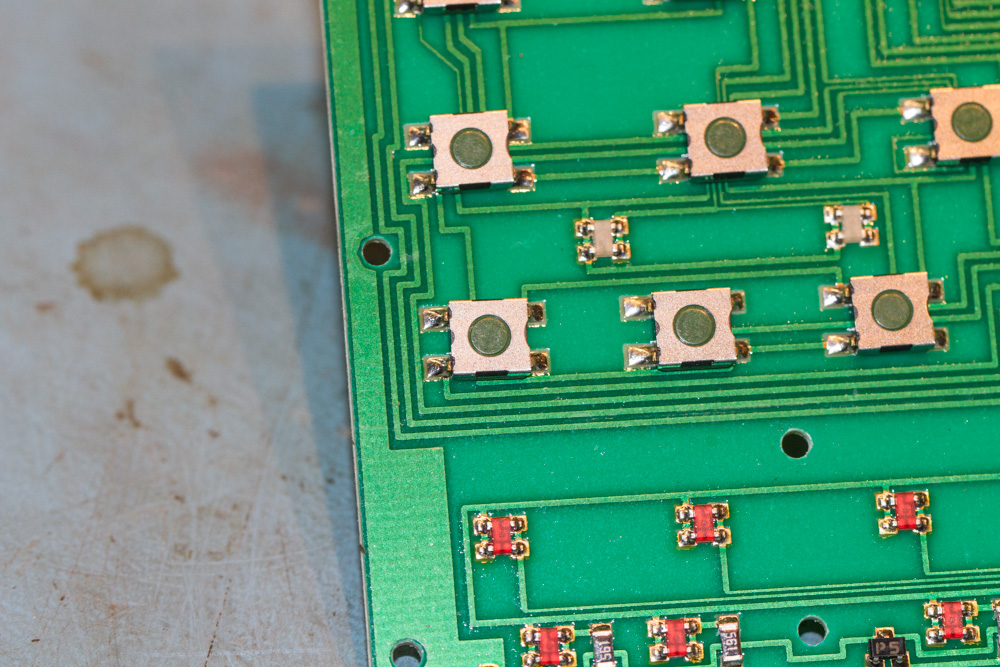
These switches are surface mounted devices as in there are no pins going through the board, getting the switches off is a very simple task, but replacing them could be a little awkward if you have no experience with surface mounted devices.
The easiest method is to use solder paste and paint the past onto the cleaned contacts, then just hold the device down and apply a small amount of heat to the contact base and the paste should liquefy very quickly and adhere to the switch, I used a hot air soldering station for this with a fine nozzle and it was very painless.
If on the other hand you have not got access to the a hot air soldering station or solder paste, the you can apply a small layer of solder to each pad prior to installing the switch, though make sure that you are literally just coating each contact, if you throw loads of solder at it you may end up with the solder running up the side of the switch and grounding the switch out.
With every contact pad coated, the switch can then be held in position and using a good soldering iron all you need to do is hold the iron again the edge of the contact and the pad and the solder should flow between the to, fixing the switch in position, you then just need to go around each contact until the until is fixed in position.
So with two minutes spent on desoldering the two switches and then swapping them over, the board is ready for putting back into the unit.
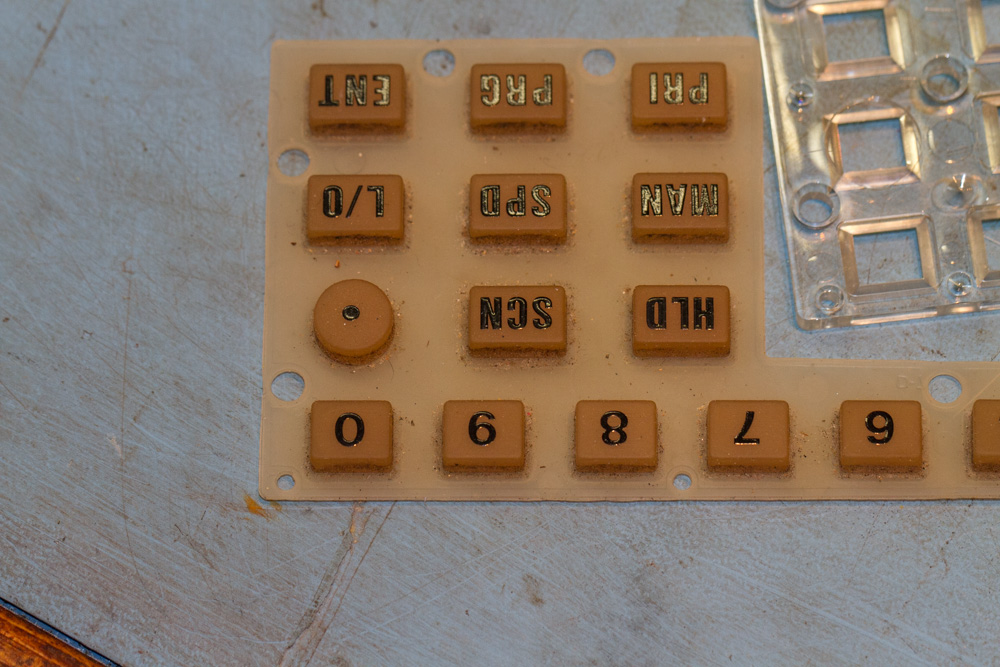
Before we start to reassemble the unit, we might as well clean the keyboard membrane as we won’t get another chance.
With the keyboard membrane now clean we can put this back into the case.
Followed by the plastic spacer.
From here you just work backwards to rebuild the unit up to a stage that you are happy with it, I decided to rebuild up until the point where I need to start fitting the shielding again and the test the unit.
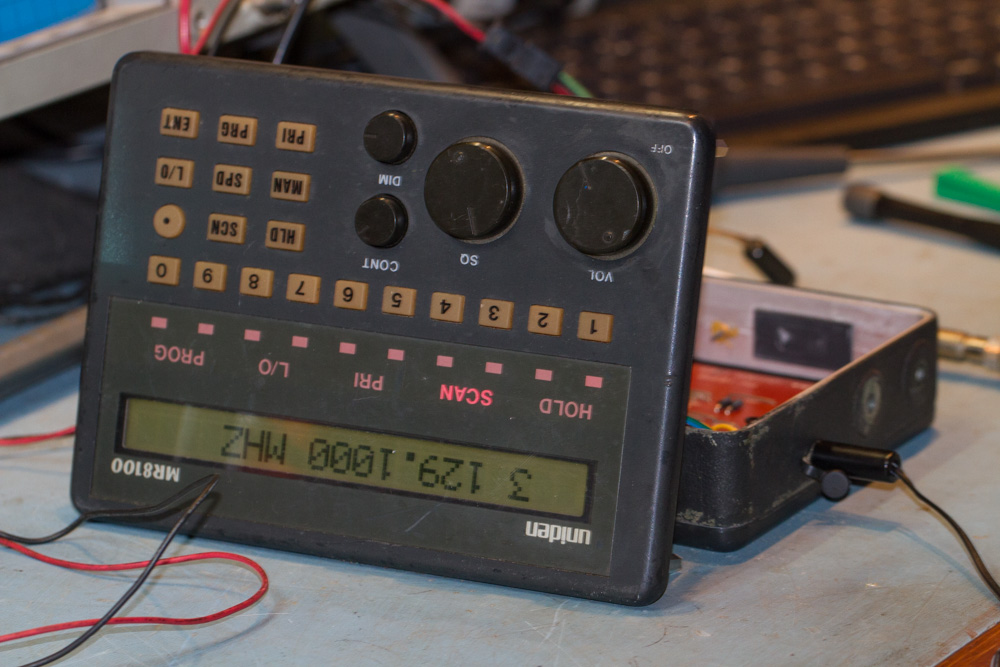
We now have a filly working unit, and although I have not replaced the faulty switch but moved it to the ‘L/O’ position, as this will not be used that often, I can put up with the intermittent issues with this switch until I replace it later. More importantly the ‘0’ key works, and there is plenty of audio from the extension speaker, so all that is left to do is rebuild the unit and test and program.
Another good day in the shack!
And just in case anyone is interested in the manual:
I am now retired and living on the Isle of Man, my background is as varied as it gets, ranging from Information Technology to Graphic Designer and 3D VFX Artist, using and teaching Autodesk Maya, Softimage, and Smoke, one of more enjoyable positions. Since Moving to the Isle of Man I try to keep myself to myself and work on the house, I don't do much with regards to Amateur Radio or Electronics anymore, but I am still interested in the hobby and may well get back into it one day....