Hacking the Rigol DSA-815-TG

by MD0MDI
3.3K views
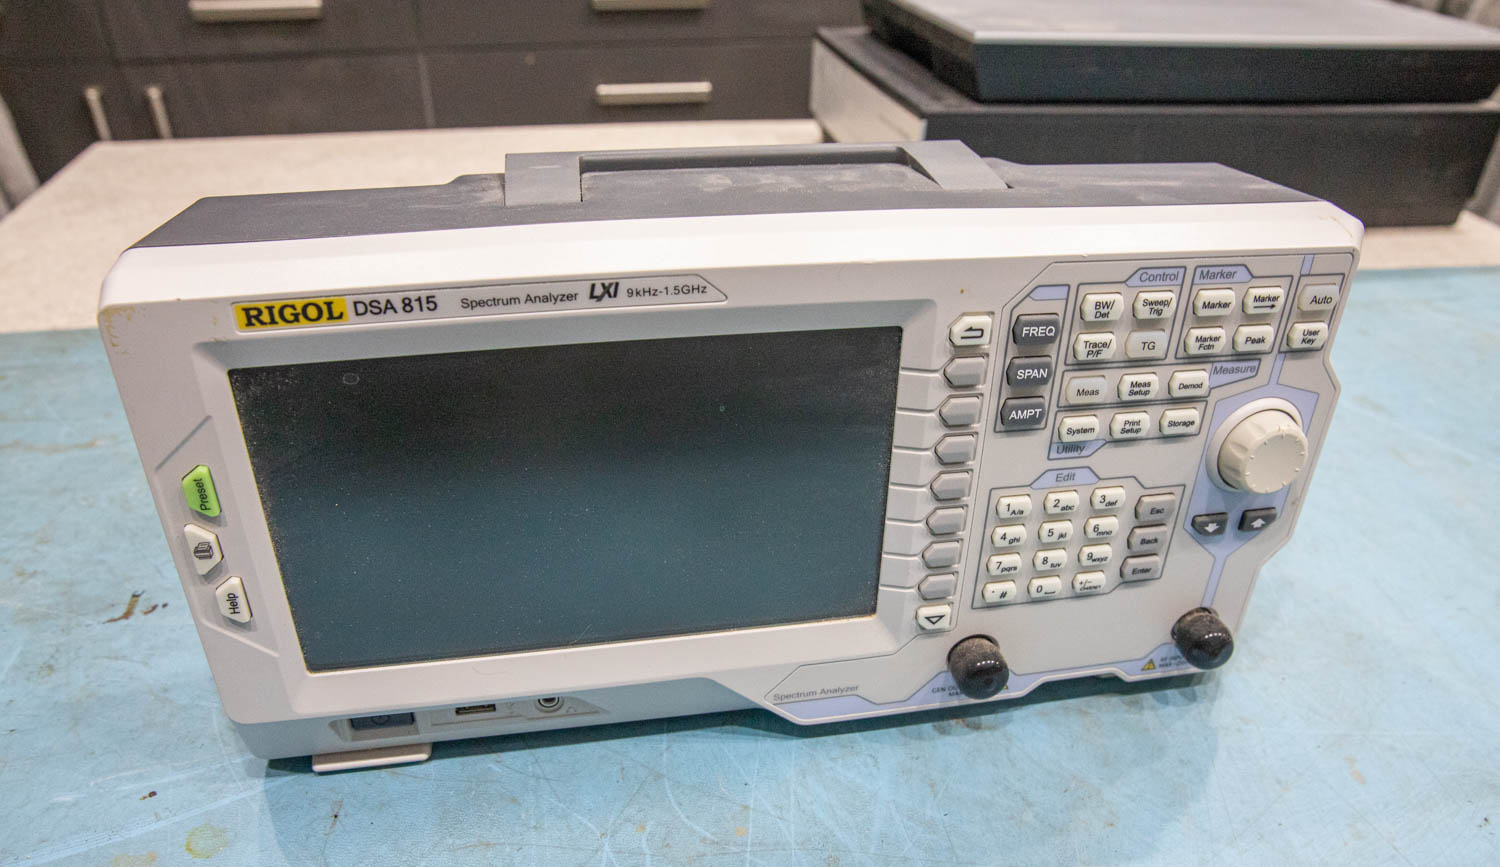
Hacking the Rigol DSA815-TG Spectrum Analyzer

Hacking the Rigol DSA-815-TG

I am not overly a fan of Hacking Test Equipment, unless:

  1. There is absolutely no other alternative in this case.
  2. I can afford to screw it up and won’t miss it too much if it goes wrong.
  3. I have other equipment that can be used in its place.


This is the cheapest Spectrum Analyser that I presently own, and I have owned this since I purchased it in 2014 from the Friedrichshafen Ham Show that I went to in Germany, also it has only been used for less than 30 minutes since I have owned it so it’s not even run in and actually unless I need something portable, it does not really get used much at all.

This is basically for one use only – Antenna Making / Tuning and as I have not actually been doing much of that at all due to the ‘Flood’ that took out nearly all of my Amateur Radio equipment which I have not even thought about trying to replace yet, so this poor old piece of kit has not really been used at all since it was purchased, in fact I would go so far as to say that I should have bought something better with the money but hindsight is a good thing…

Let’s Break This Down…

Place the unit ‘Face Down’ on something that will protect the screen from damage, if like me you are just using the Anti-Static matting, then make sure you have brushed it off first to remove all the parts of dropped solder and dead carcasses of left-over radio bits that were left on the mat to slowly get lost in the decades of time that go by.

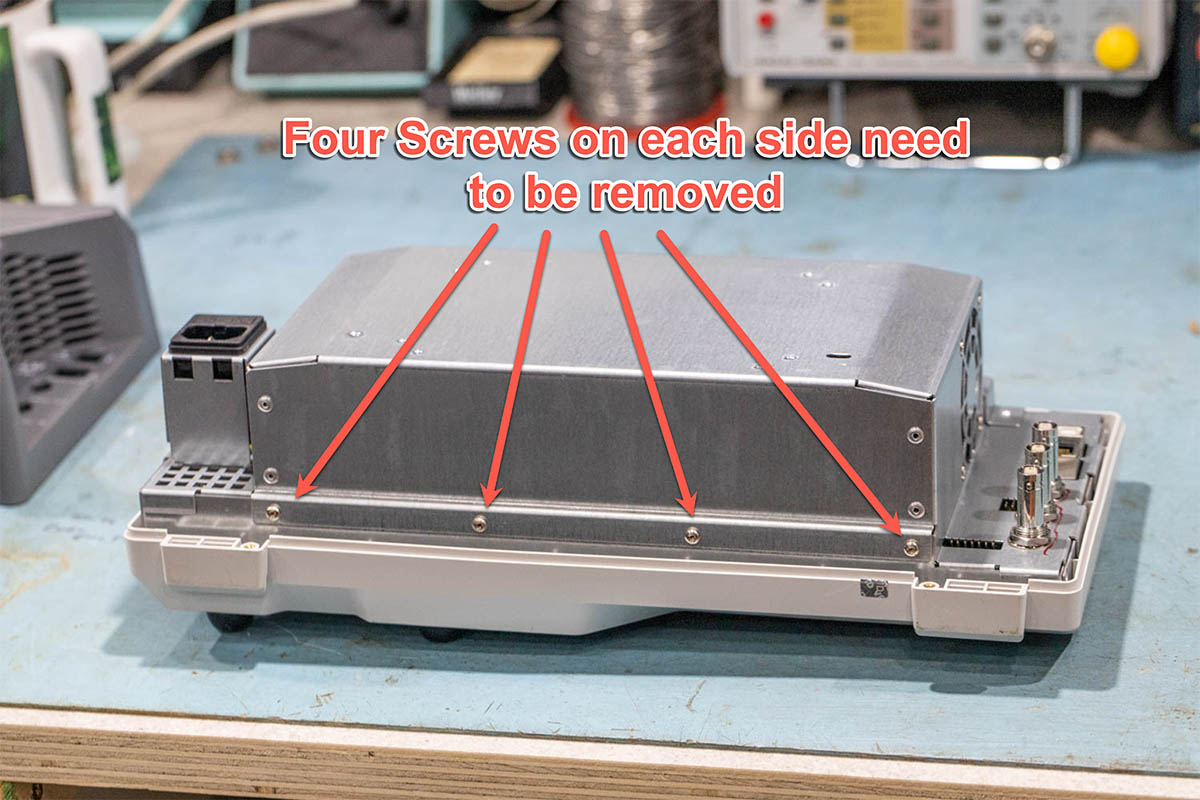
You need to remove four Torx screws from the back of the Rigol DSA815-TG to remove the rear panel
Always up to stripping something down and seeing what is inside these units, and now at the stage where I don’t give a dam as to what’s going to go wrong from here on in, let’s take a Torx Screwdriver to the 4 self-tapping screws that hold the back cover in place…
You need to remove four Torx screws from the back of the Rigol DSA815-TG to remove the rear panel
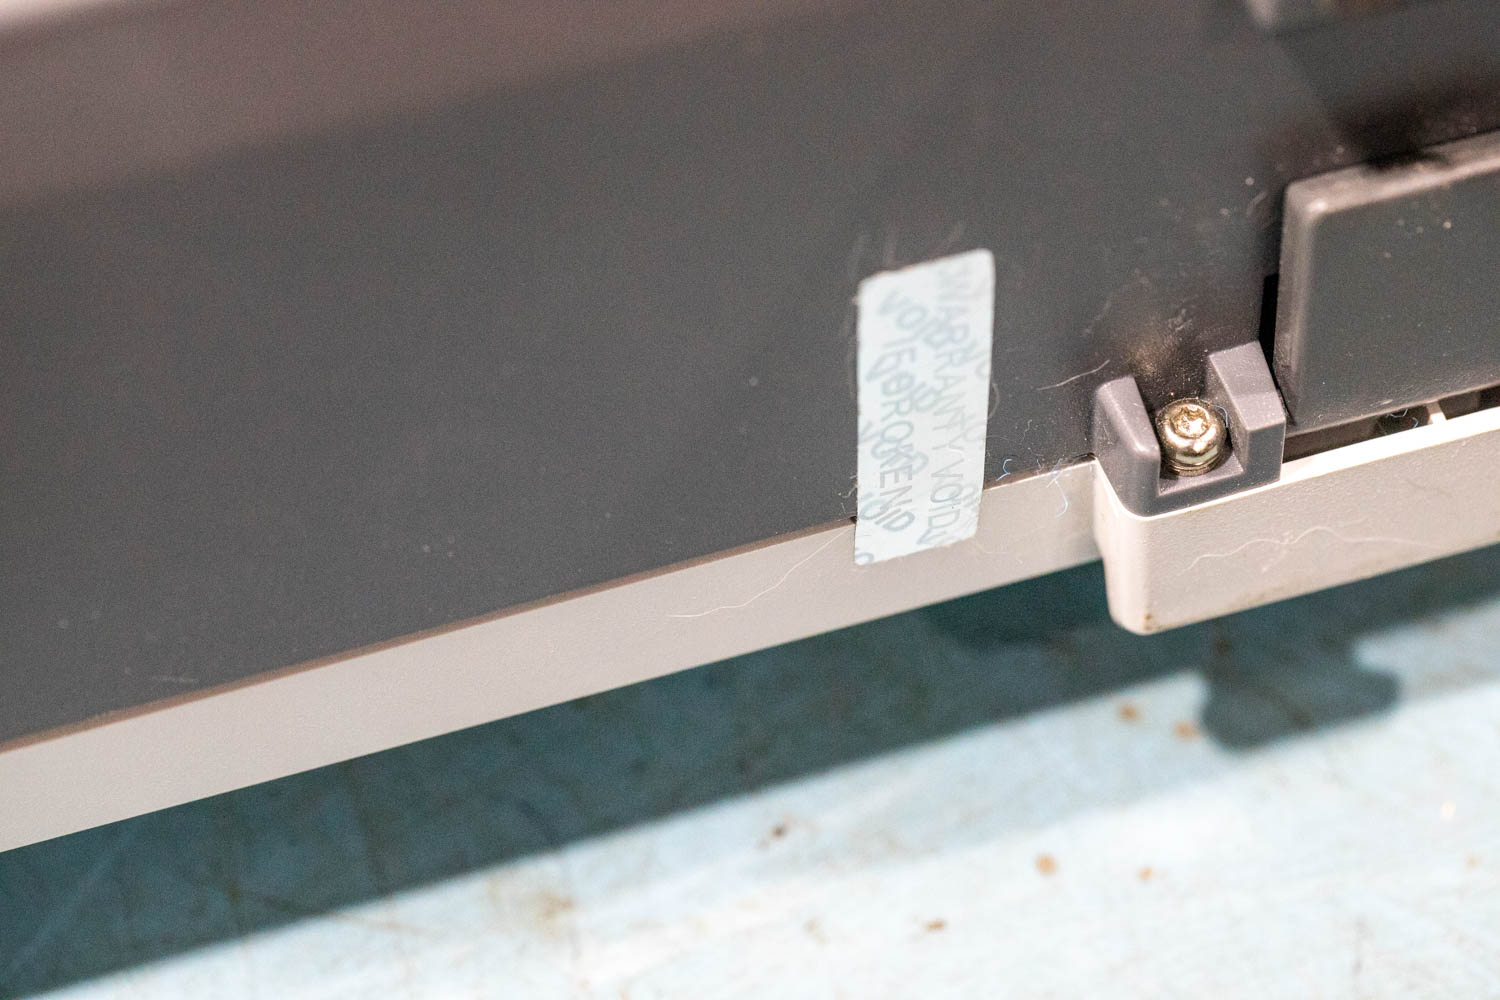
Removing the small label on the back will void any warranty.
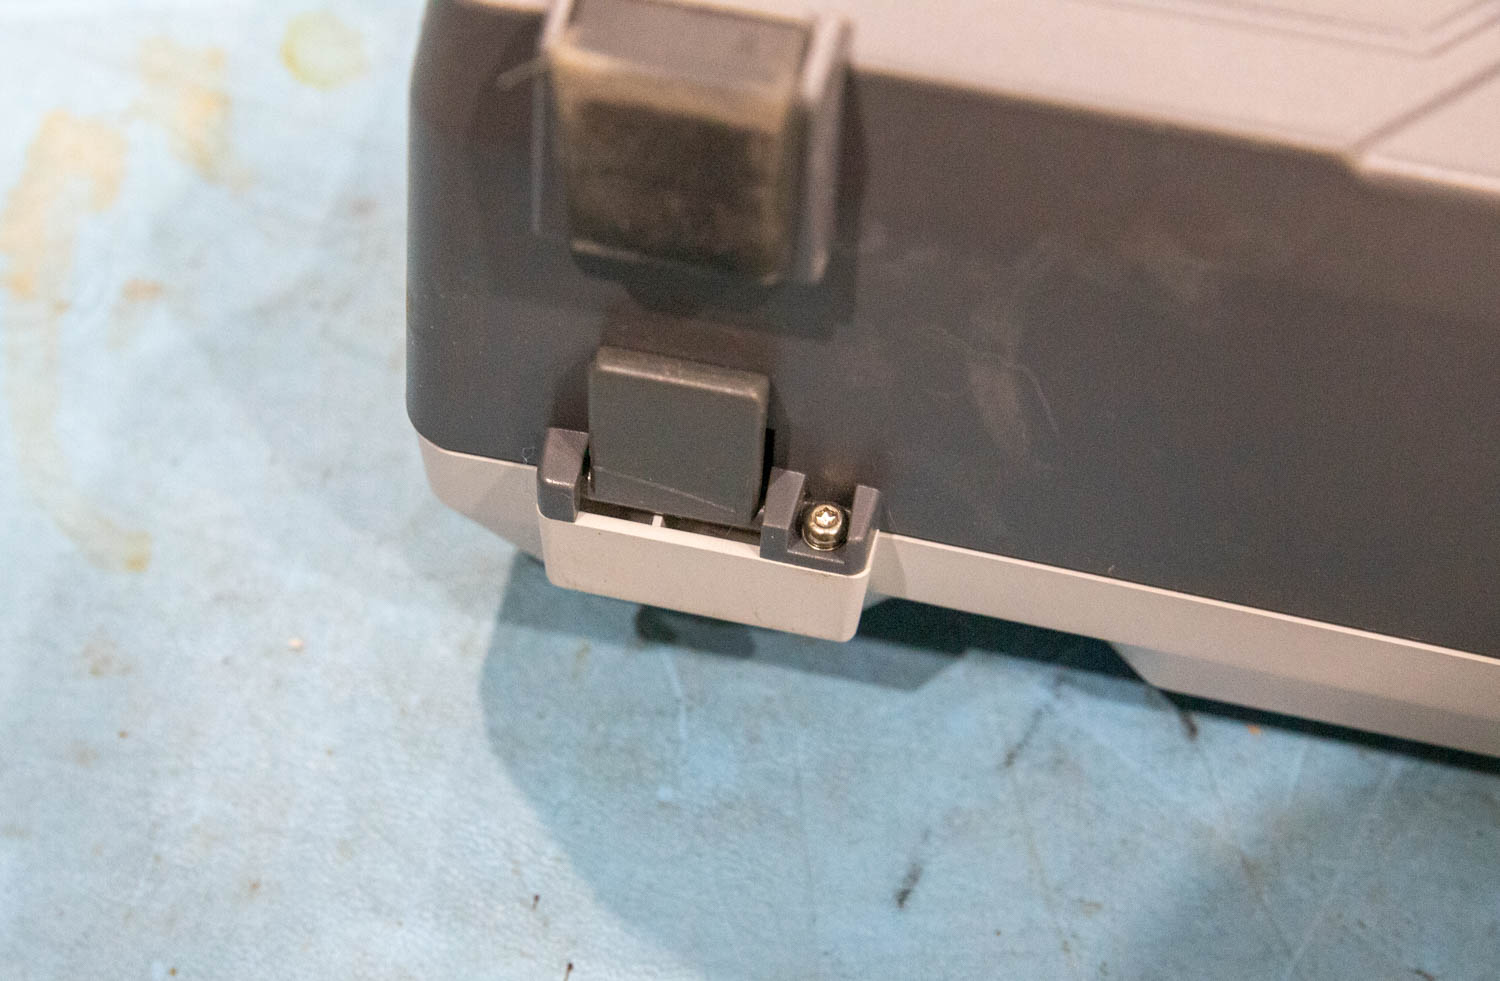
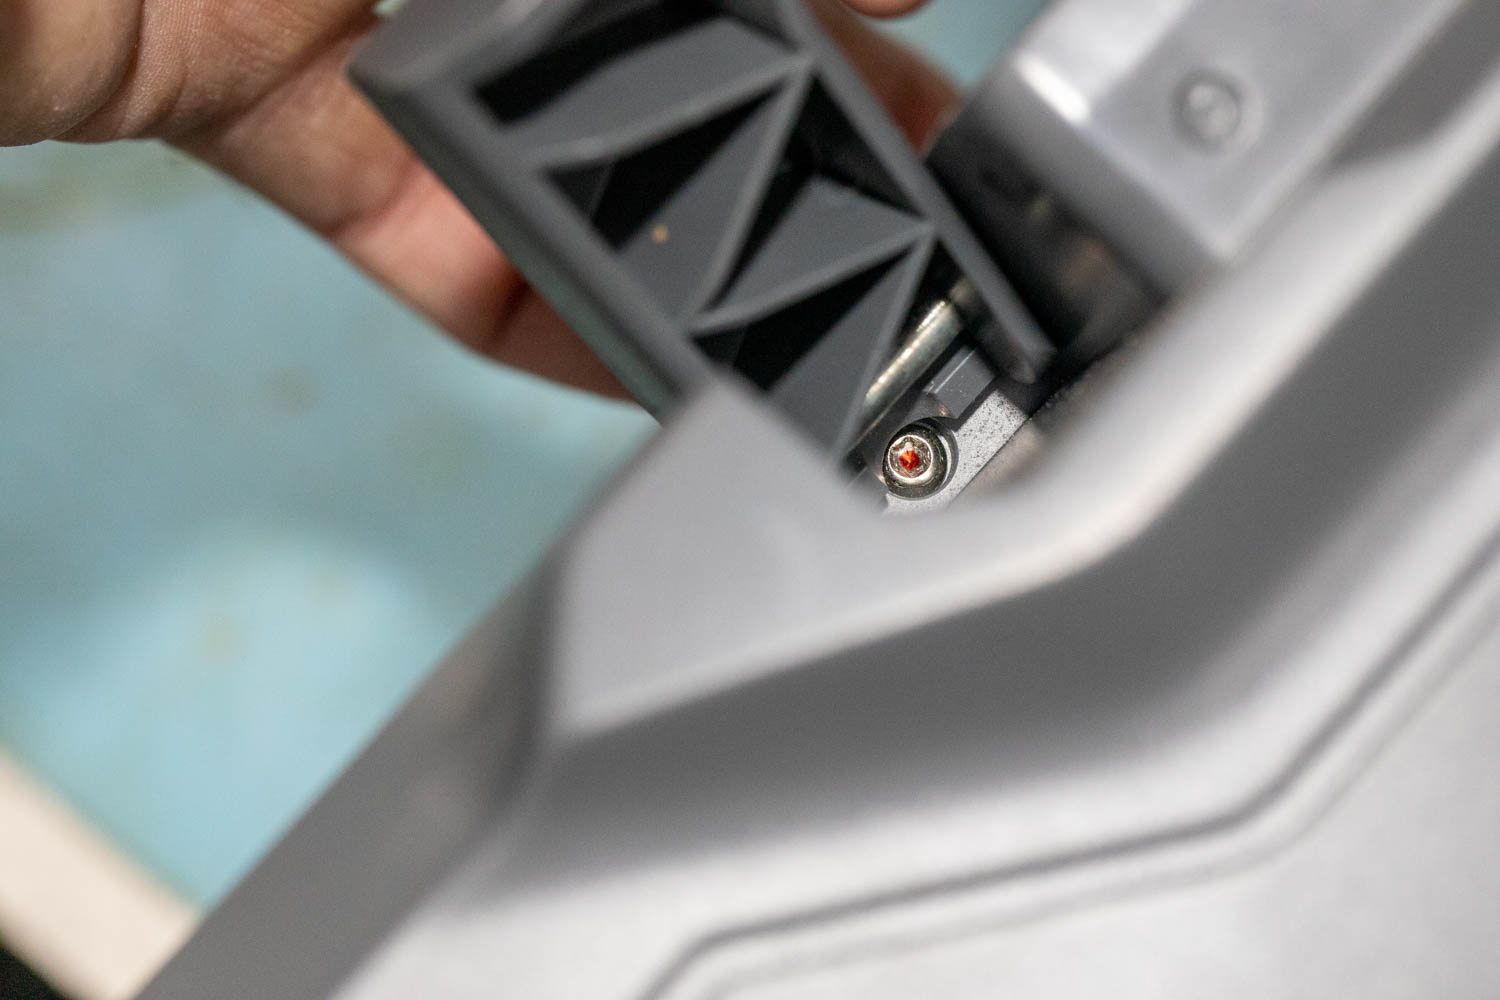
The obvious warning here is that there is a small warranty sticker on the base of the unit here that will need to be cut to remove the back cover, this will obviously void any warranty with the manufacturer, so that said, take a scalpel blade to this, also you will need to remove the three ‘Black Plastic’ dust Covers from the three BNC ports on the rear of the Analyzer below the USB and Network Ports, then carefully remove the grey cover from the front of the unit.
The two small feet will just fall off at this point, just make sure that you keep them safe until you reassemble the unit later.
You are now left with an Aluminium shield.
You then need to remove 8 screws in total to remove the power supply module from the main unit of the Rigol DSA815-TG
There are 4 machine screws on the top and the bottom of the shield (8 in total), remove these and keep them somewhere safe from Cats! Not sure what it is but the cats see to love anything ‘Screw’ related in my workshop!
Rigol DSA815 TG 11a

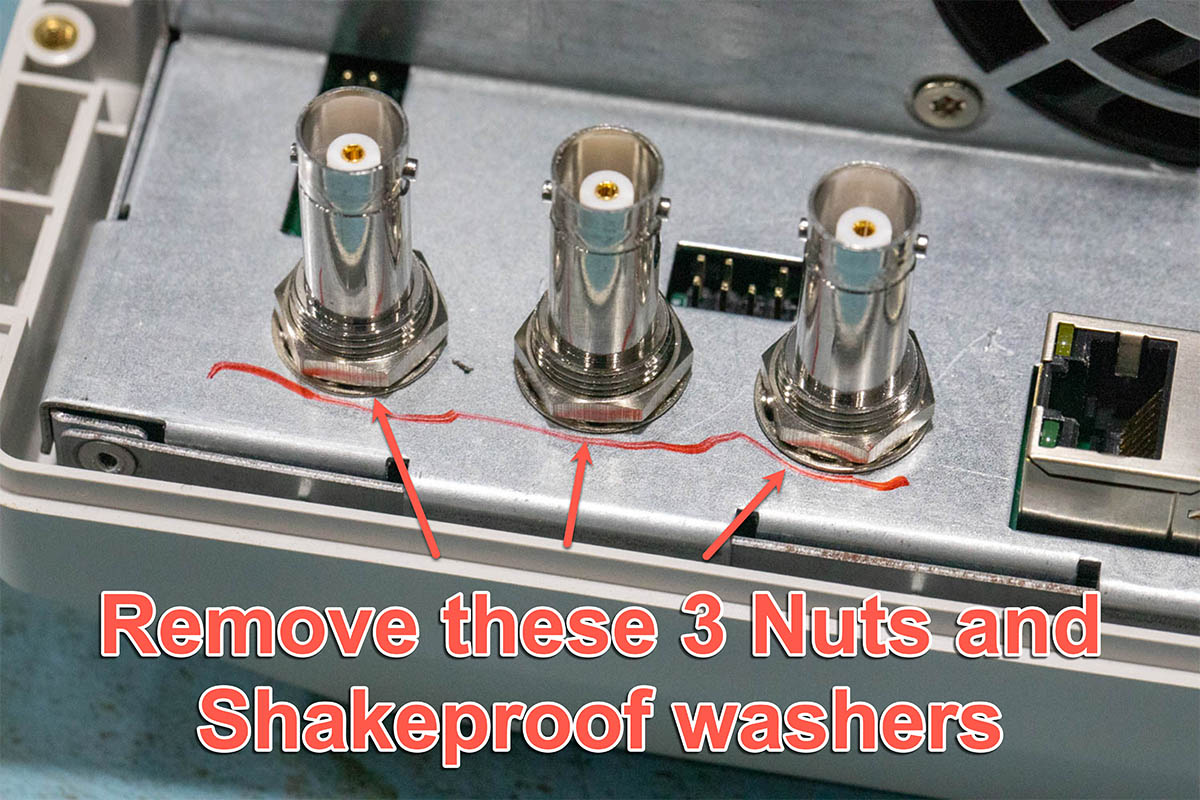
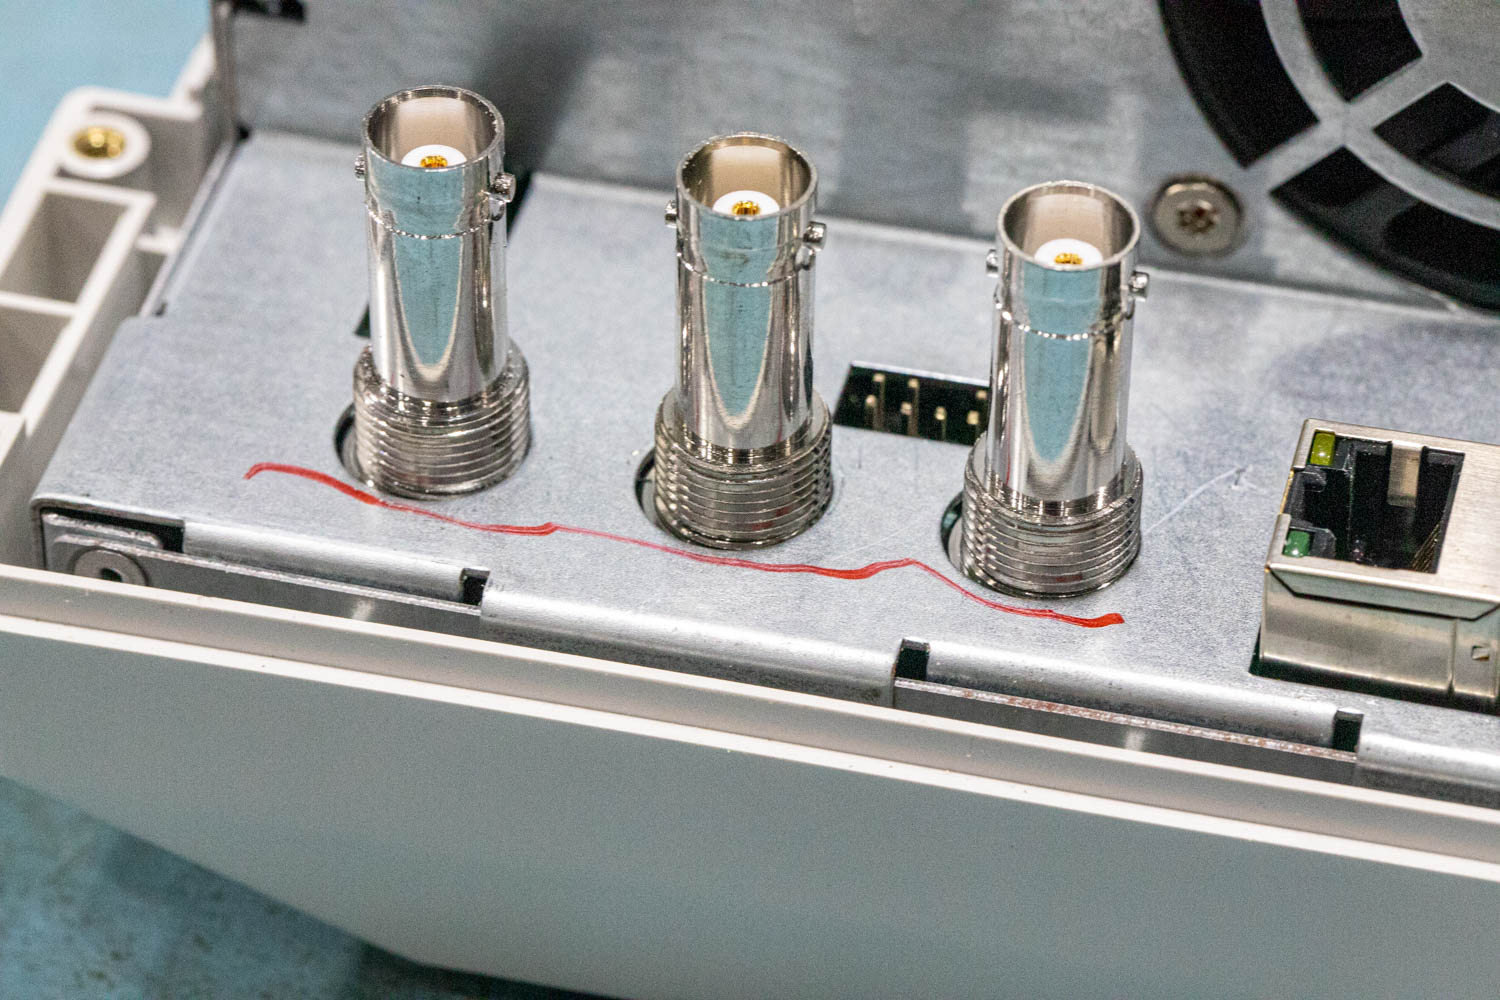
Next we have to remove the Nuts and Shakeproof Washers from each of the three BNC Connections, I found these were a little tricky, having just started using the new workshop I am missing some of the more useful tools, and in this case I could have done with some Deep Sockets, but I managed to find a suitable sized Spanner and just move each of the nuts a small amount to allow me to remove them with my fingers, the centre one was a little more of a pain, but after a while I managed to just shift it enough to loosen it off enough for fingers to remove.

You then need to remove the nuts and shakeproof washer from each of the BND connectors

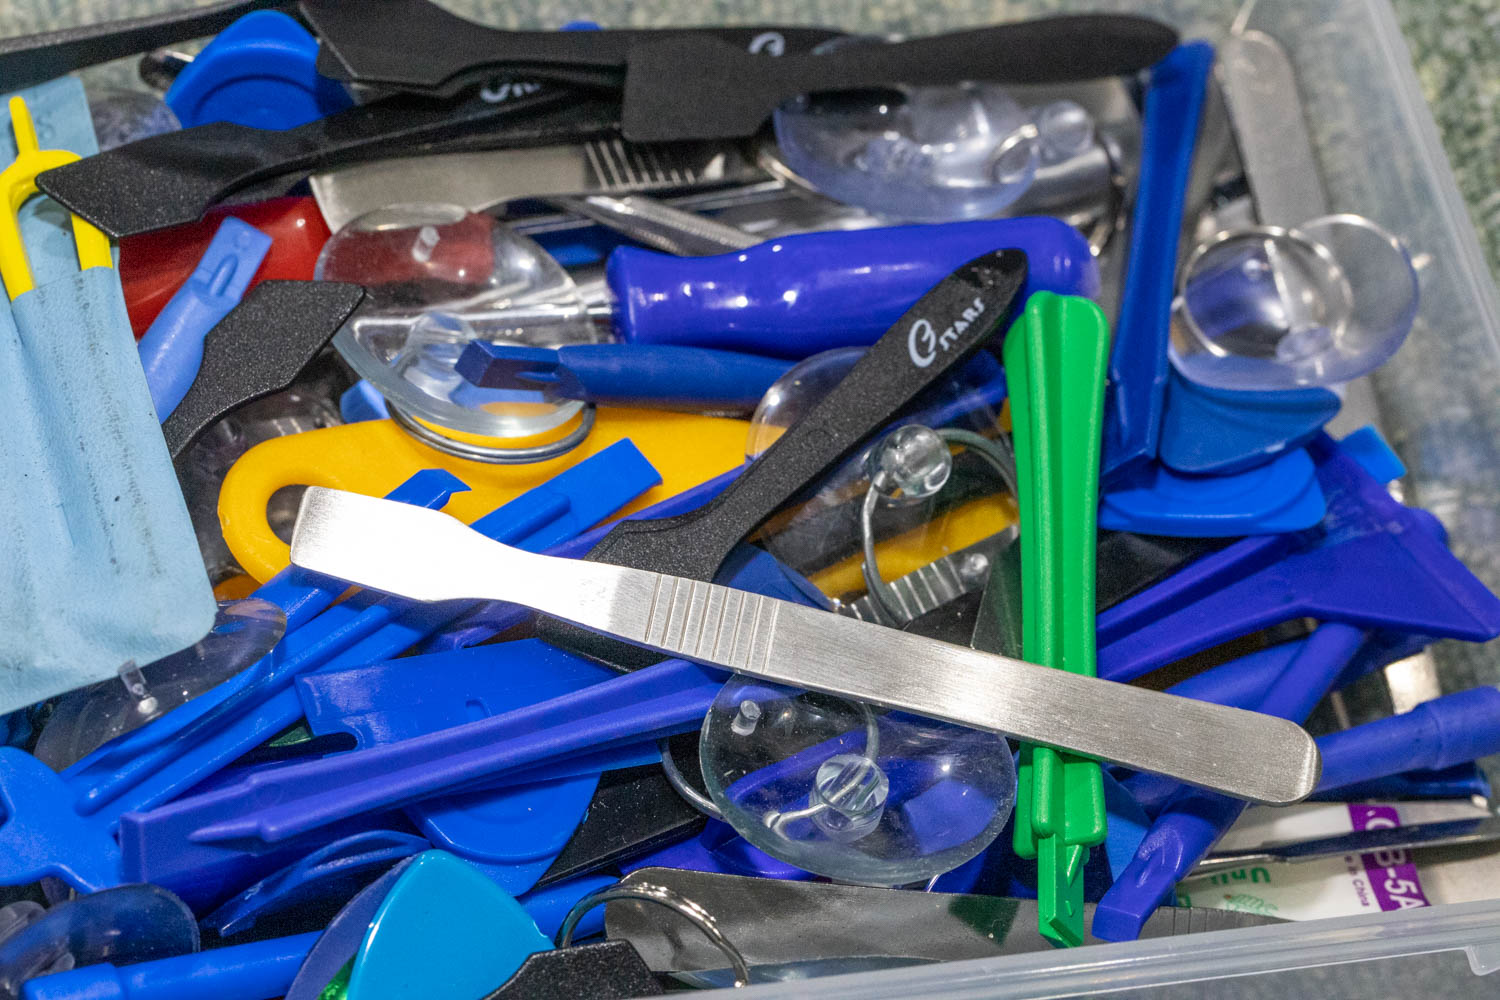
Now we can afford to be a little more aggressive. Taking a suitable ‘Spludger’, and that by the way is the name for any tool that is useful to separate two parts of a device that has been either stuck together or just have a tight fit, I have collected of many suitable ‘Spludger’s’ over the years so finding something useful would not take too long.

Spludgers are very useful tools.
I found the best thing here was to just push the end of the Metal Sludger that I used into the gap between the shield that we are trying to remove, and the front ‘Cream Coloured’ plastic and then gentle twisting of the sludger would force the two apart without too much of a problem.
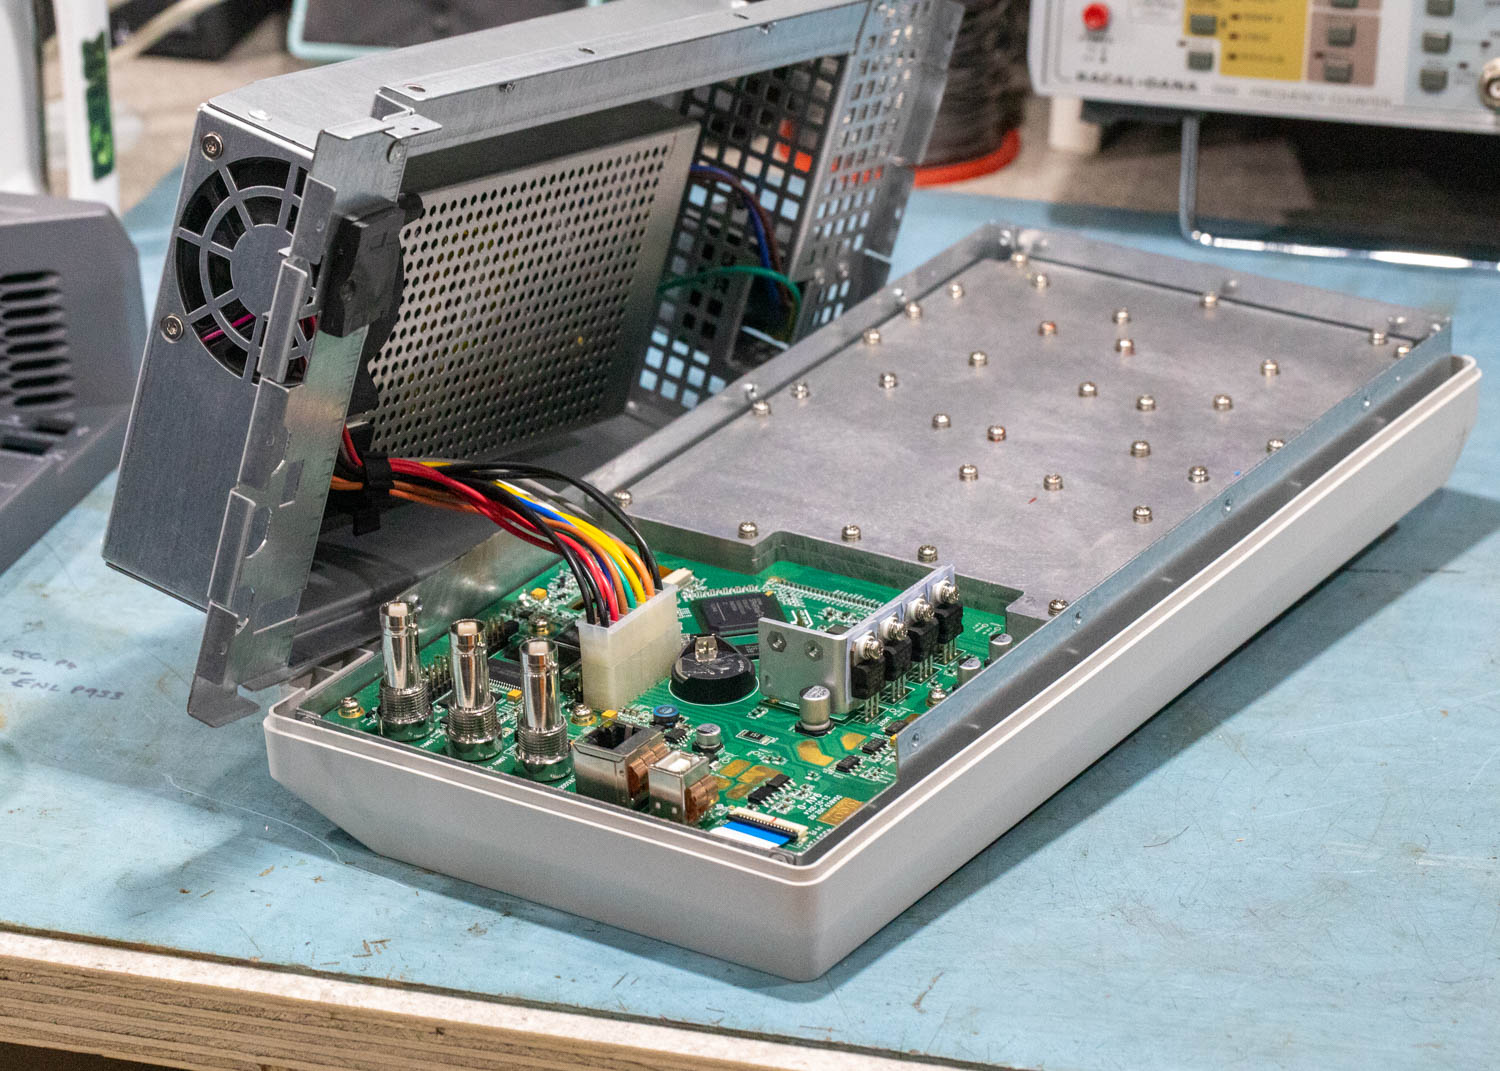
You can now seperate the two units, but be careful as you need to undo the PSU connection to the main board on the Rigol DSA815-TG
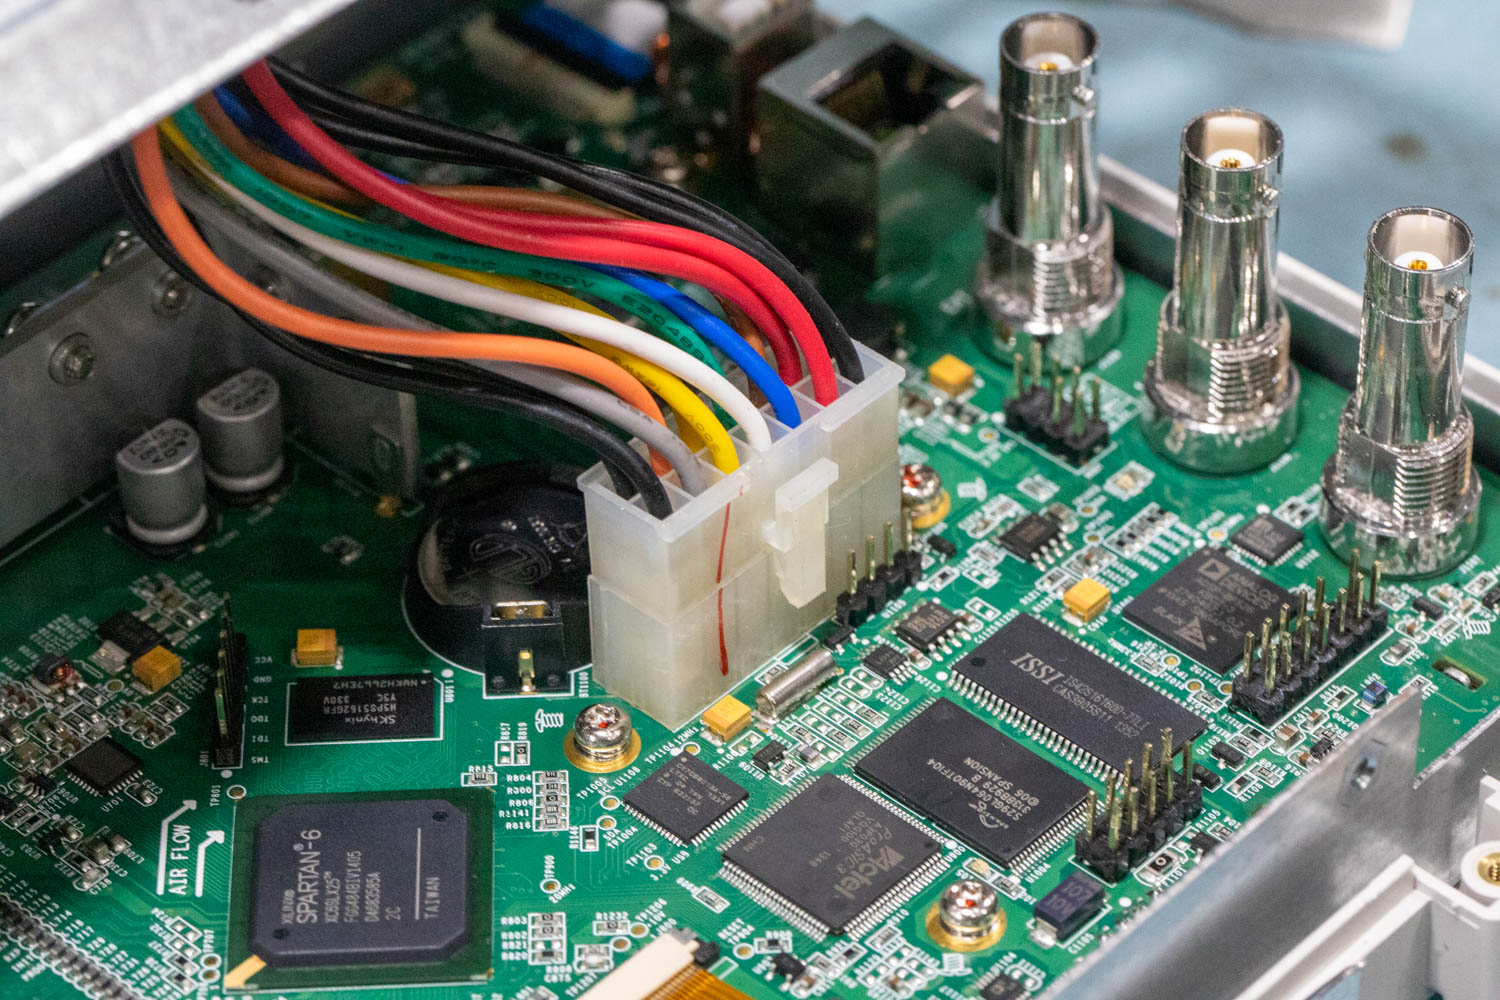
There is a large ‘Molex’ type of Plug and Socket hidden away underneath this back part, so be careful not to pull these apart sharply, you can place both units carefully aside each other so that you can locate the lug that you need to press in to allow the Plug to come away from the sockets. Once this has been done set the rear unit down somewhere safe.
You can now seperate the two units, but be careful as you need to undo the PSU connection to the main board on the Rigol DSA815-TG
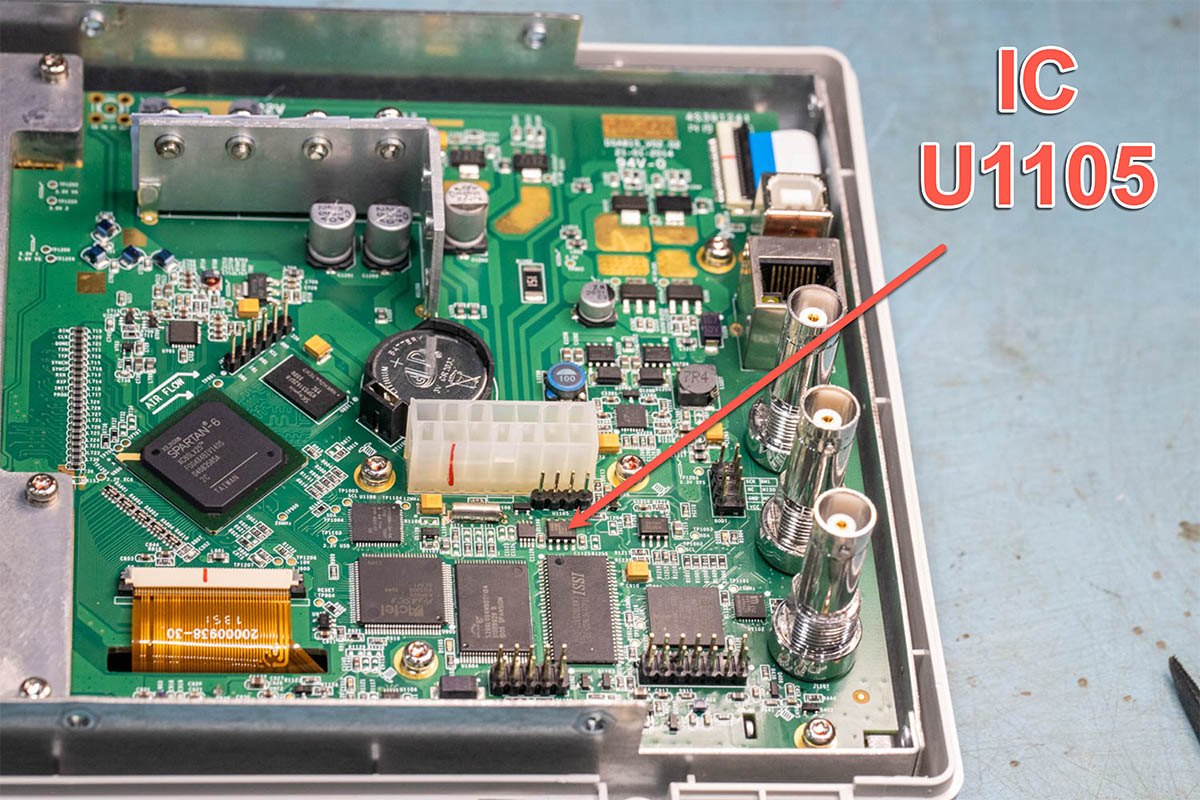
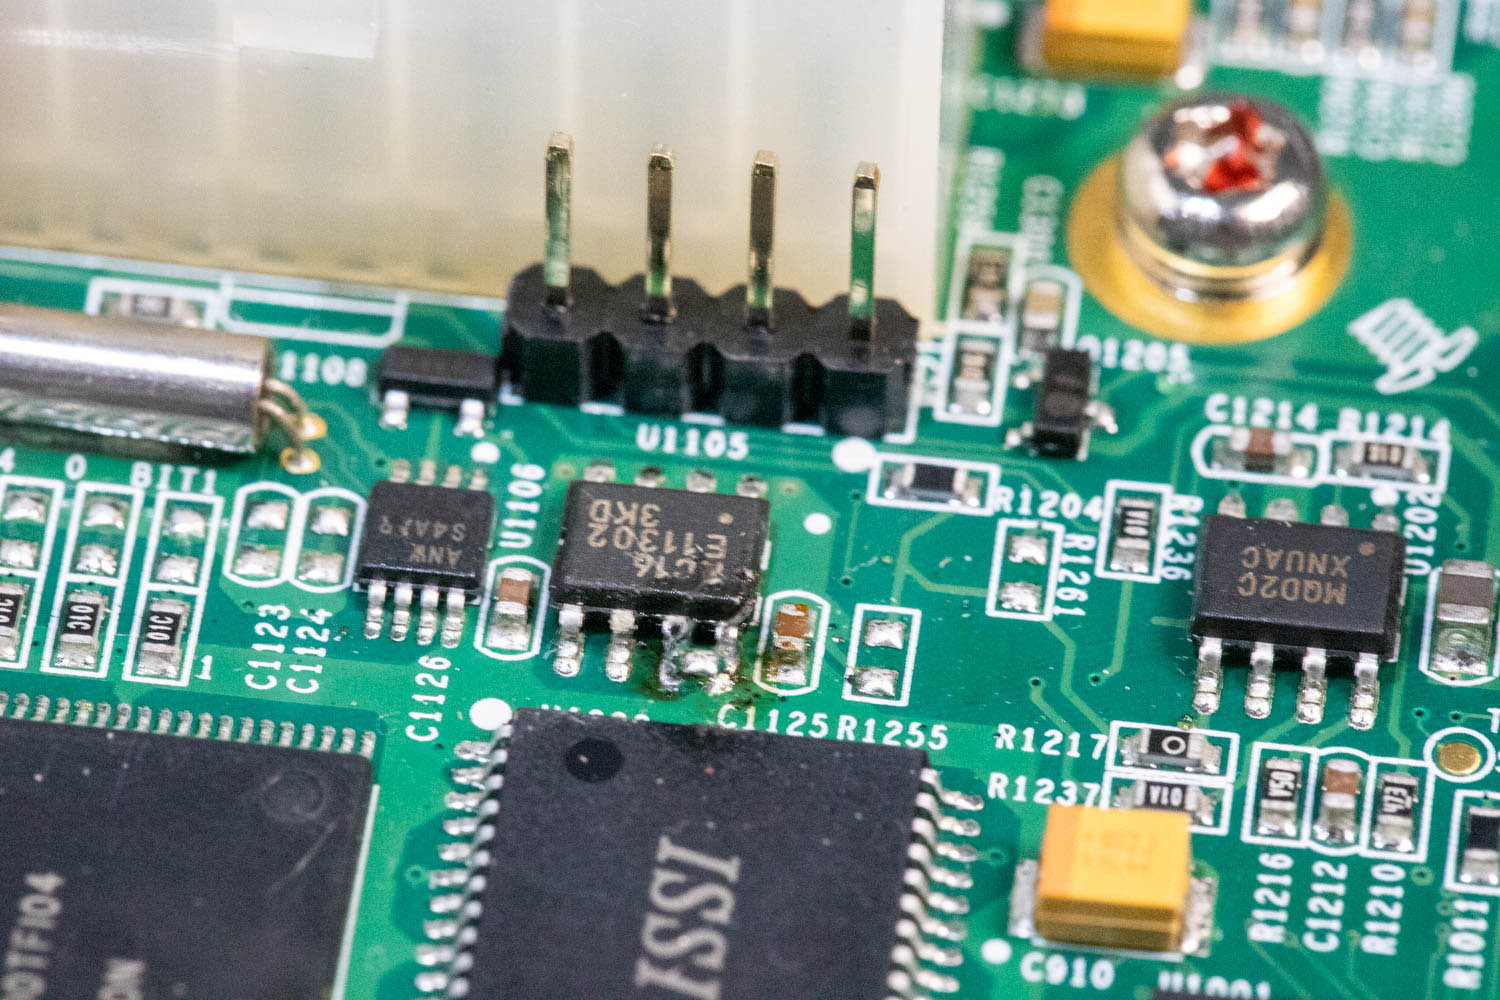
Now you need to locate U1105, and it’s a lot smaller than you think it will be, basically a very small 8-legged package.
You need to locate the Ic U1105 on the main board of the DSA815-TG
The easiest way to do the actual hack is to just solder a piece of scrap wire onto the 7th pin of the device and then add a lump of solder to pin 8 and then cut the jumper wire off just after pin 8, this way you have basically just jumpered pins 7 and 8 and although it will look far from pretty, especially in my case as I could not locate my small soldering station yet a also it’s the first job in a woefully inadequate workshop, even I am disgusted with the mess that I have left inside the Analyzer, but it’s done the job and although it does look terrible, it won’t fall off in a while and will do what I have asked of it.
Rigol DSA815 TG 19
The quick way to test that it is working, is to just plug the two parts back together and then just put a couple of the screws back into it.
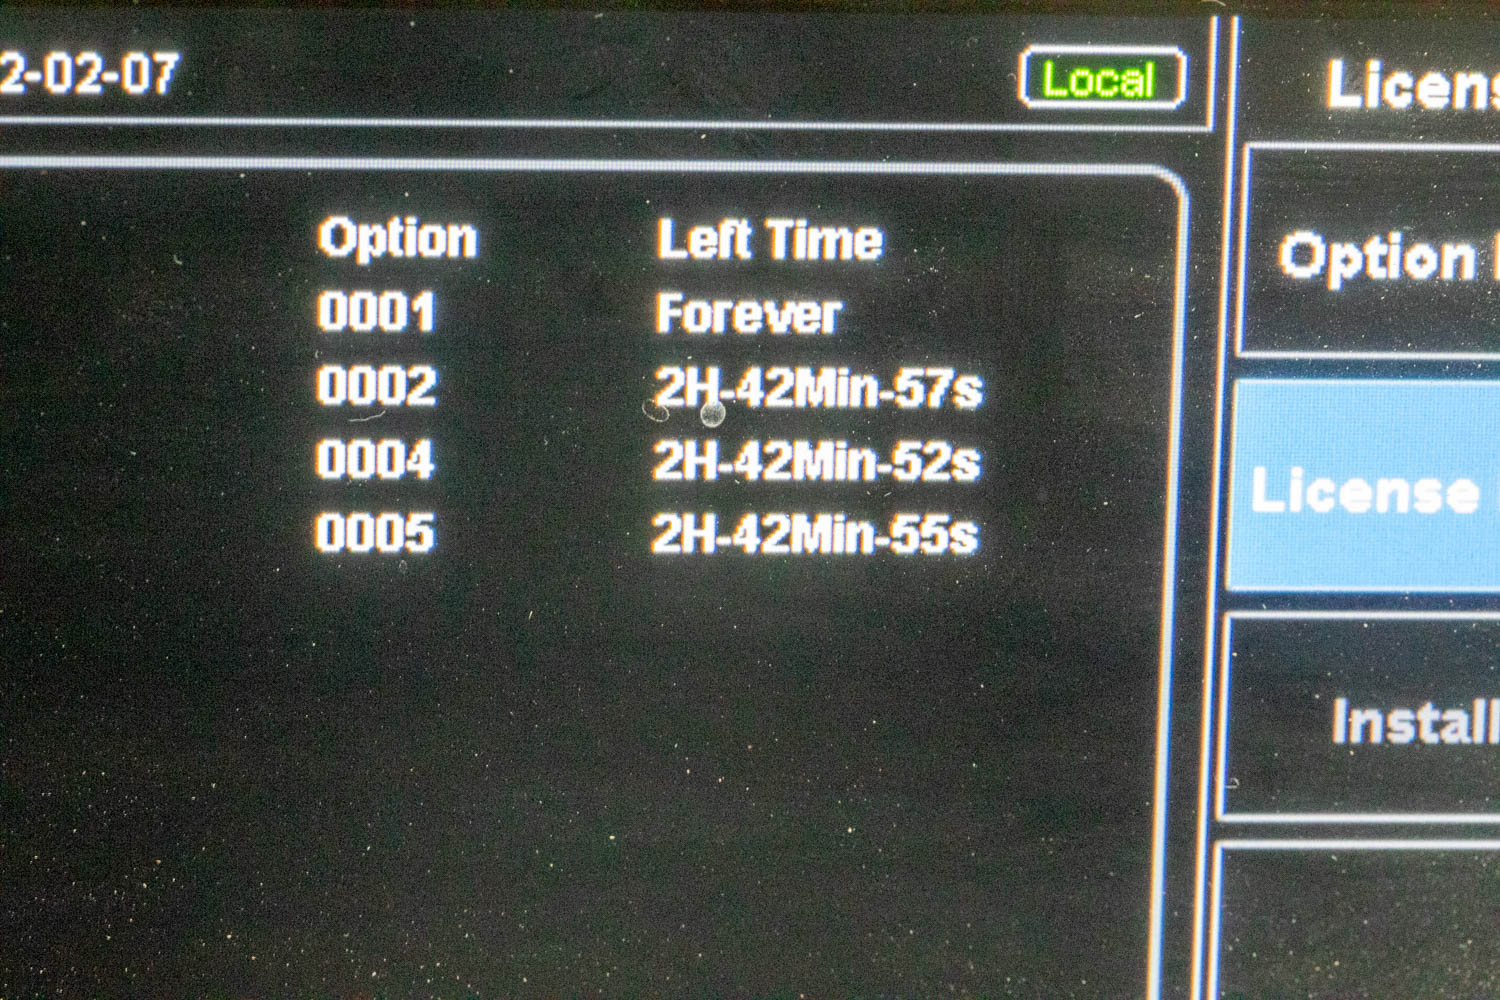
Apply the power and then go into the ‘System’ settings, on to the second screen and then Select ‘License’ and then ‘License Info’ to see what time is left. Make a note of the time and then wait a couple of minutes and switch off the unit. Switch the unit back on and do the same again, this time the time should not have gone down from before.
Rigol DSA815-TG License Information
If all is well, then carefully reassemble the Analyzer in reverse order and give it a final test.

Related Posts

Leave a Comment

This website uses cookies to improve your experience. We'll assume you're ok with this, but you can opt-out if you wish. Accept Read More

free counters

error: Content is protected !!