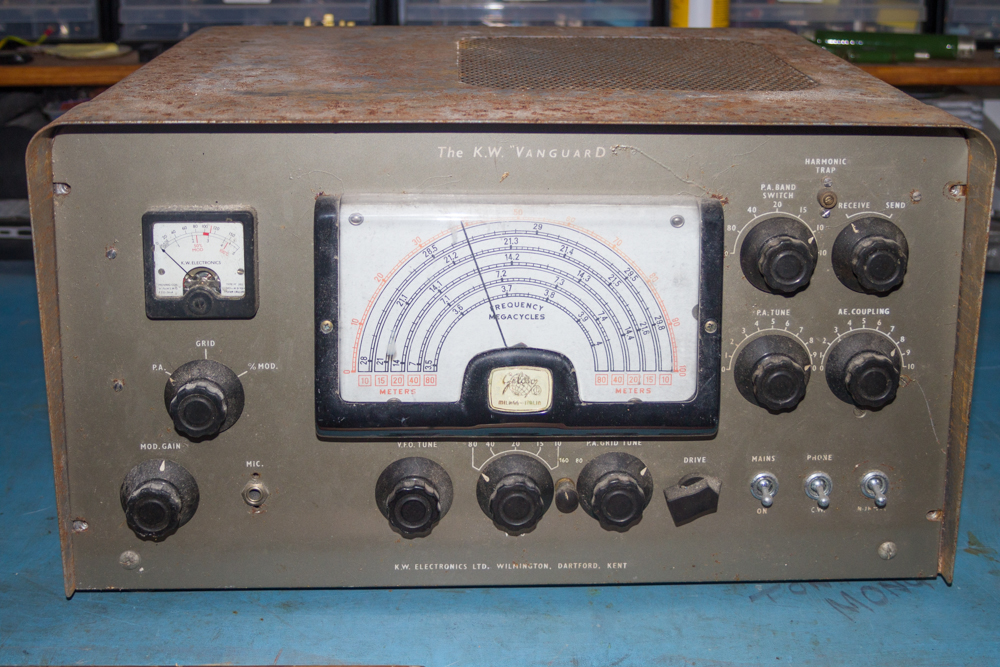
Remove the Switch Fixings from the KW Vanguard
Now that all the knobs have been removed I removed all of the nuts and washers that hold the switches to the front panel.
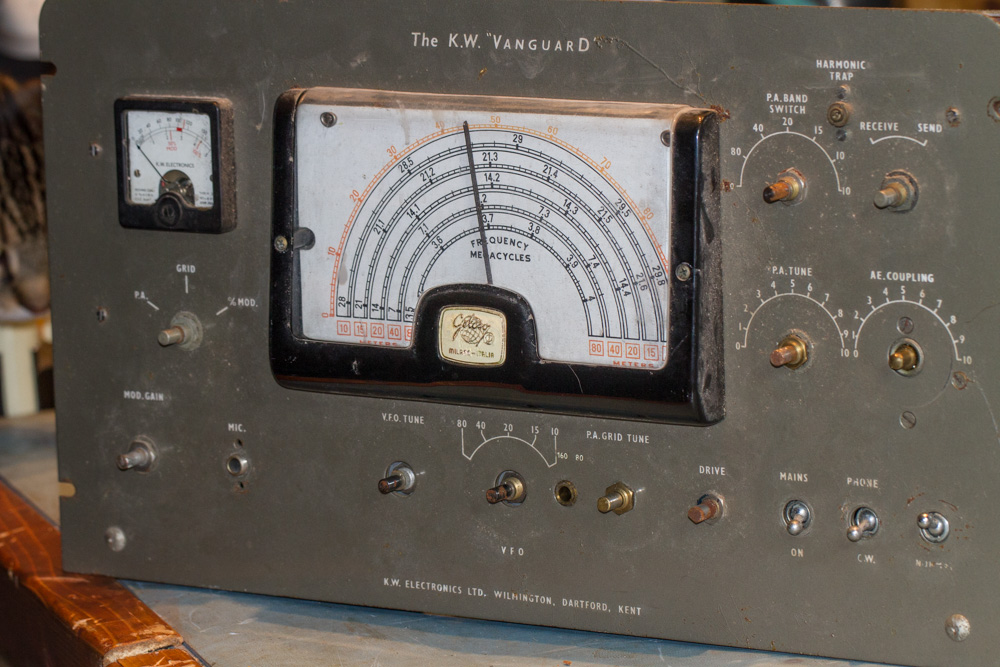
Tip – Put the washers and nuts back onto the removed switches were you can so that you know where they come from.
Some of the nuts and washes cannot be put back onto the shaft at this time as there is not enough room to remove the switch from the unit without de-soldering it which I will be doing later, so just place these nuts in the container with the rest of the knobs…
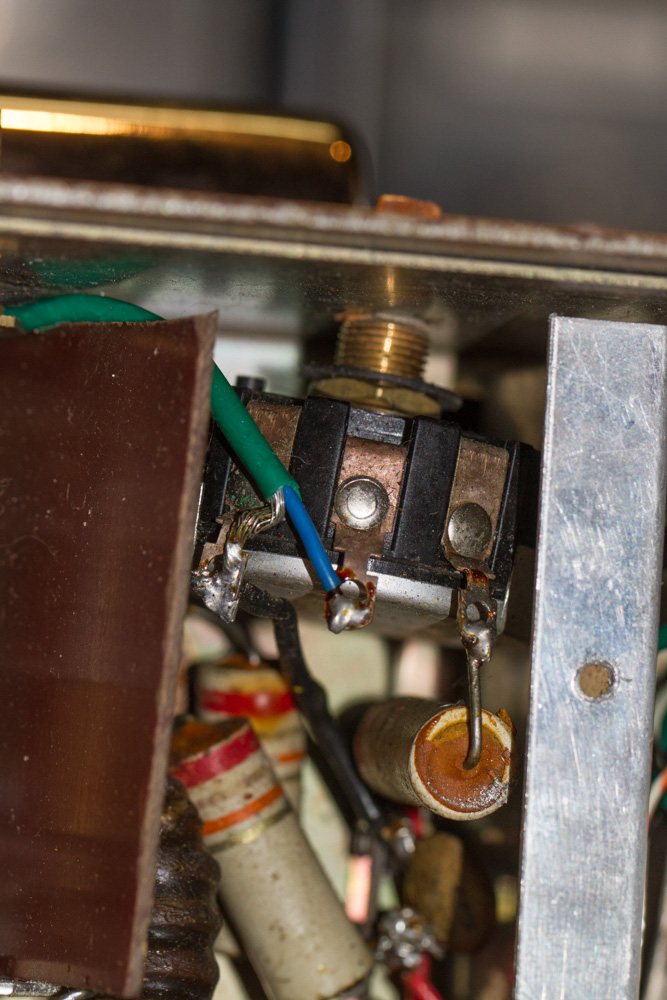
All of the nuts holding the switches to the front panel on the KW Vanguard were easily removed using a 13mm nut driver except for the one for the ‘Send/Receive’ switch which for some reason needed a 14mm nut driver, maybe this had been changed over when Mike did his modifications to this radio.
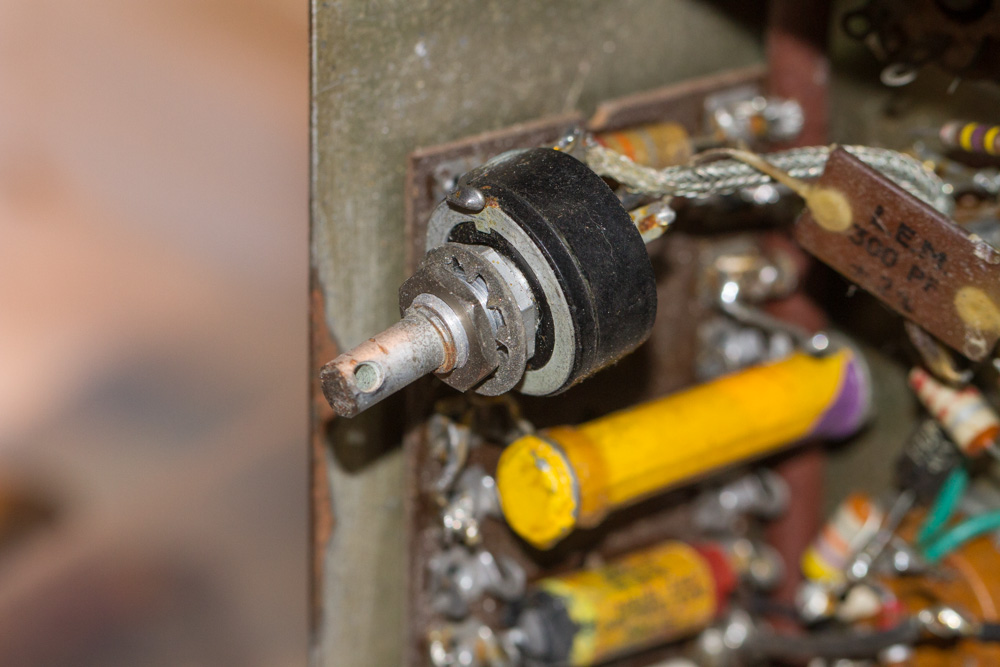
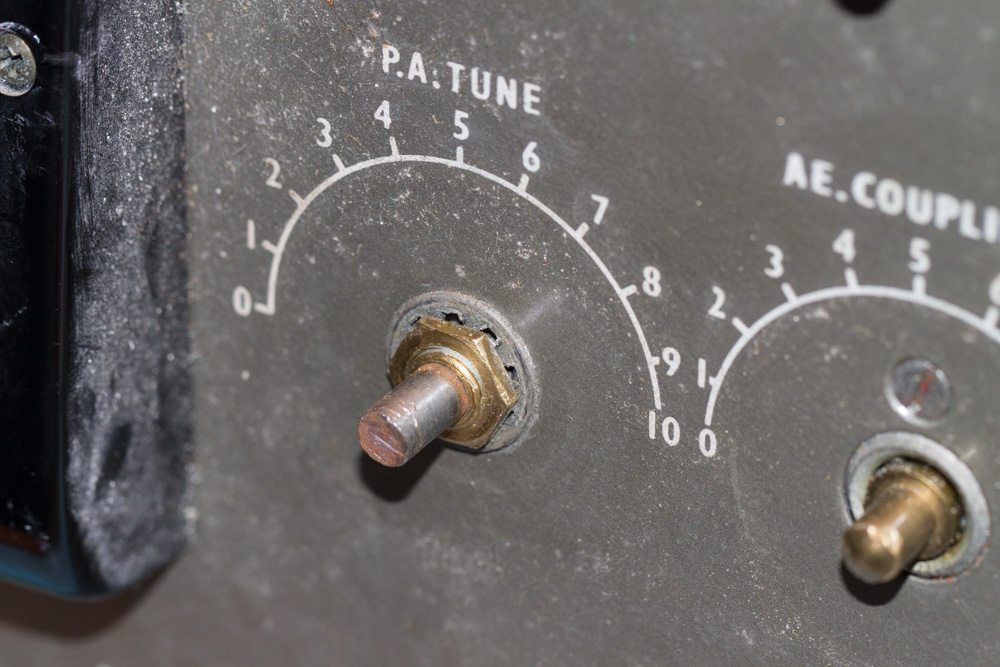
In true typical fashion, there is always one that causes you a little more grief than normal, in my case it was the nut that is attached to the Air Spaced Capacitor at the back of the ‘PA Tune’ control. I managed to unscrew it, but it would just turn and turn.
I then noticed that there is a flange on the shaft stopping the nut from being removed, which leads us to a further problem.
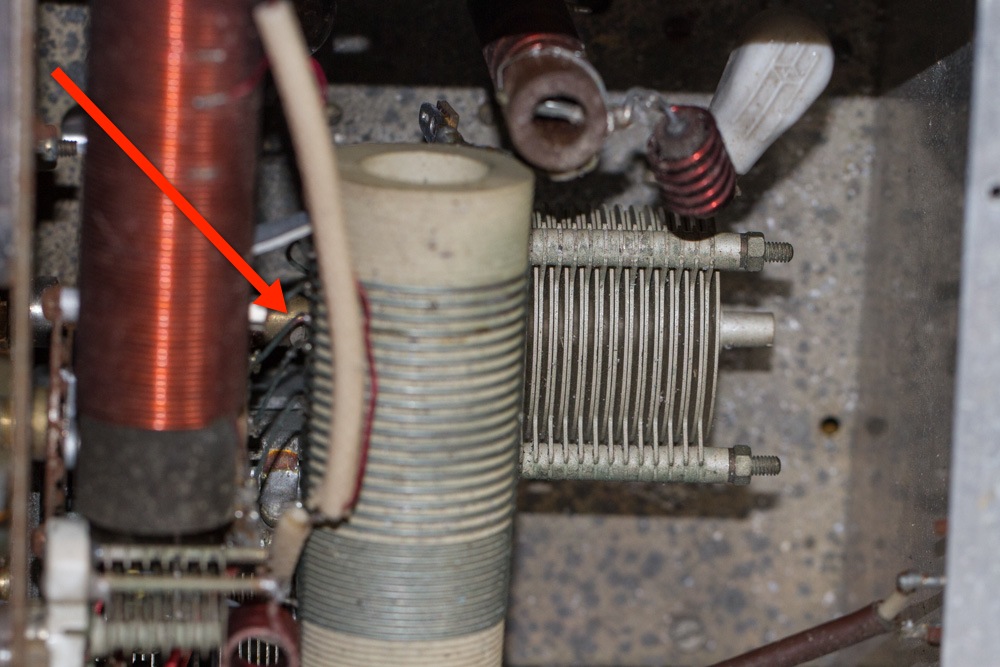
The problem is that I need to remove the shaft from the end of the Air Spaced Capacitor, but as you can see, there is a lot of stuff in the way, and not only that, the connector linking the capacitor to the shaft is not held in place by a grub screw (that would be way too easy), but two ‘ small ‘old’ steel nuts and bolts, and I already know that even if I could get to them at the moment, you know they won’t give! So I have no choice but to leave this till later.
So moving on I have to remove the two screws top and bottom that hold the ‘Harmonic Trap’ in place at the top of the front panel on the KW Vanguard.
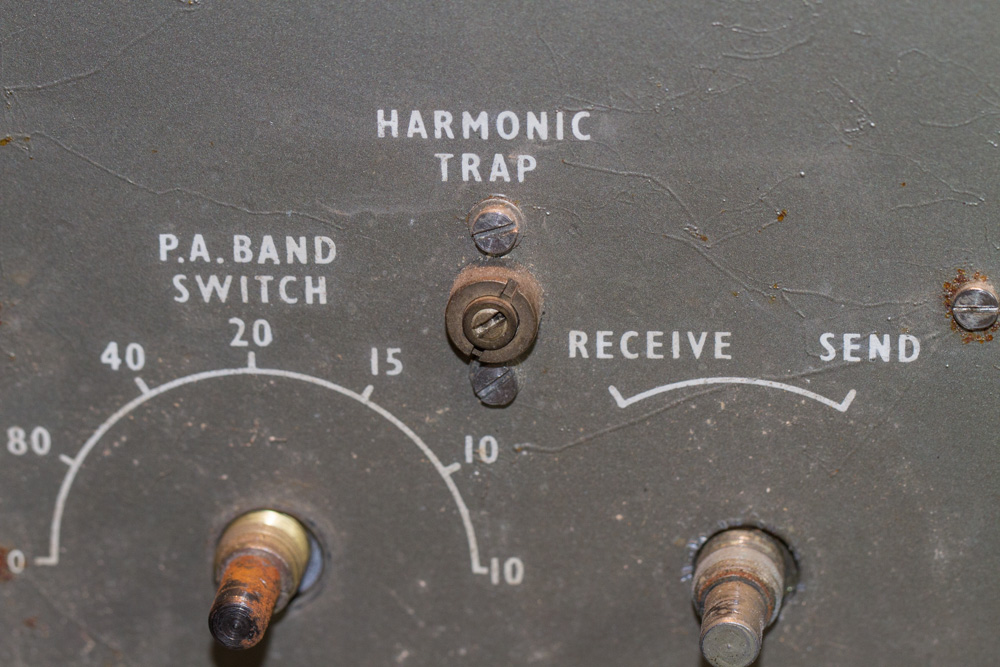
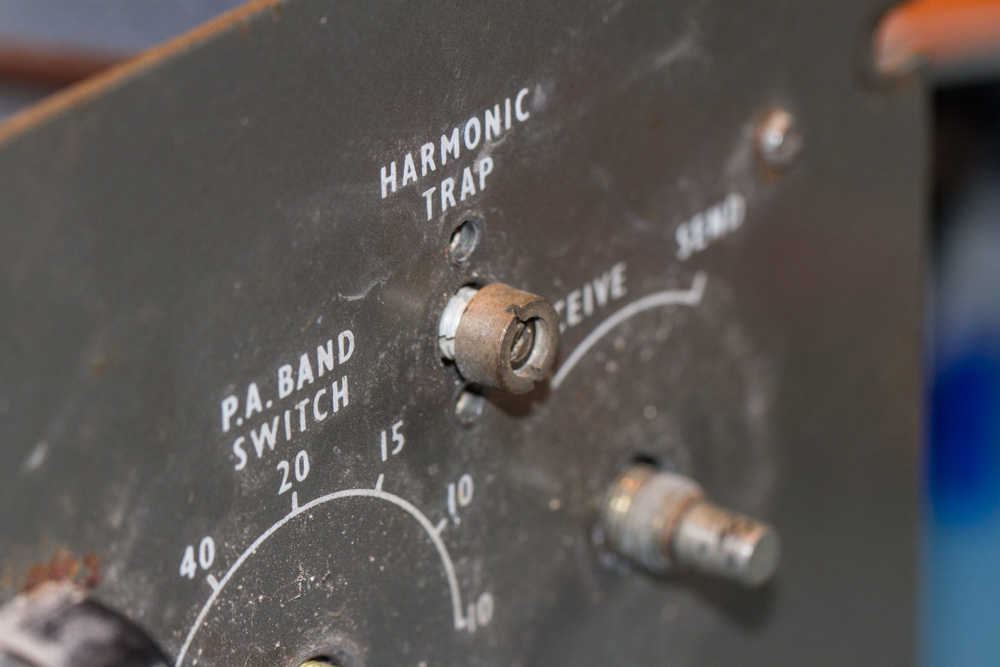
With those removed the central locking nut should just unscrew leaving the ‘Harmonic Trap’ held in place by the connections on the back of it. I did not have enough give to remove the unit from its hole and put the removed screws back into it, so I set these aside and I will re-attach these later.
Last Updated : 31st July 2024

