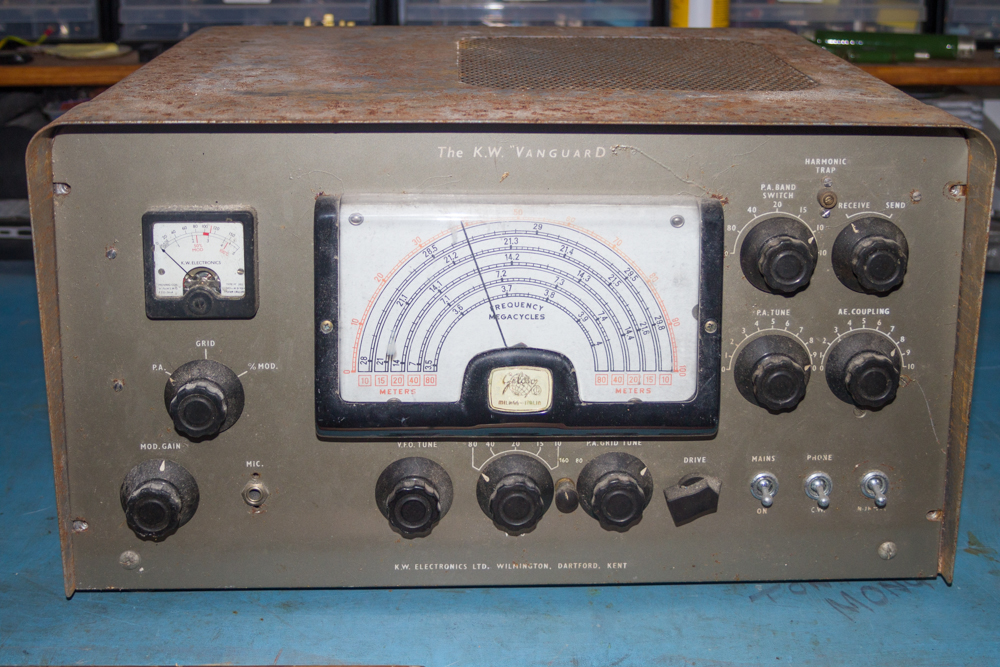
Removing the Meters, VFO Display and Lamp Holder from the KW Vanguard
The next job on the easy scale of things is to remove the Meter from the front panel.
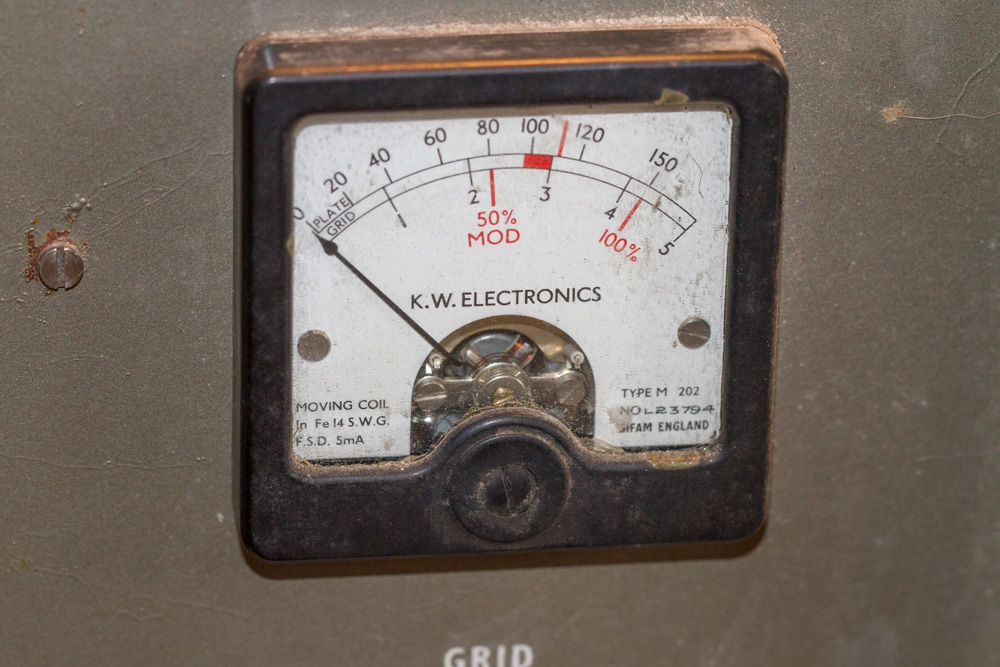
The two connections to the meter should be fairly easy to remove, they are held in place by two nuts on each terminal and a washer. The nuts can be removed with a 7mm Nut driver. Remember to replace these after you have removed the two wires.
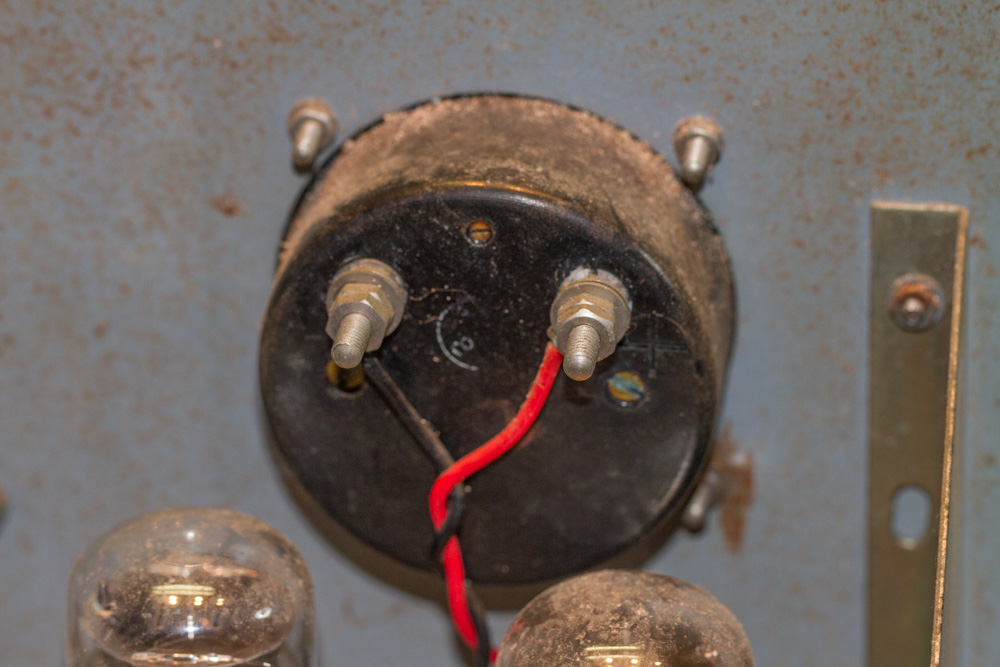
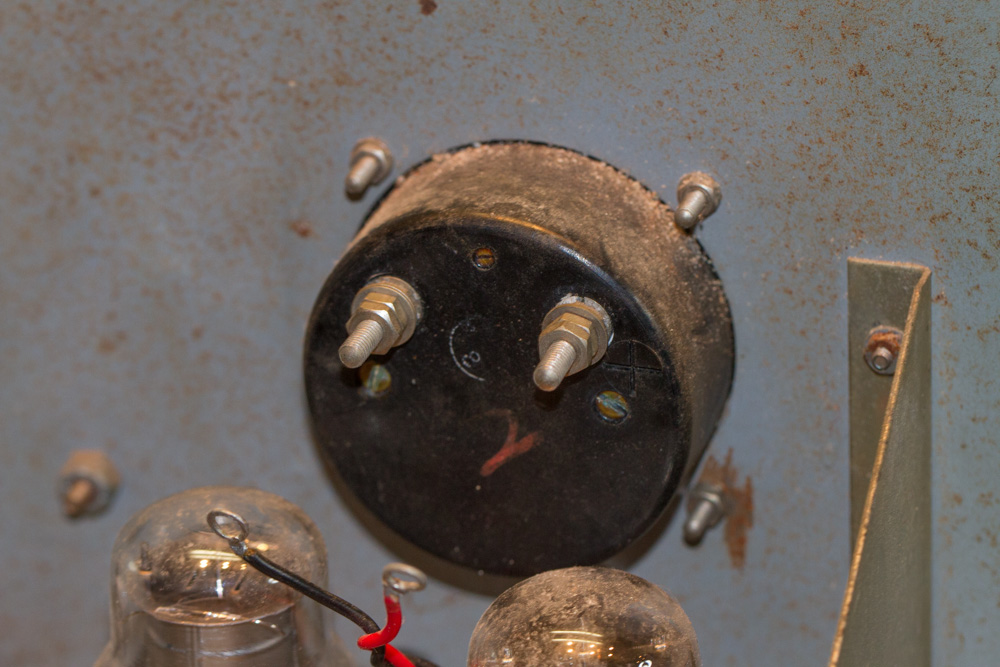
The four nuts that hold the meter in place cannot be removed until you remove the rest of the valves from the chassis, try to be careful here, they may still be useable, but in my case the V1 (6J5GT) was damaged when I had got it, and will need to be replaced anyway.
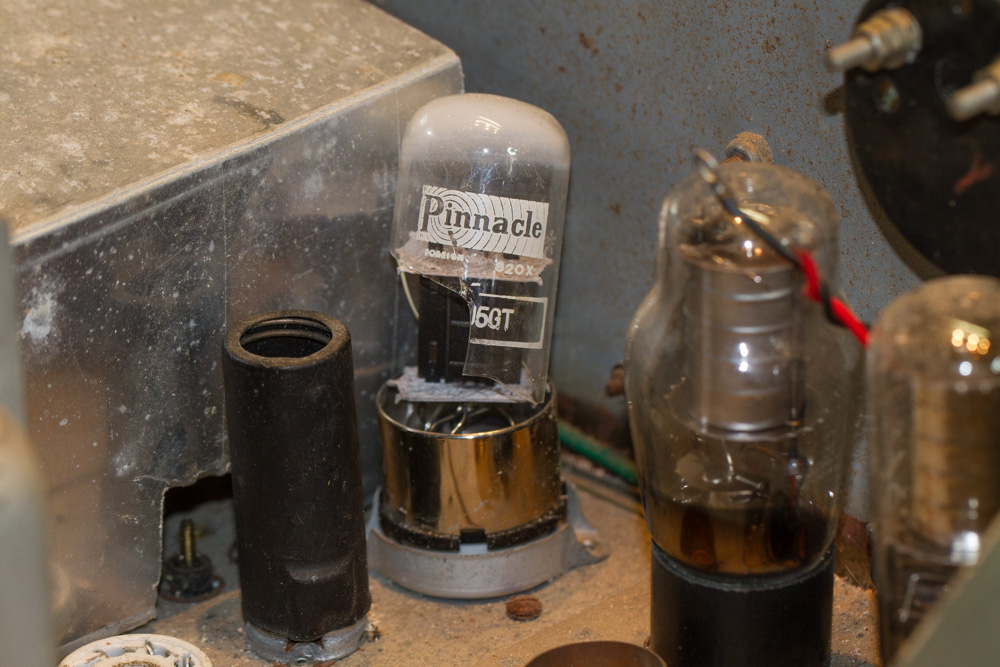
The nuts on the back of the meter can be removed using a 5mm nut driver and then the meter should just pull out from the hole in the front panel, make sure that you place this somewhere safe so that it does not get damaged.
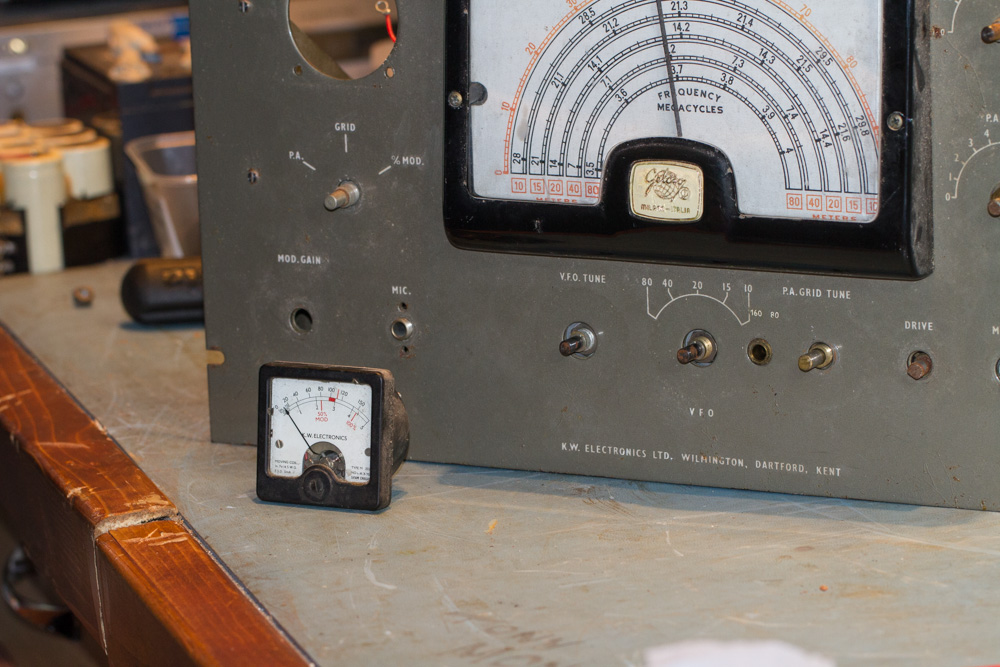
Now for the next part, The KW Vanguard’s Main VFO Dial!
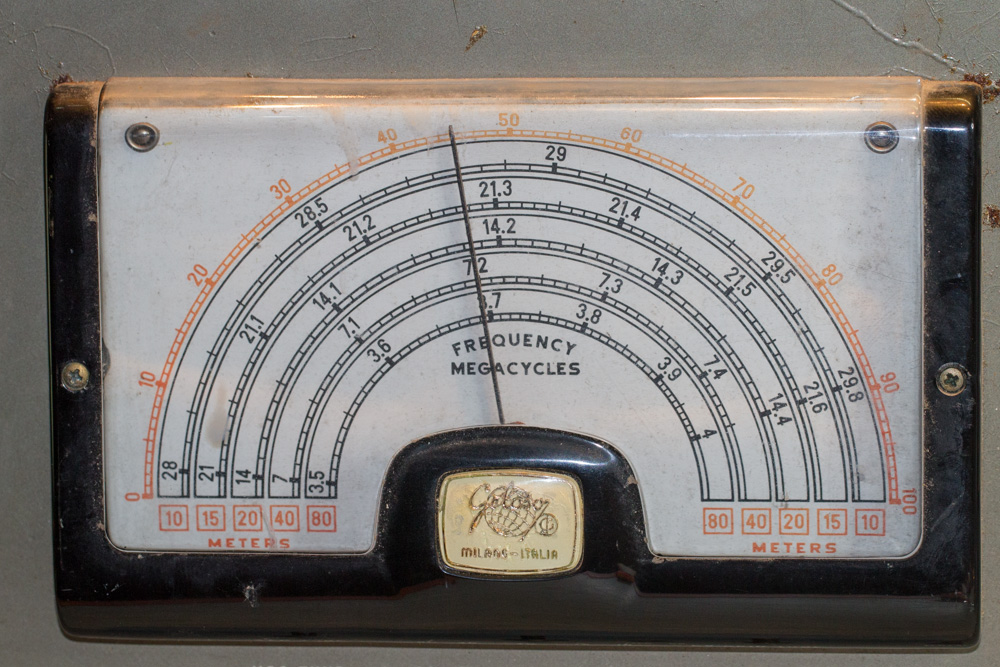
We need to be very careful here as I doubt that it will be easy to get a new VFO Dial for any KW Vanguard or any other radio that KW Electronics used these VFO’s in anytime soon. Very carefully remove the two nuts that hold the plastic VFO Display cover to the front panel and put them somewhere safe.
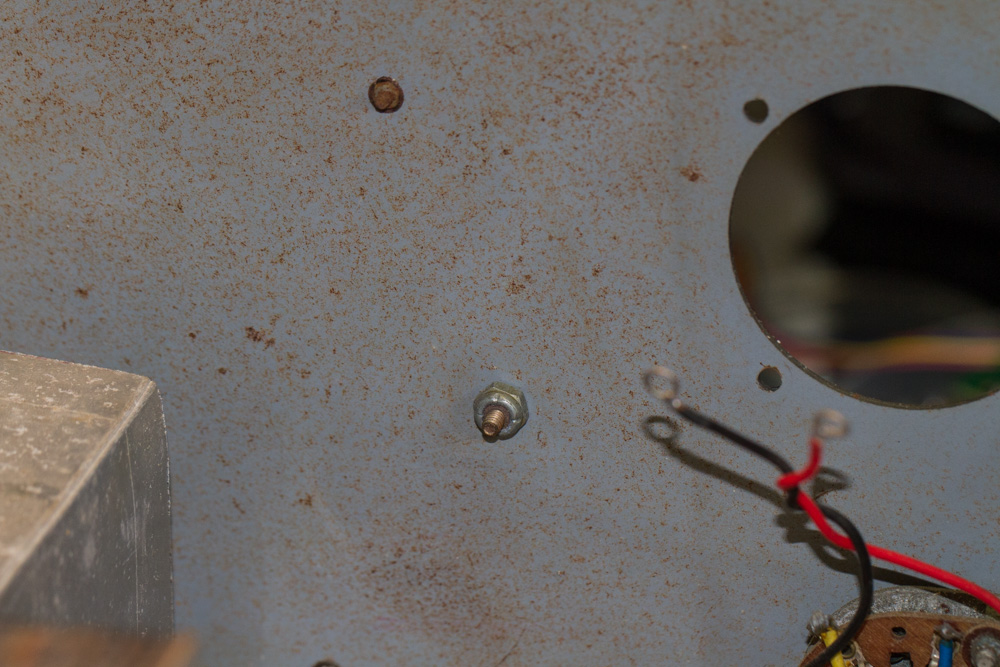
Next remove the the 4 small screws at each corner of the meter card, to do this you will need to use a pair of long nosed pliers on the small nuts at the rear of the front panel, the two on the left hand side (looking at the front panel) should be quite easy to remove, but the other two are a slight bit awkward to reach, but they should not pose to much of a problem, just make sure that if you drop any washers or nuts, that you remember to pick them up before proceeding.
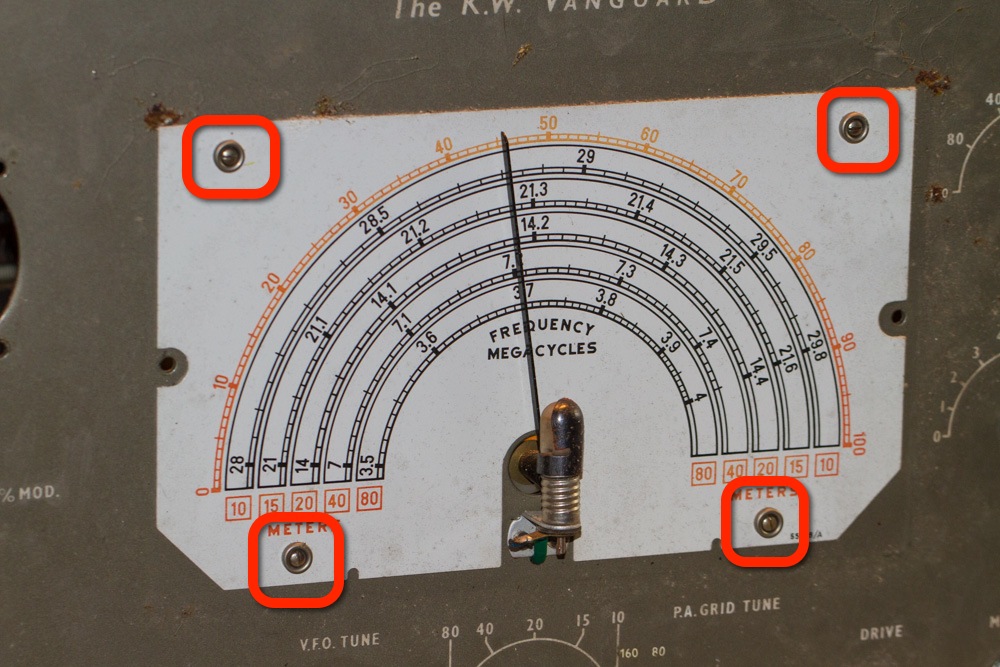
Now remove the Display card and place somewhere safe, again this would be a problem to replace, even though I have found printable versions of the Geloso Dials on the internet so if these are damaged you should be able to get something made up. Download Replacement dials from here:
Just in case the above website is down I have a copy of the scales on my Download Links back on the KW Vanguard ‘Project Overview page’.
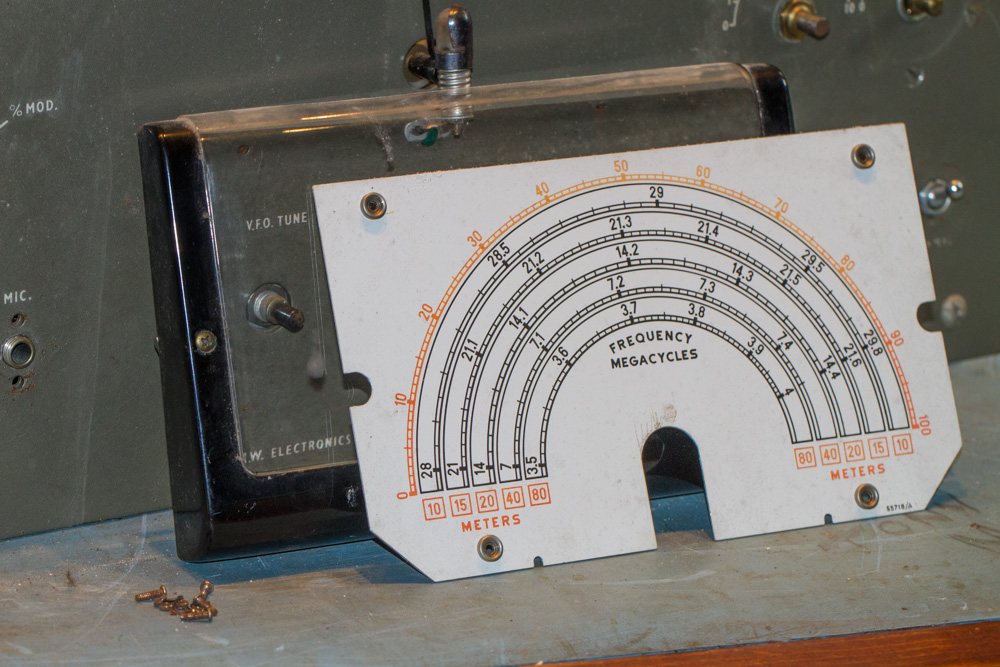
OK, Starting off where we left off with the display, we need to remove the lamp unit…
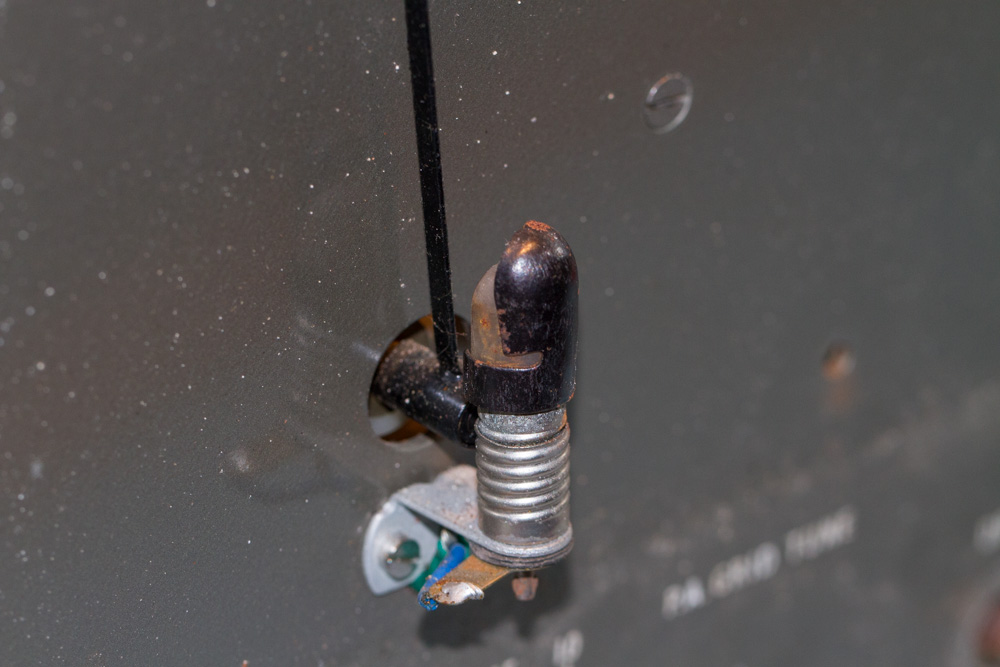
The cover fitted onto the build should lift of without too much effort, if need be rotate it as you pull this off to make sure that it comes off without breaking the build itself.
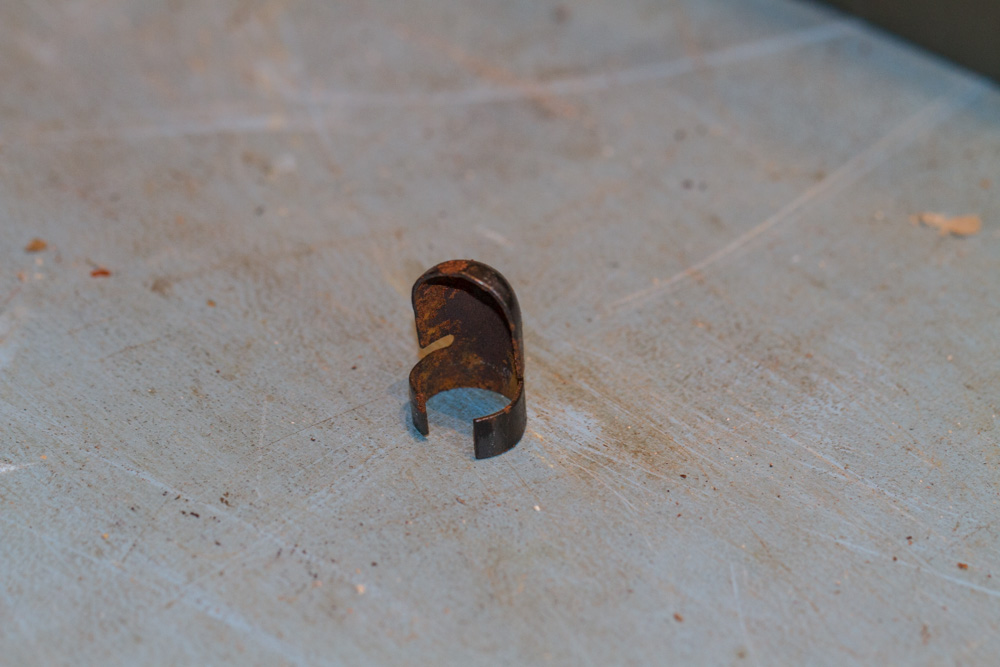
Once the cover is removed you will see the bulb itself (Philips 6.5v 150mA MES tubular lamp). This should hopefully unscrew, I will not test this yet to see if it is alright, as David (M0CEM) mentioned that he was thinking of using a LED on his version and this sounded like a good idea, so I may go down the same route.
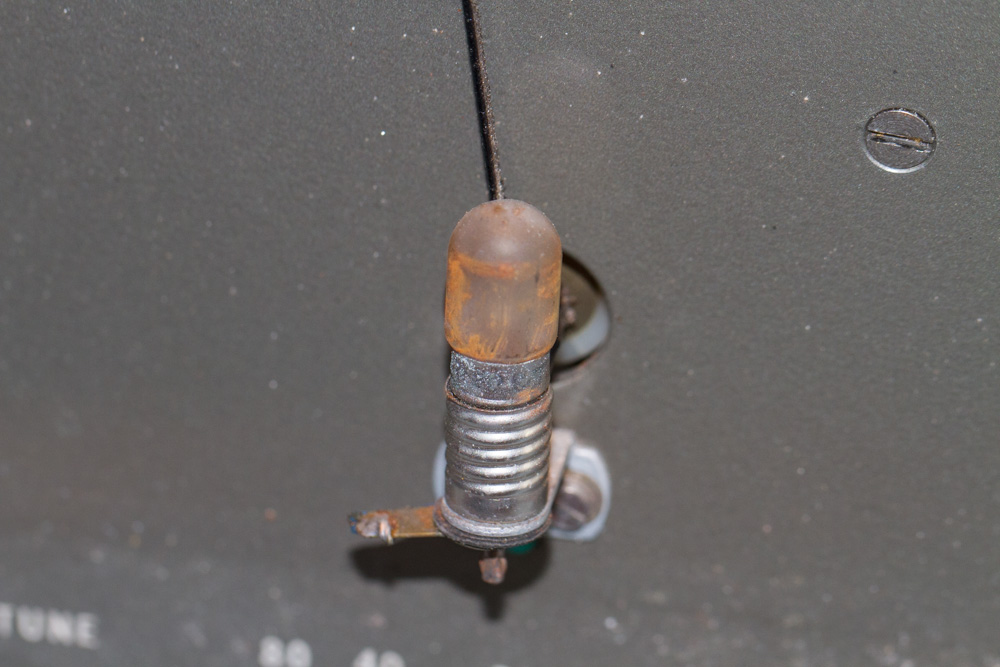
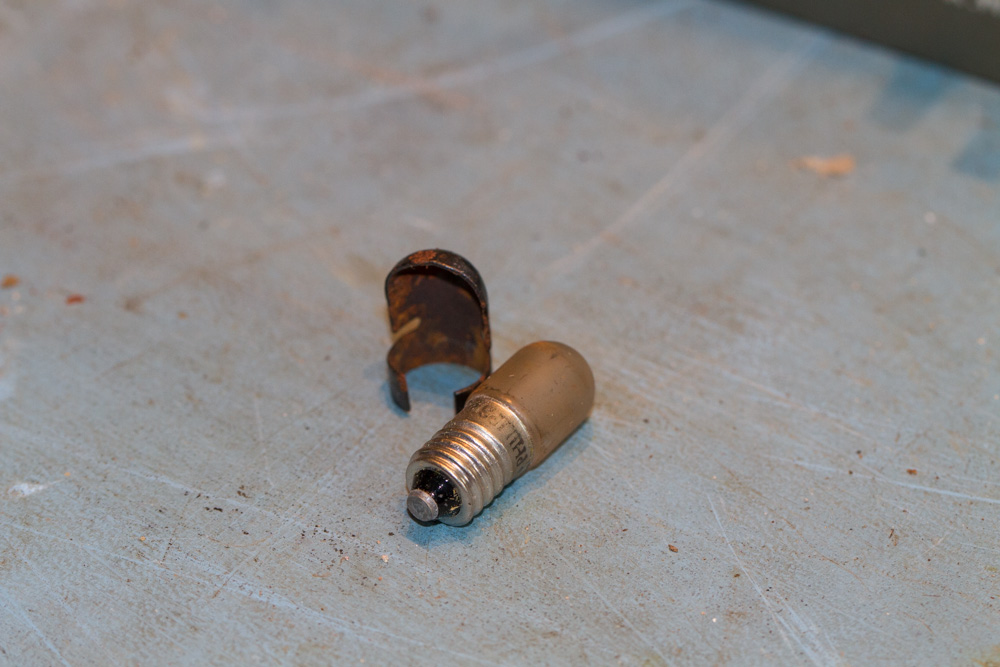
The lamp holder is held to the face plate with two screws.
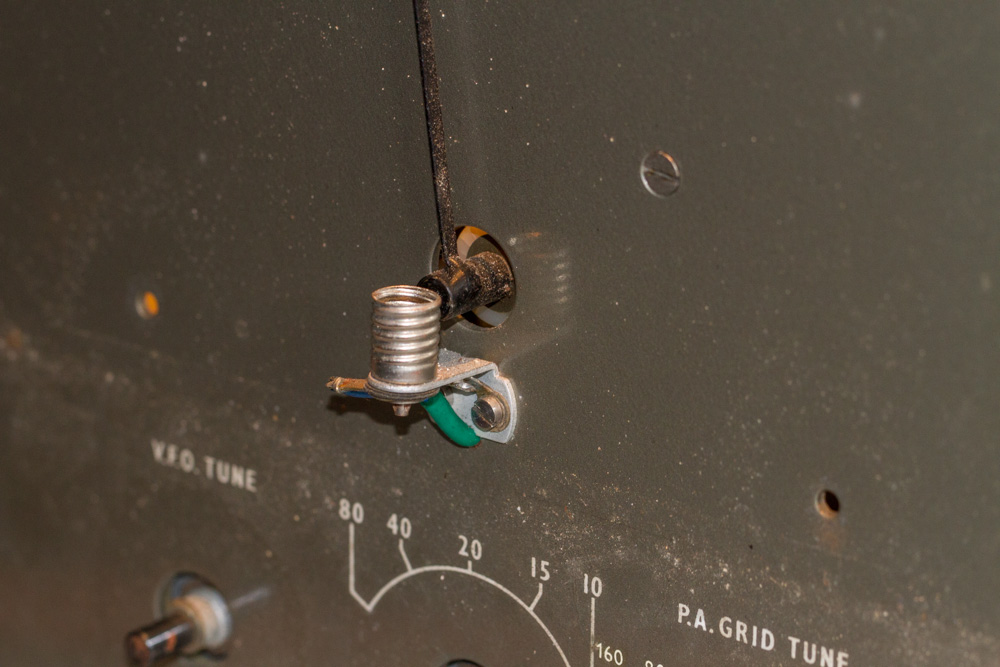
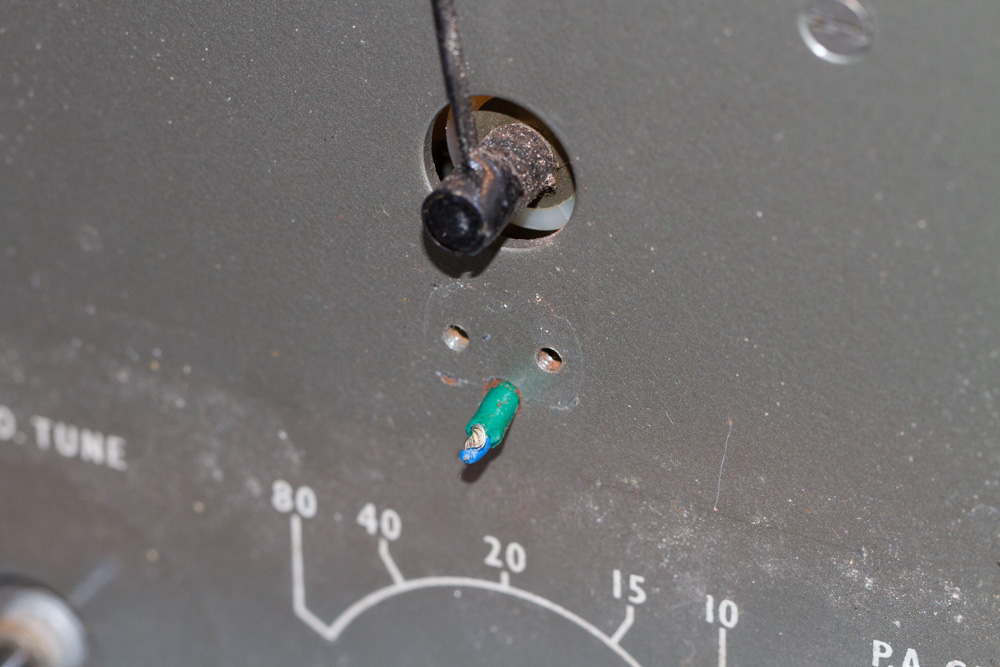
I removed the right hand screw which was being used as a ground connection for the lamp, the other connection can be cut as the wire will be replaced with new anyway at a later date.
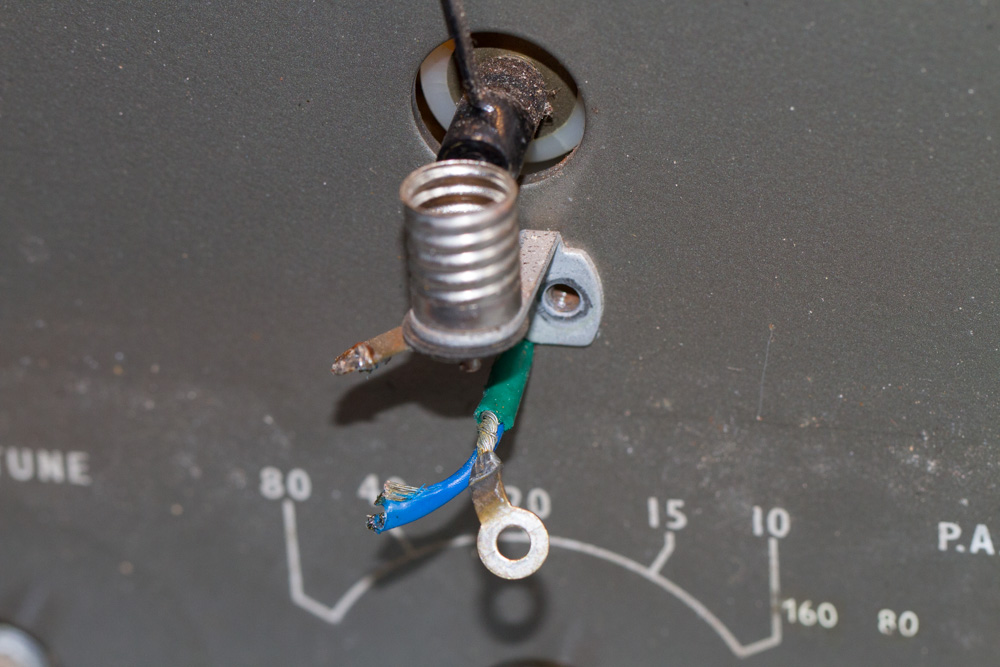
Once the left hand screw is removed the lamp holder and it screws can be placed into a box ready for reassembly.
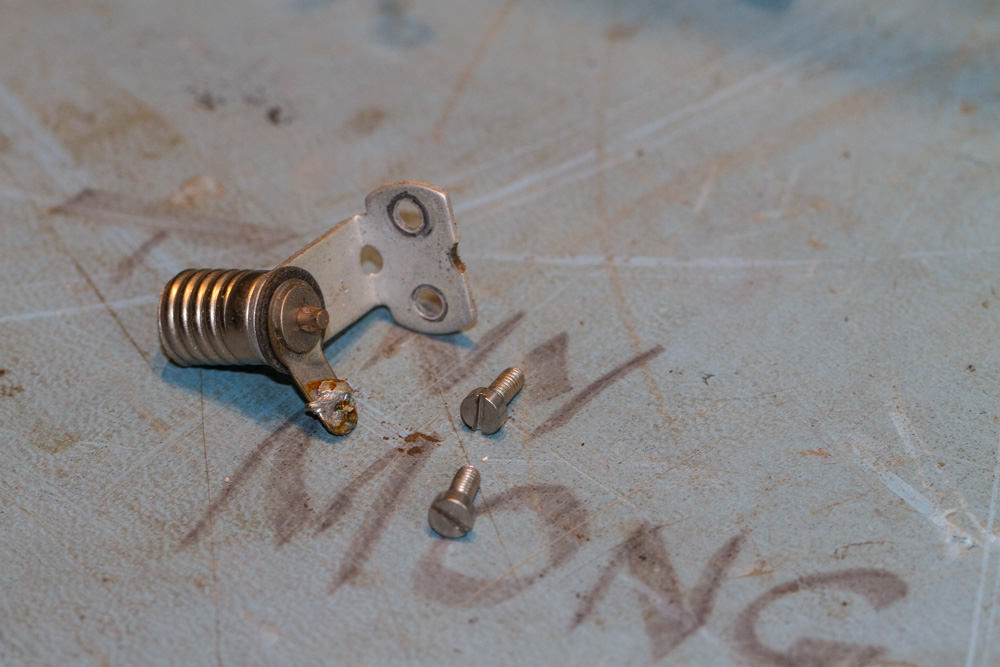
The ends of the wire is cut short so that it can be pulled through the face plate when it is removed.
Last Updated : 31st July 2024

