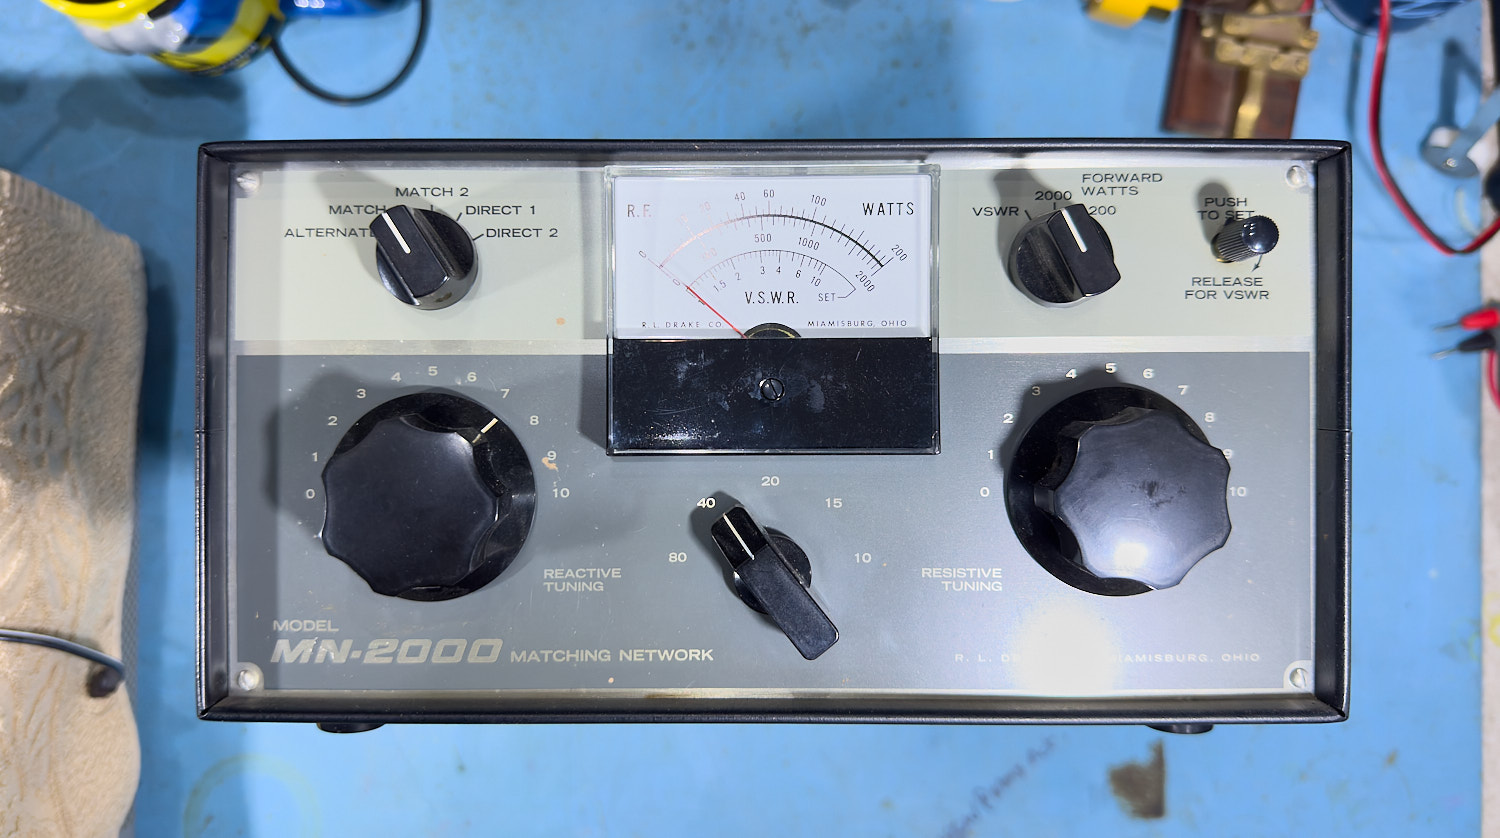
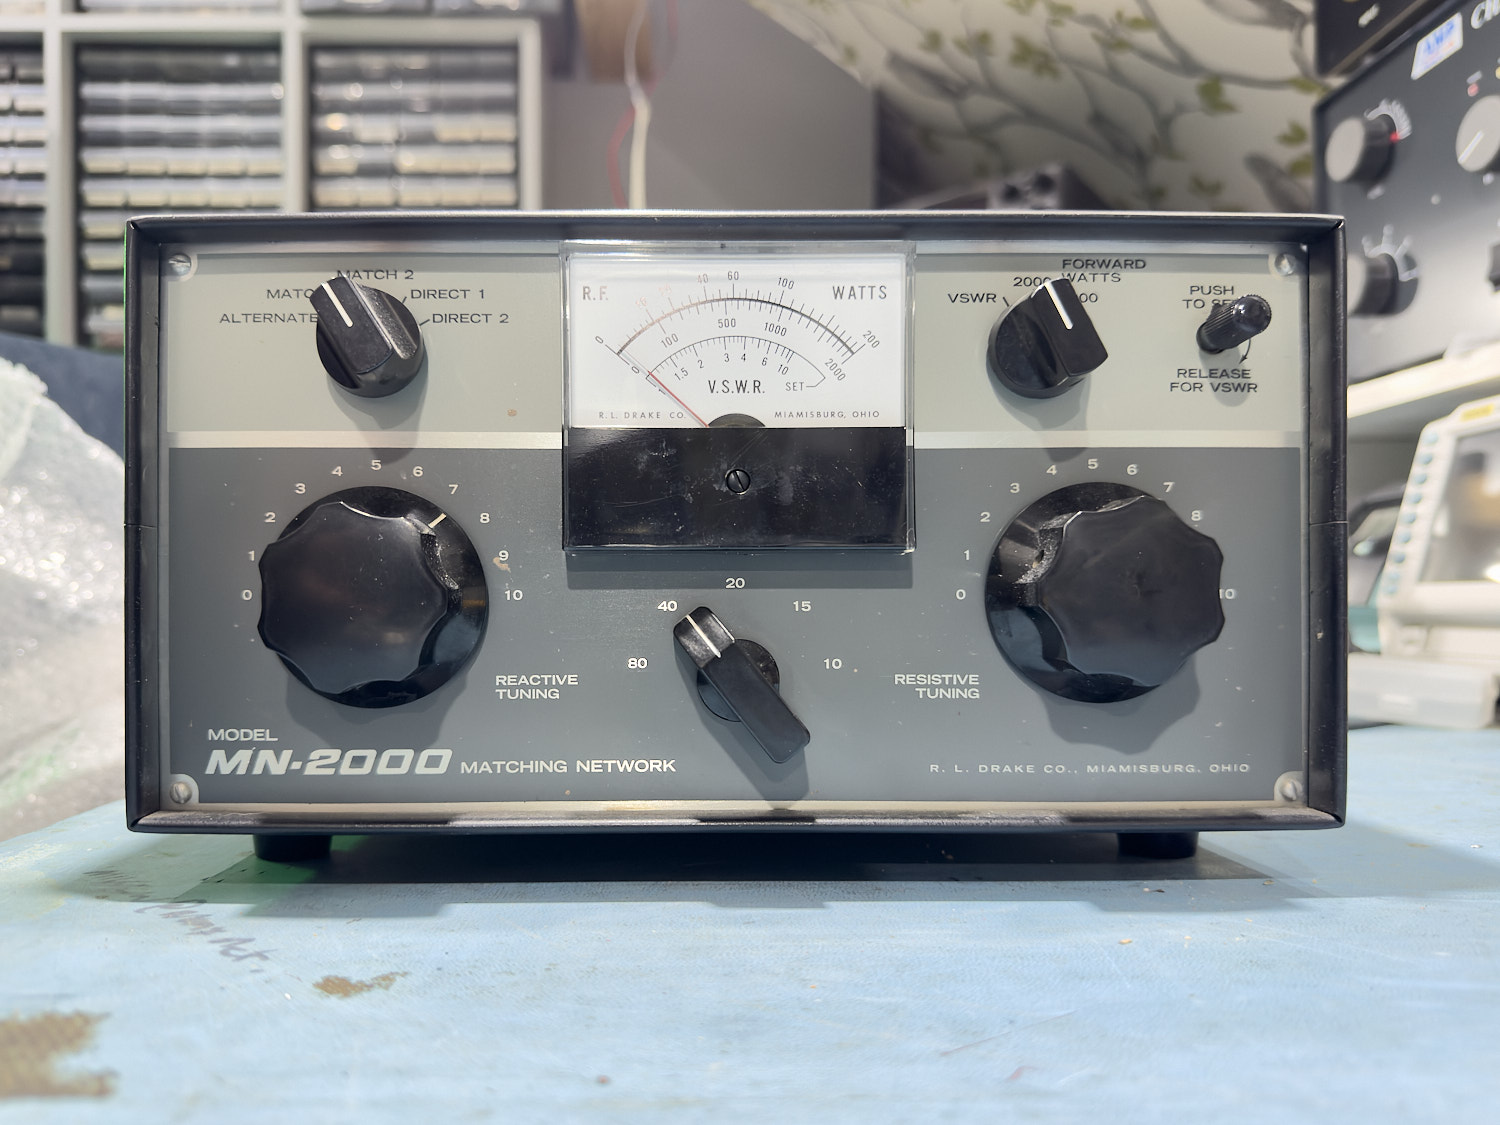
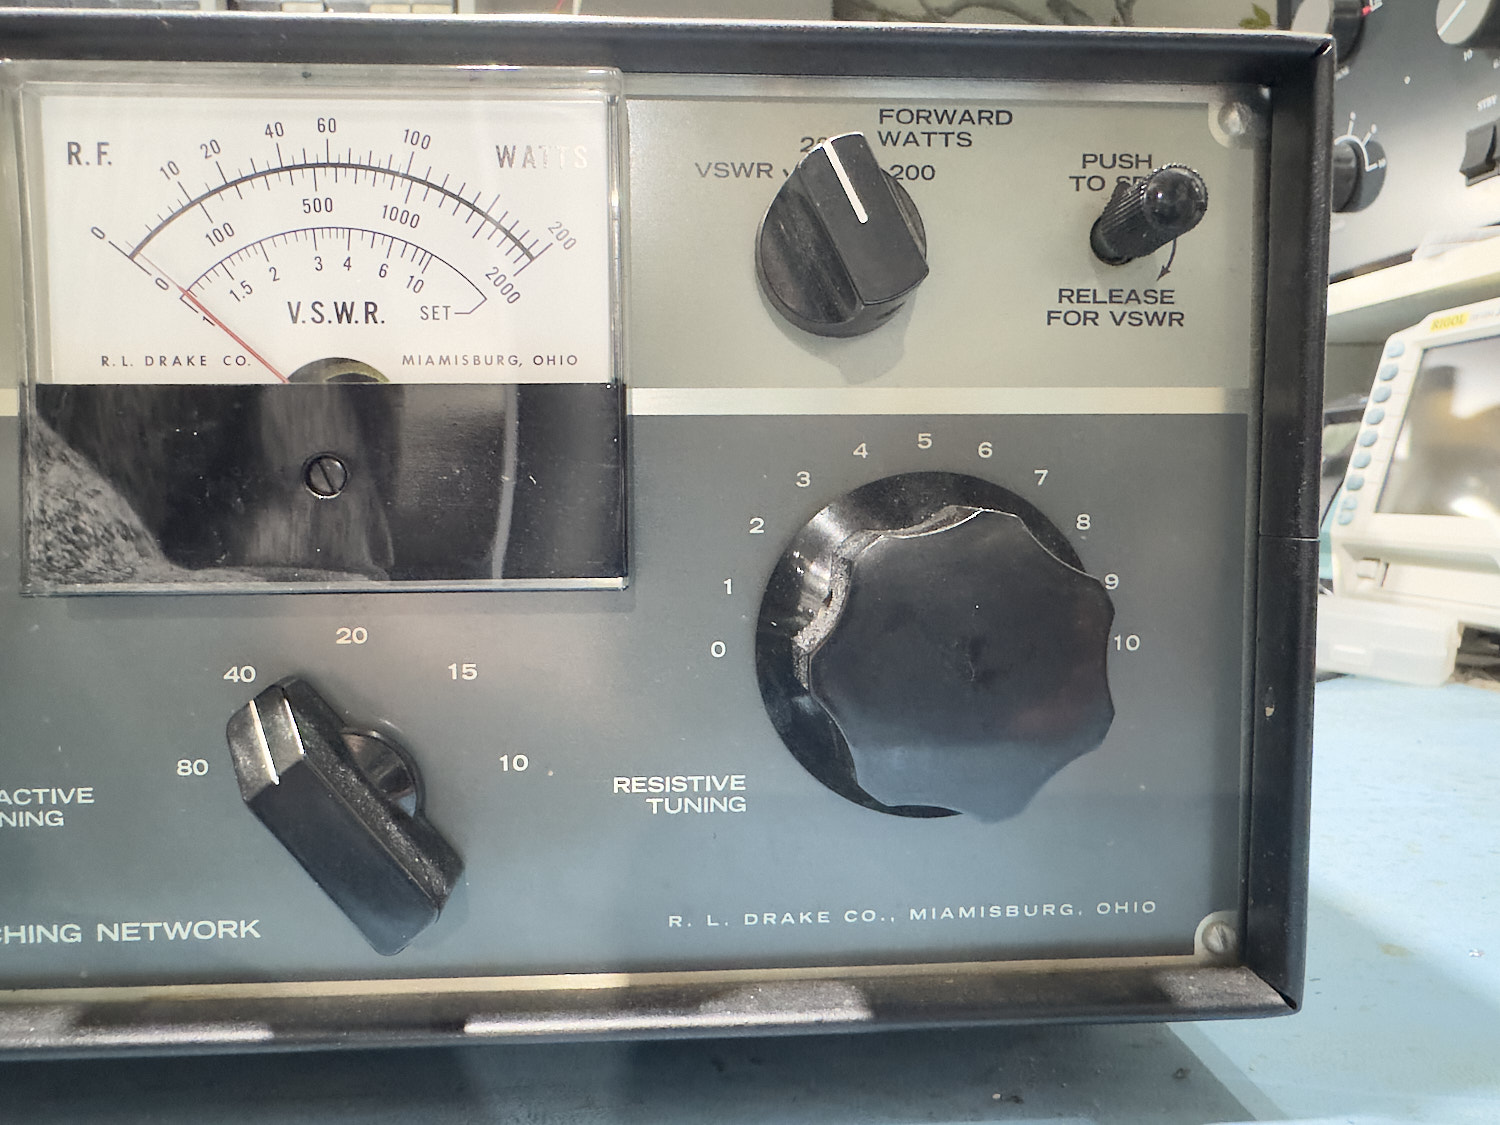
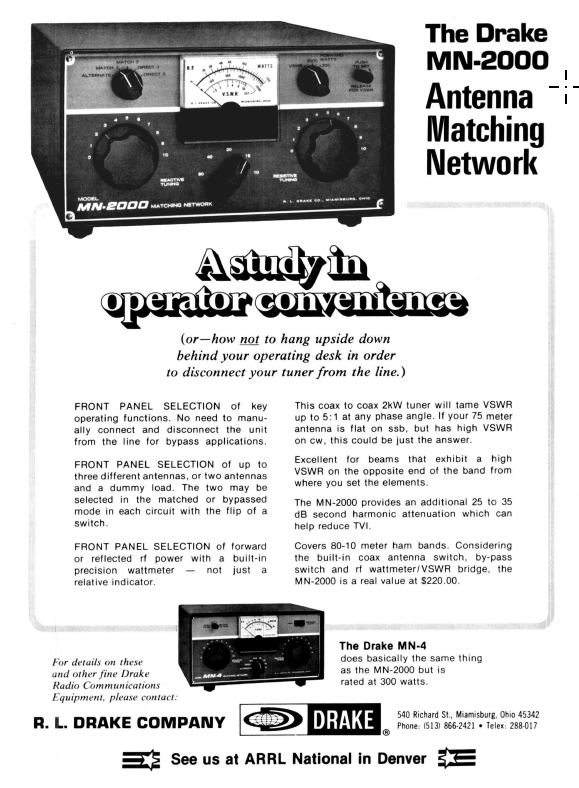
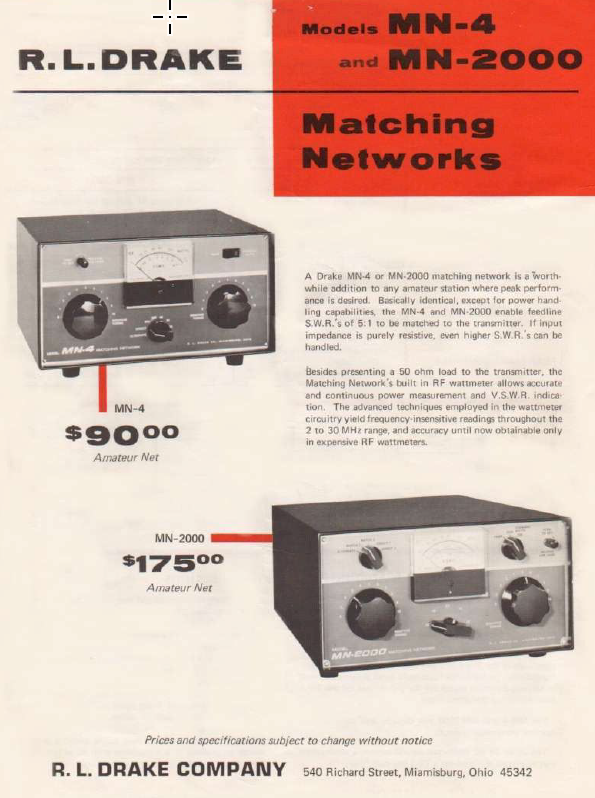
Anyone that knows me will be aware that I have a rather large Drake Radio collection, but there have always been a few things that I have been missing, and one of these parts has been the Drake MN-2000 Antenna Matching Network or more commonly known as an ATU.
One of the problems living on an island means that it is practically impossible to find anything descent let alone anything Drake; full stop, even finding one on eBay in the UK, I would be bloody lucky to find anything in good condition, this though is pretty near to being mint, yes it has a few marks on it, but it is basically in great condition, and I know that I am dam lucky to get hold of one and especially this side of the pond, i.e. without having to source one from the USA.
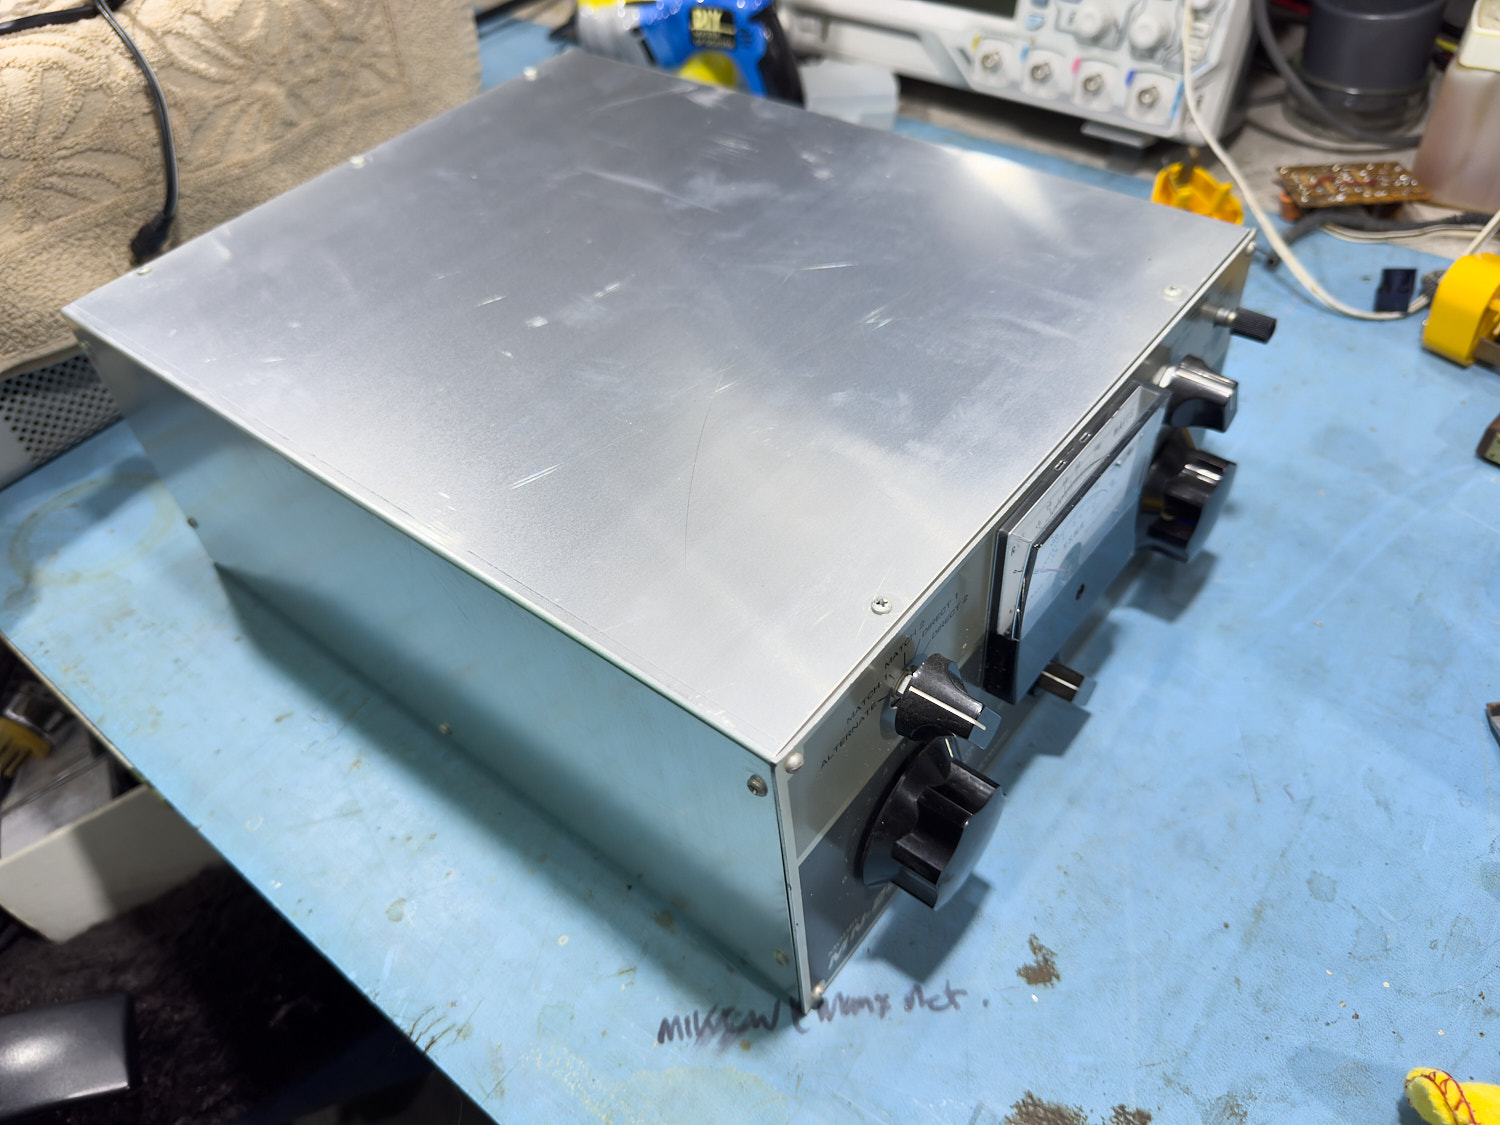
A 'Very' descent example of the Drake MN-2000 Antenna Matching Network, aka ATU.
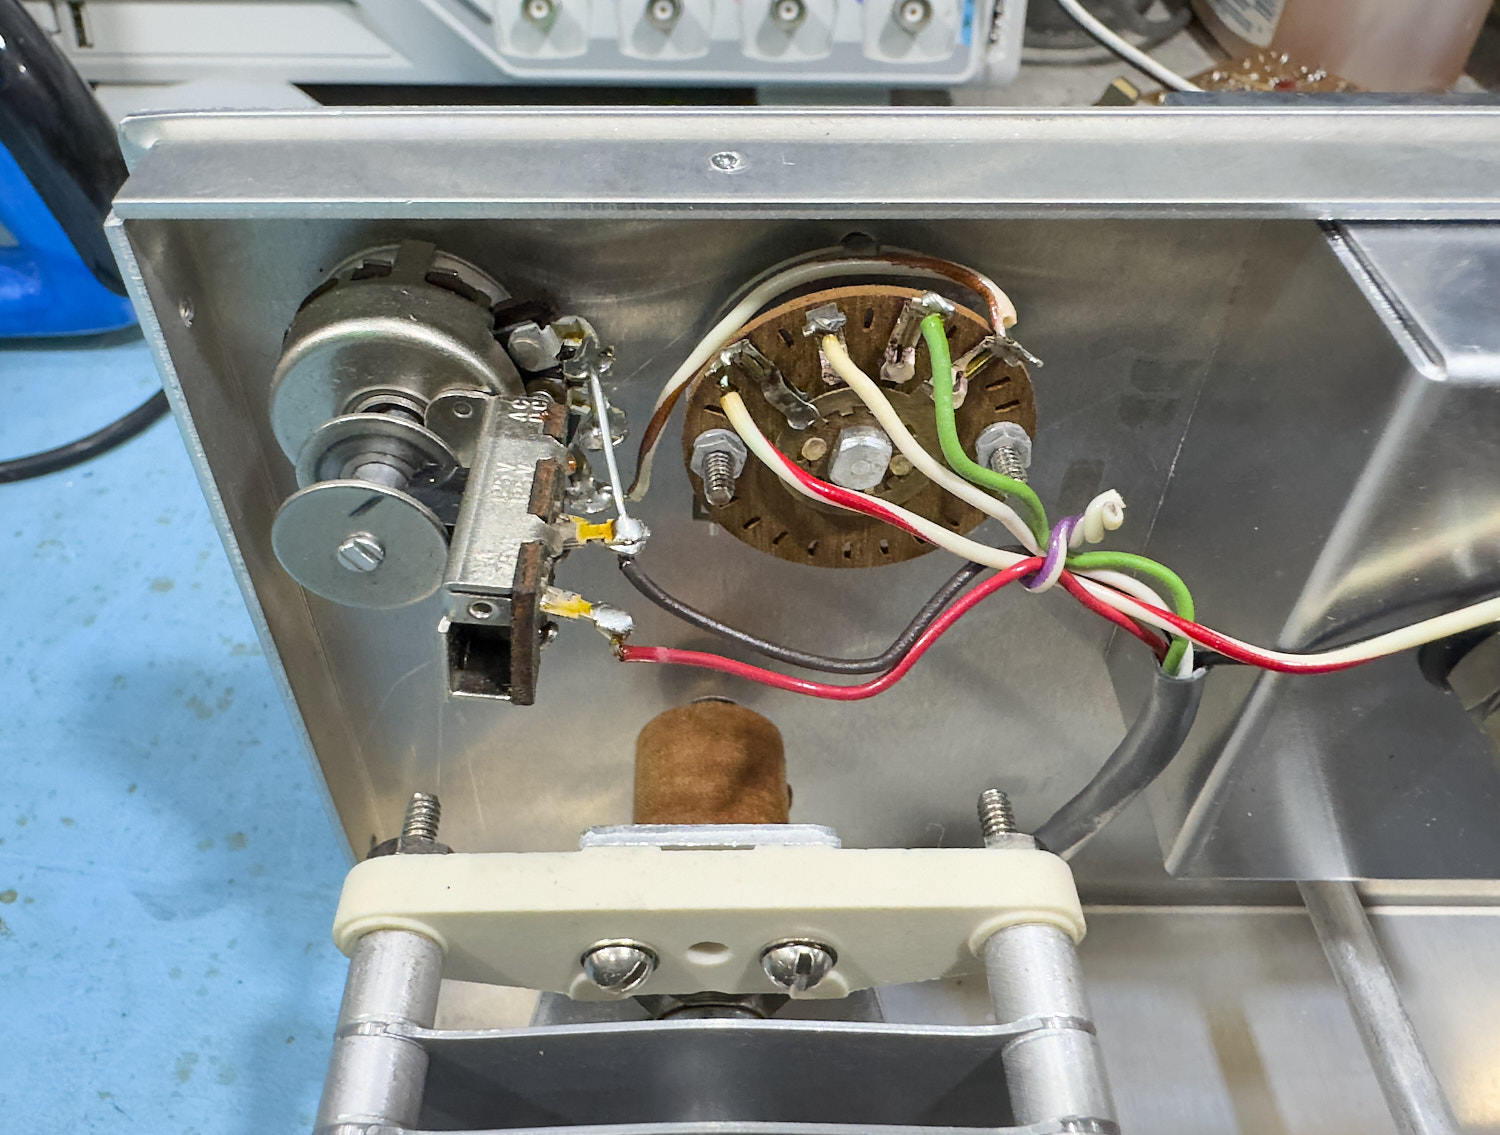
Now Yes this is a very good example of this model of ATU, and I need to admit something here, I do know that there is a very small problem with this particular one, and that is that it has a small problem that I am hoping will be quite easy to fix, the mounting for one or more of the inductors seem to be broken, which means that I need to get inside this to evaluate the problem and work out just how big a problem this will be.
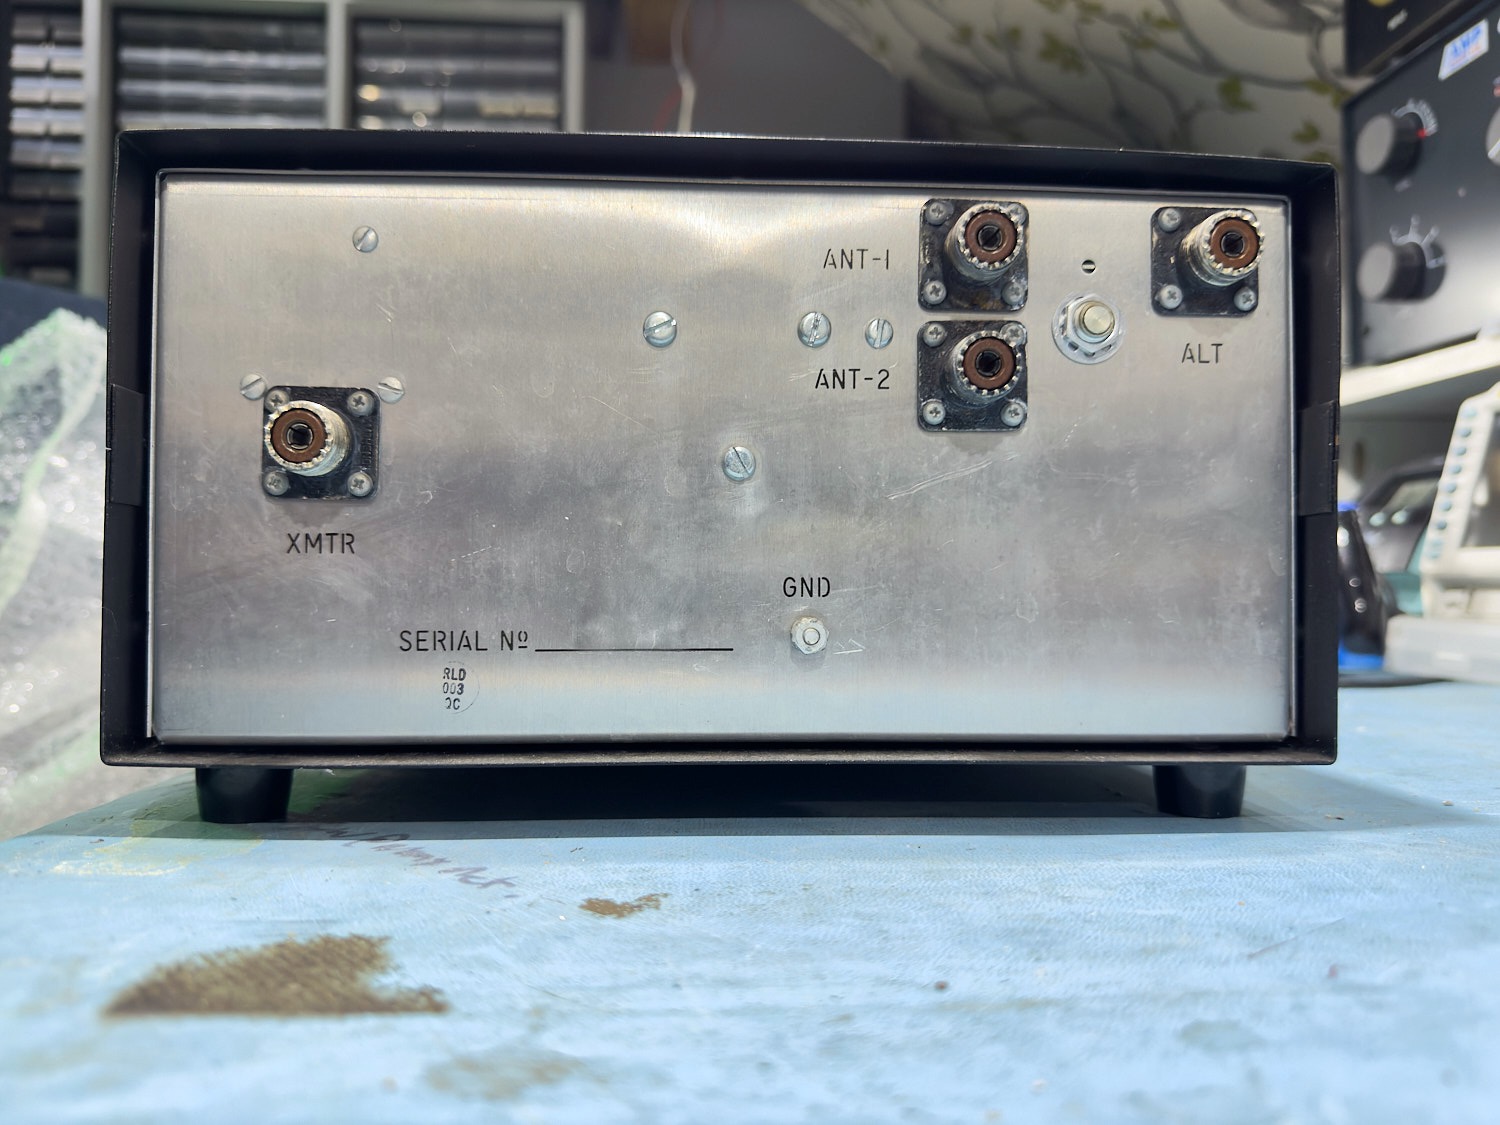
A quick look at the rear of the Drake MN-2000 ATU.
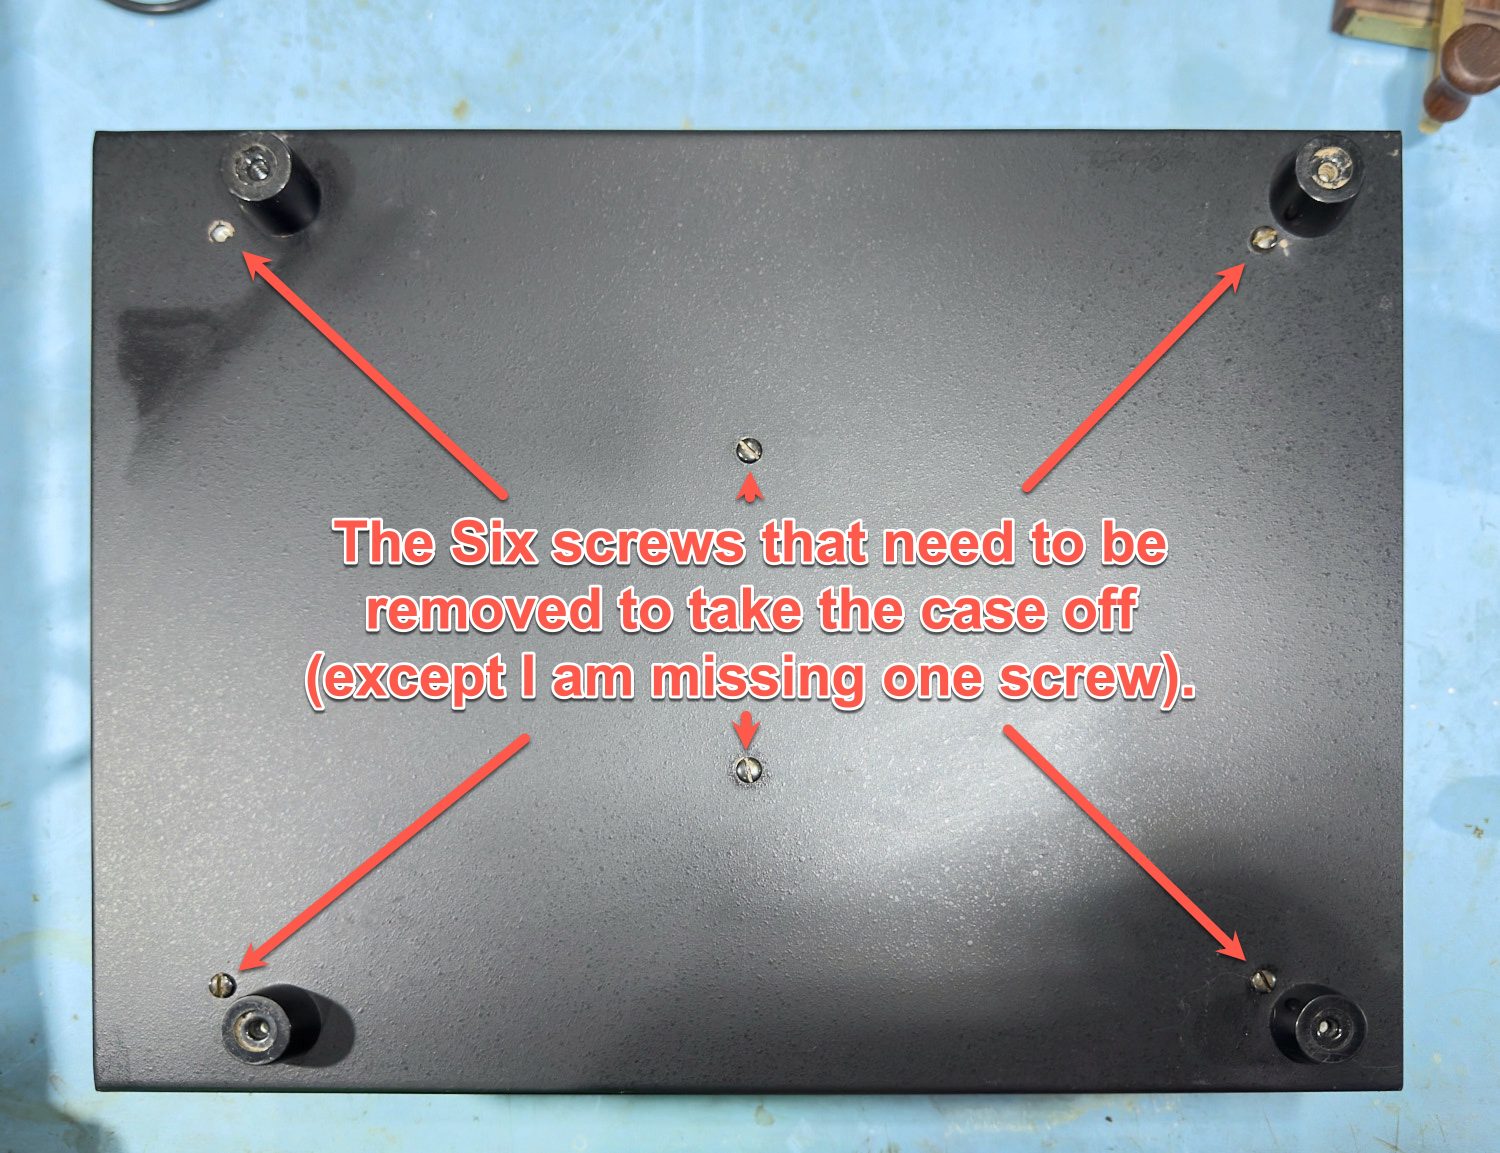
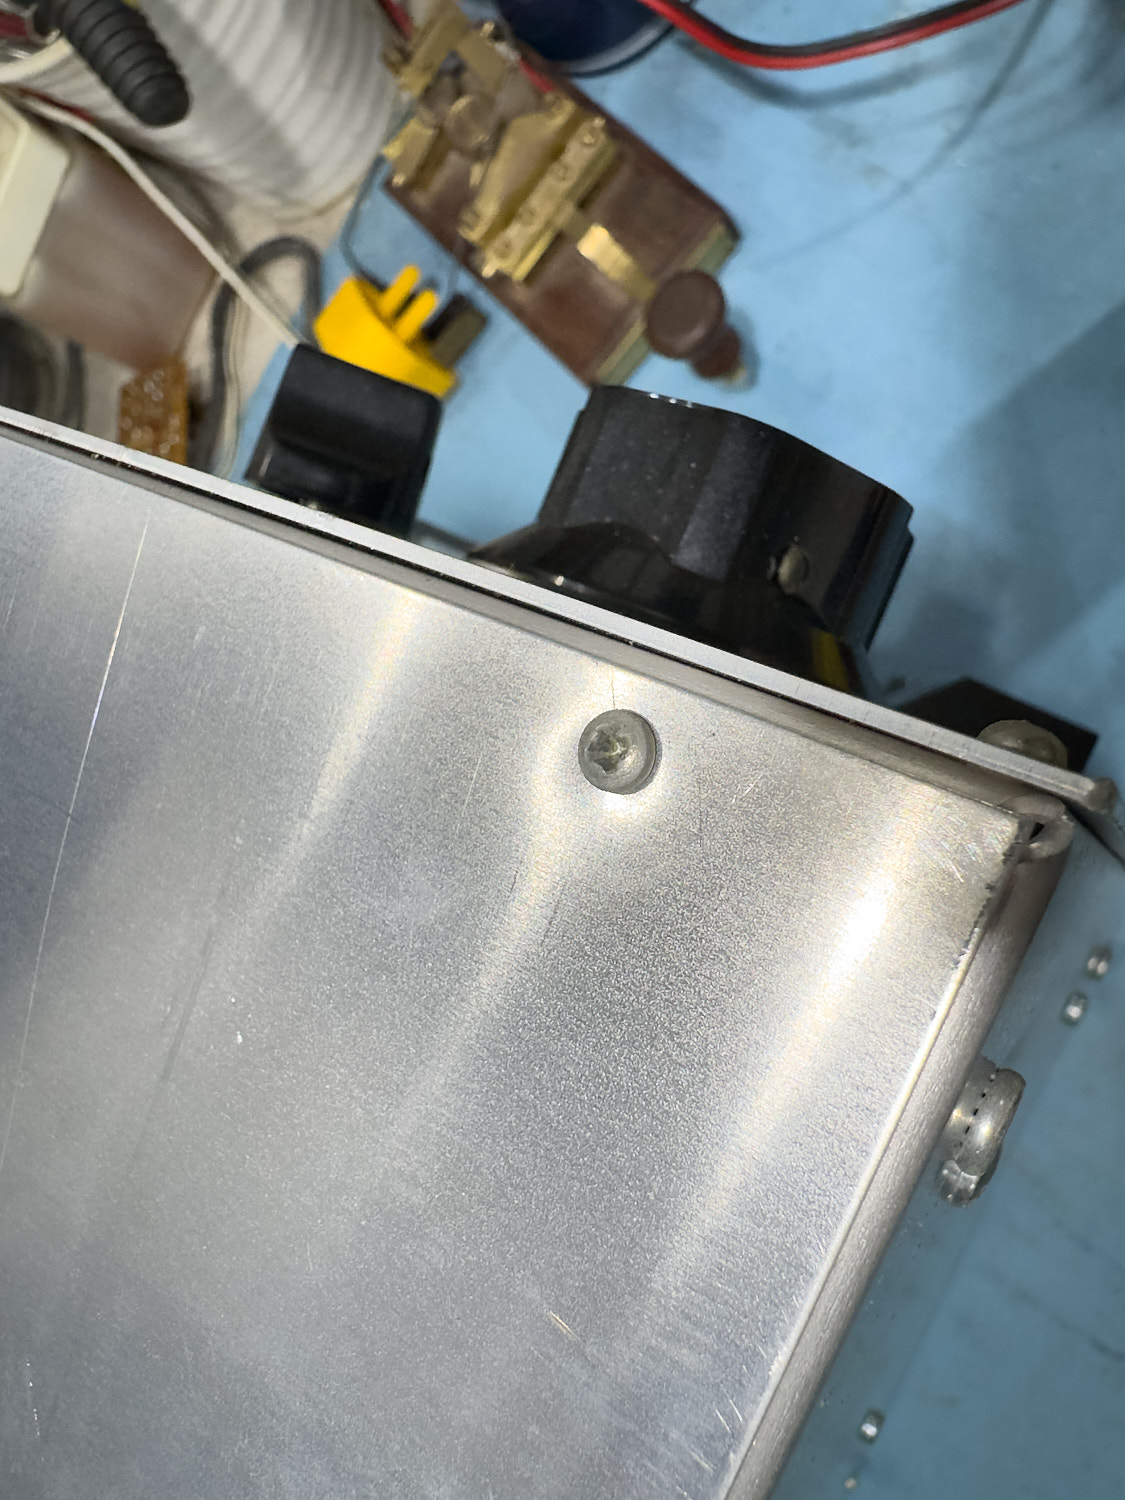
So, I need to get into this box to see what needs to be fixed and to do this I will need to remove the 6 screws from the underside of the outer case. In this nice example the first item that I need to sort out is the missing case screw although this can wait until of course until I have worked out what else I will need for this repair/restoration.
There are 6 screws that you need to remove from the underside to remove the case.
With the 6 screws removed the inner chassis can be gently dropped out of the outer case, I made sure that this was done as gently as possible so that the inner chassis was not scratched or damaged in any way.
The Inner chassis of the Drake MN-2000 ATU is very well shielded.
There are 5 screws on each of the 3 sides that need to be removed to get the lid off this part of the chassis, but in true annoying fashion, I managed to remove all the screws fine, except for 1, and it was going so well up until then.
Typical - One annoyingly rounded off screw.
I had to go through my entire Phillips screwdriver collection before I found one that had a snug fit which thankfully worked, and the outer case was then removed.
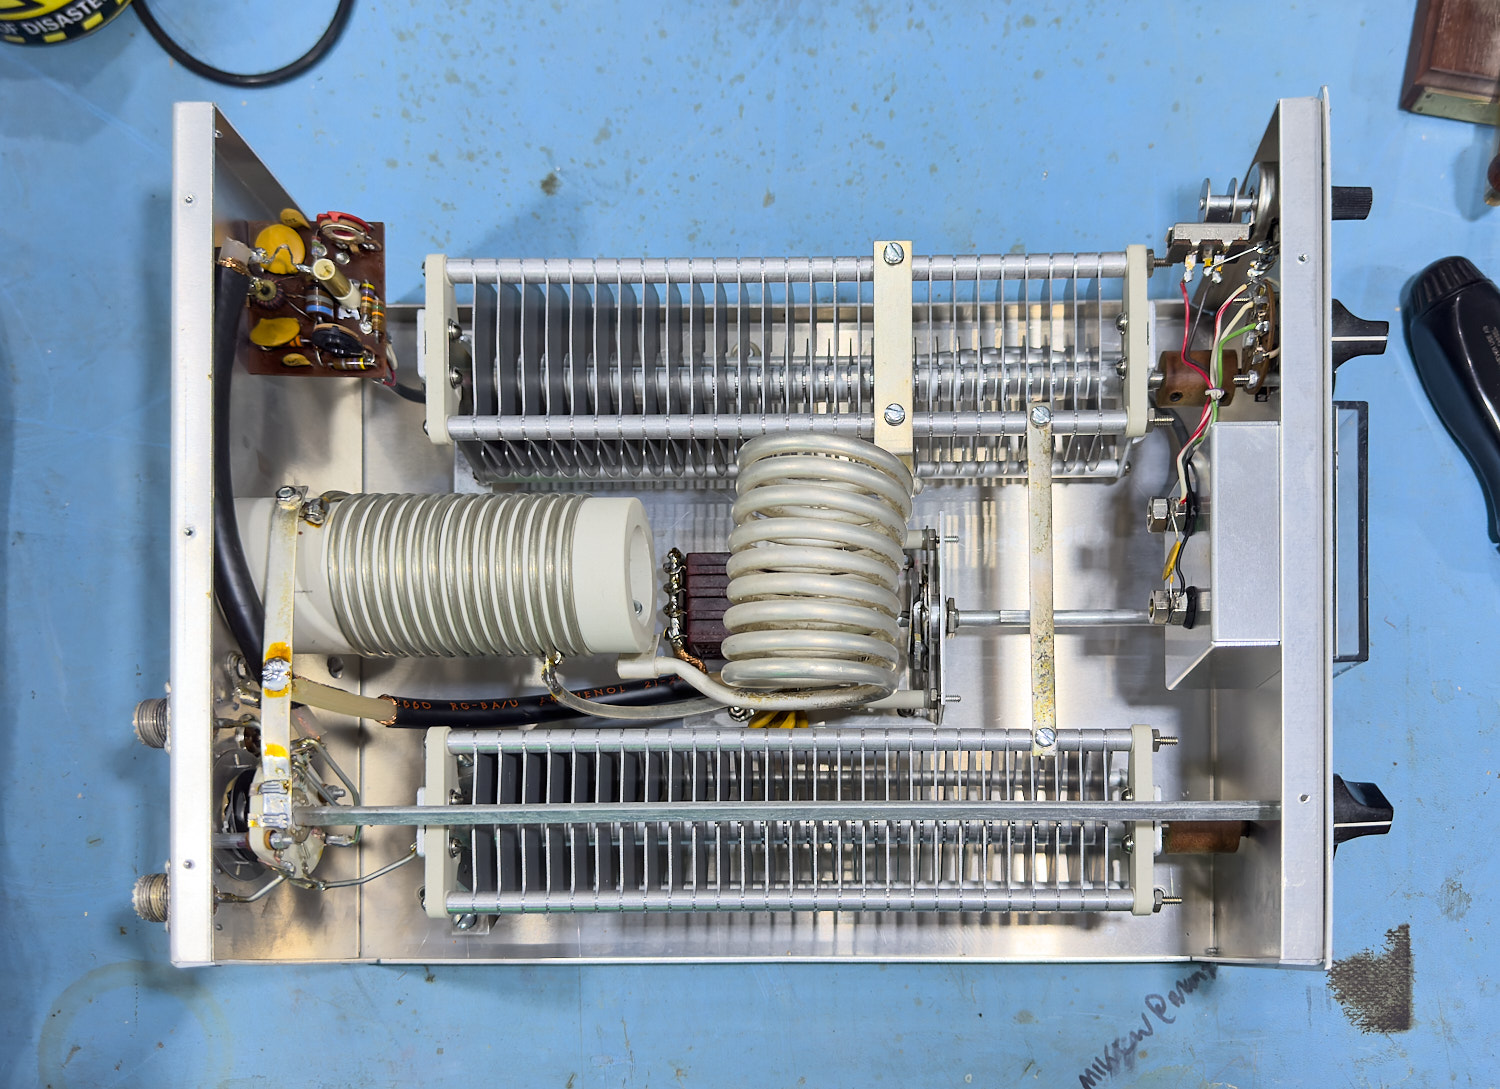
My First look of the inside of the Drake MN-2000 ATU.
Well, it sure is a very pretty ATU, I gave it a quick Glance over the entire unit, gave it the mandatory shake, looked for any bits floating around the inside, but as yet I found nothing that was out of the ordinary, so a closer look around was needed.
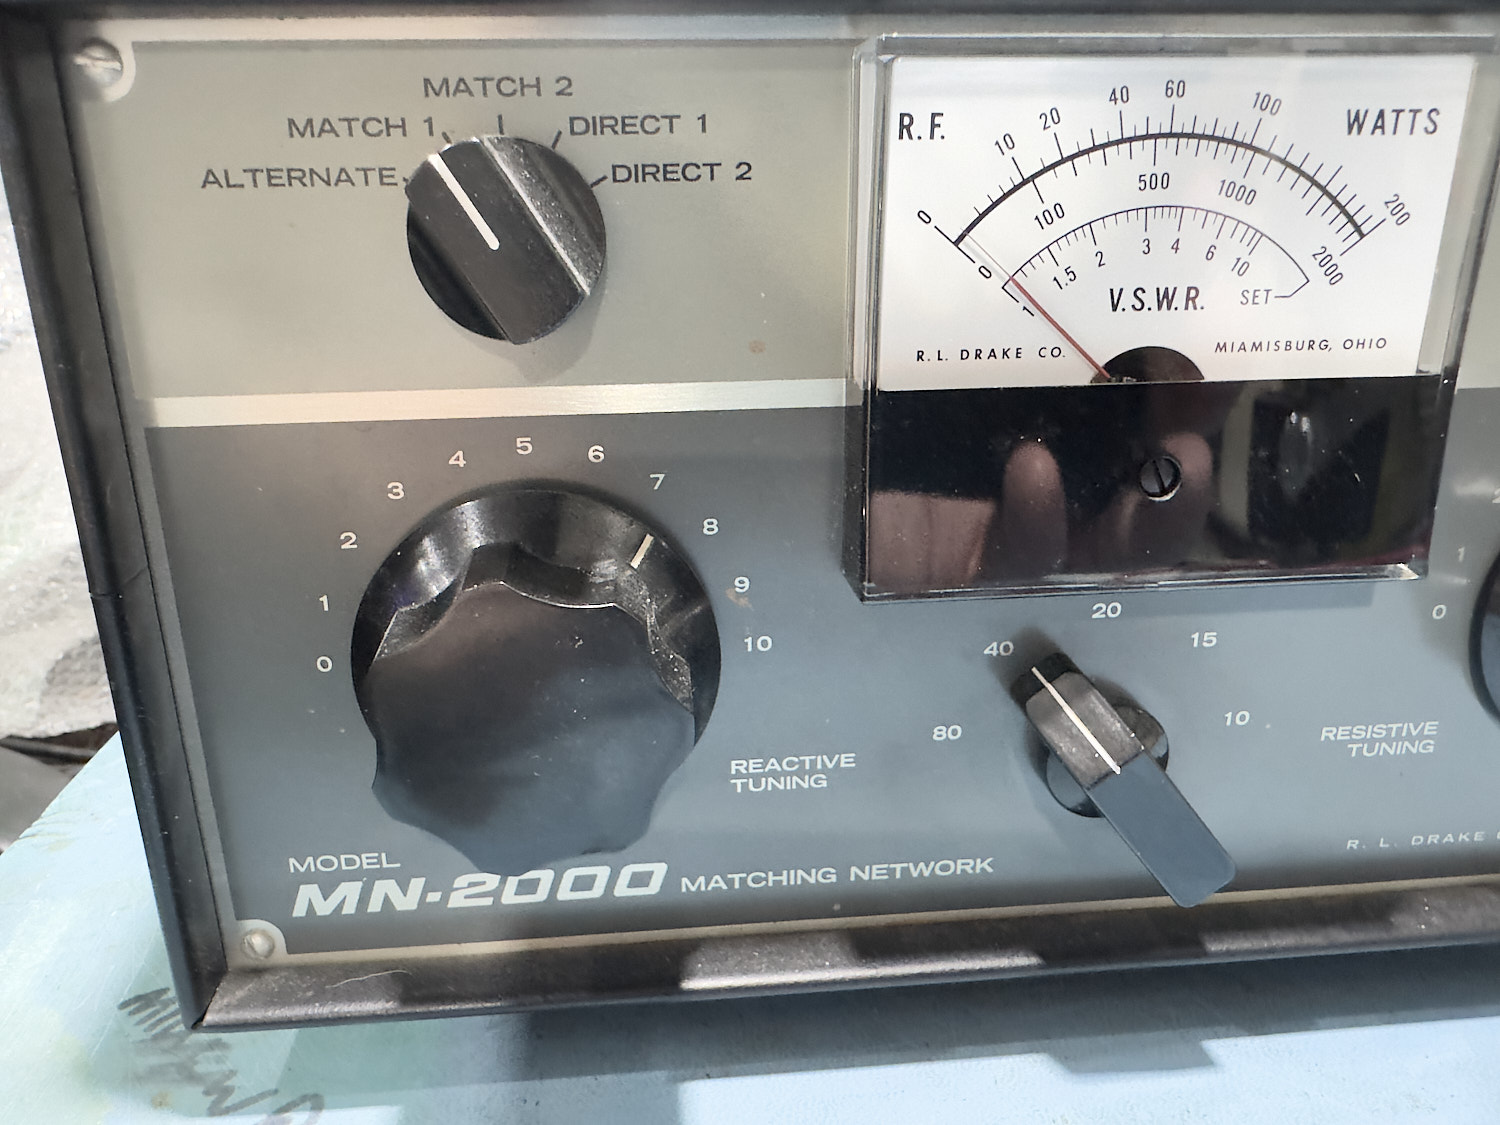
The ‘Alternate’, ‘Match’ and ‘Direct’ Switch.
The 'Alternate', 'Match' and 'Direct' Switch.
I decided to look at each element one at a time, giving each part a little shack to see if anything was loose or moved but at this early point nothing was found so I moved onto the next part.
The Inside of the Front Panel.
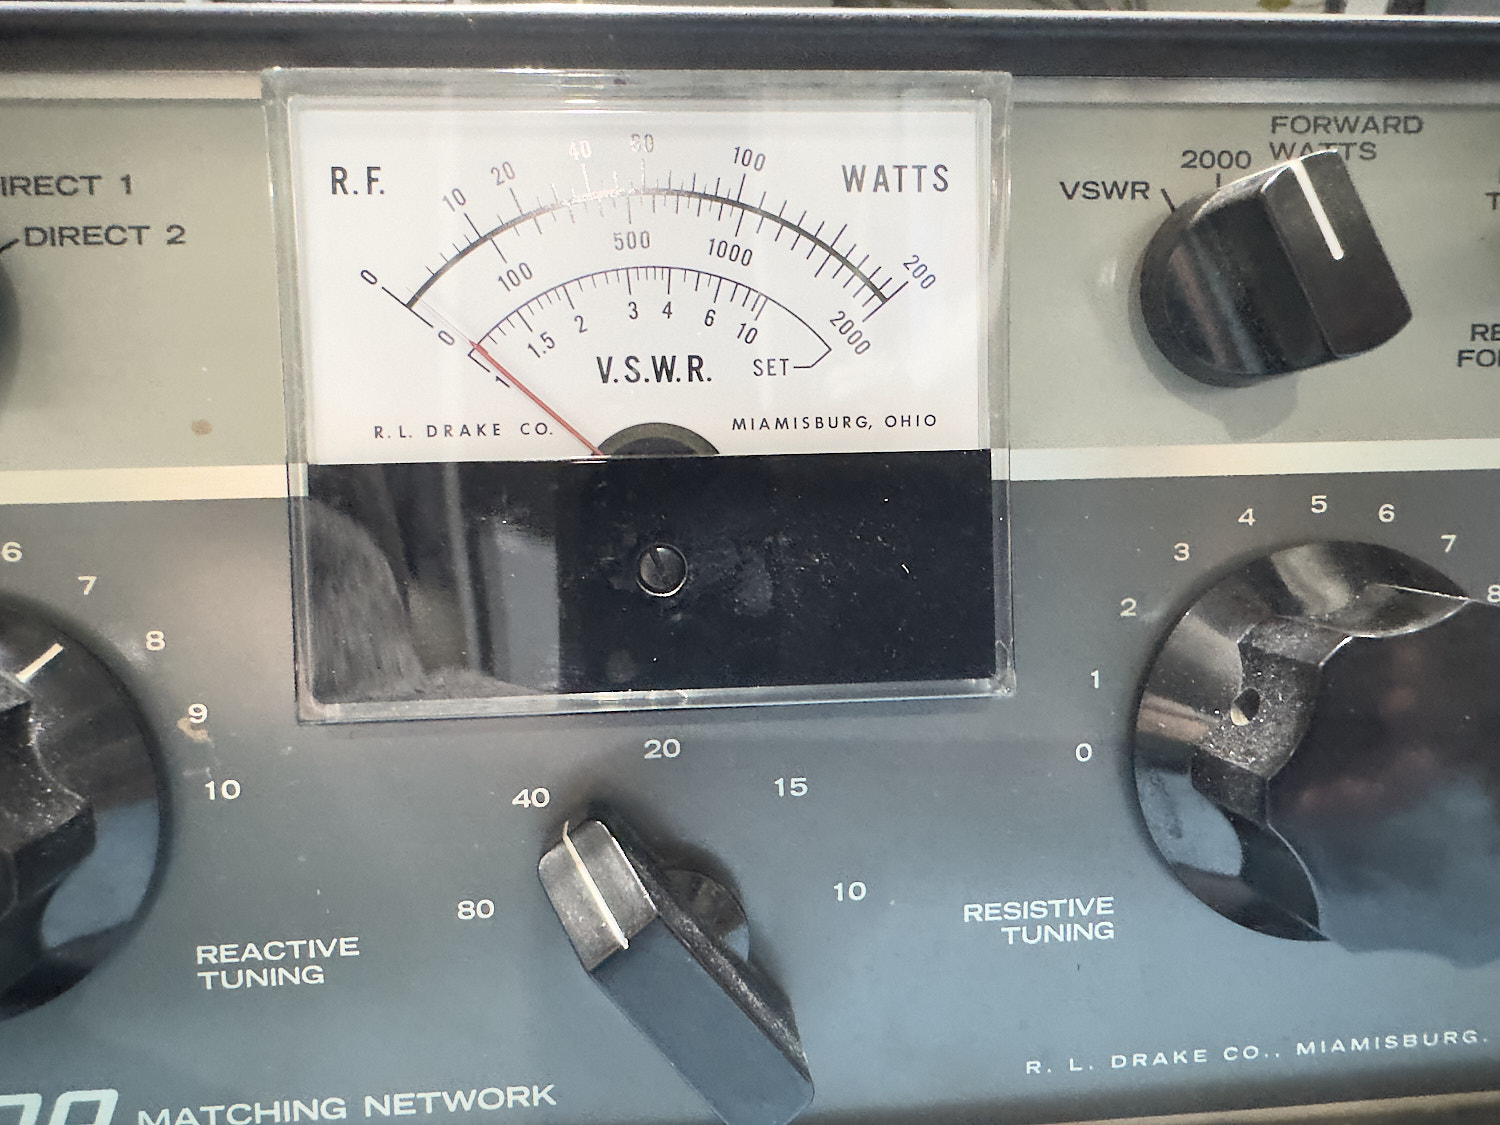
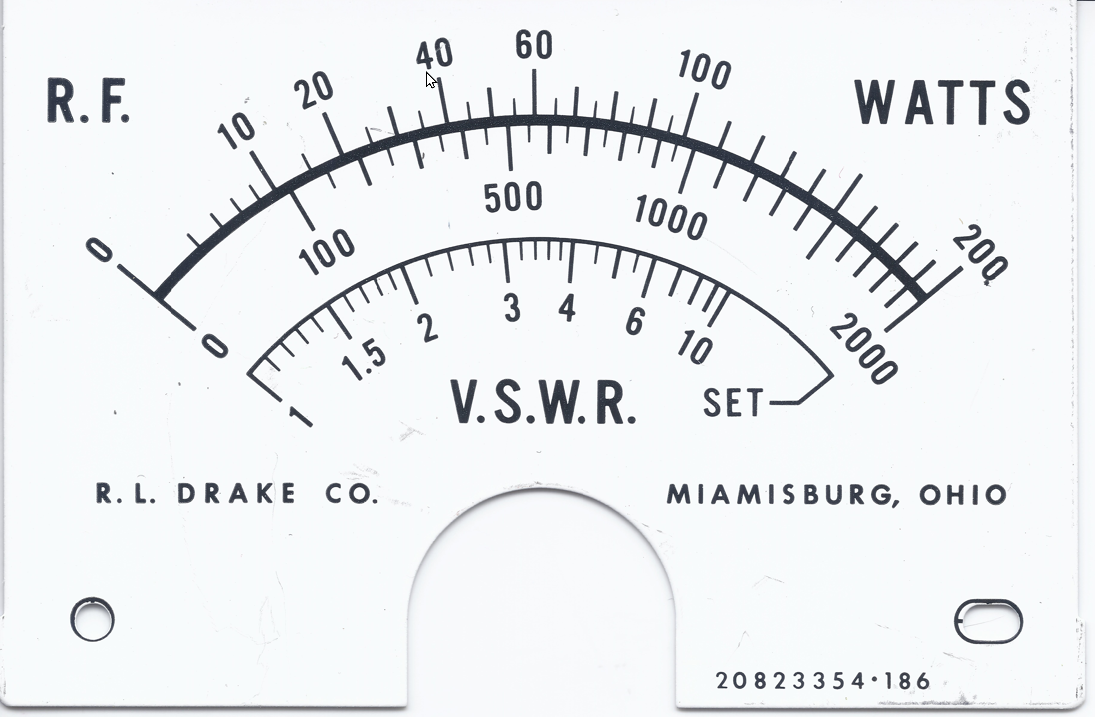
The VSWR Meter.
The VSWR Meter of the Drake MN-2000 ATU.
The rear of the VSWR Meter.
The Meter of the Drake MN-2000 ATU is a simple affair and there is not a lot to go wrong here.
The ‘VSWR’ and ‘Wattage’ Selector Switch.
The 'VSWR' and 'Wattage' Selector Switch.
The rear of the VSWR and Wattage Section switches.
This is still looking as expected, nothing is loose, and nothing seems to be broken so far, the quest goes on.
The ‘Band Switch’.
The Band Switch on the front of the Drake MN-2000 ATU.
The 'Band Switch' is a little hard to see and check out.
The ‘Band Swich’ is a bit of a git to see all of the working parts, it is basically mounted on the bottom of the ATU and hidden by the large coil and the variable capacitors, I was able to reach under the parts that stopped me from seeing all of it to apply a little pressure here and there but again nothing seemed loose, so I soldered on.
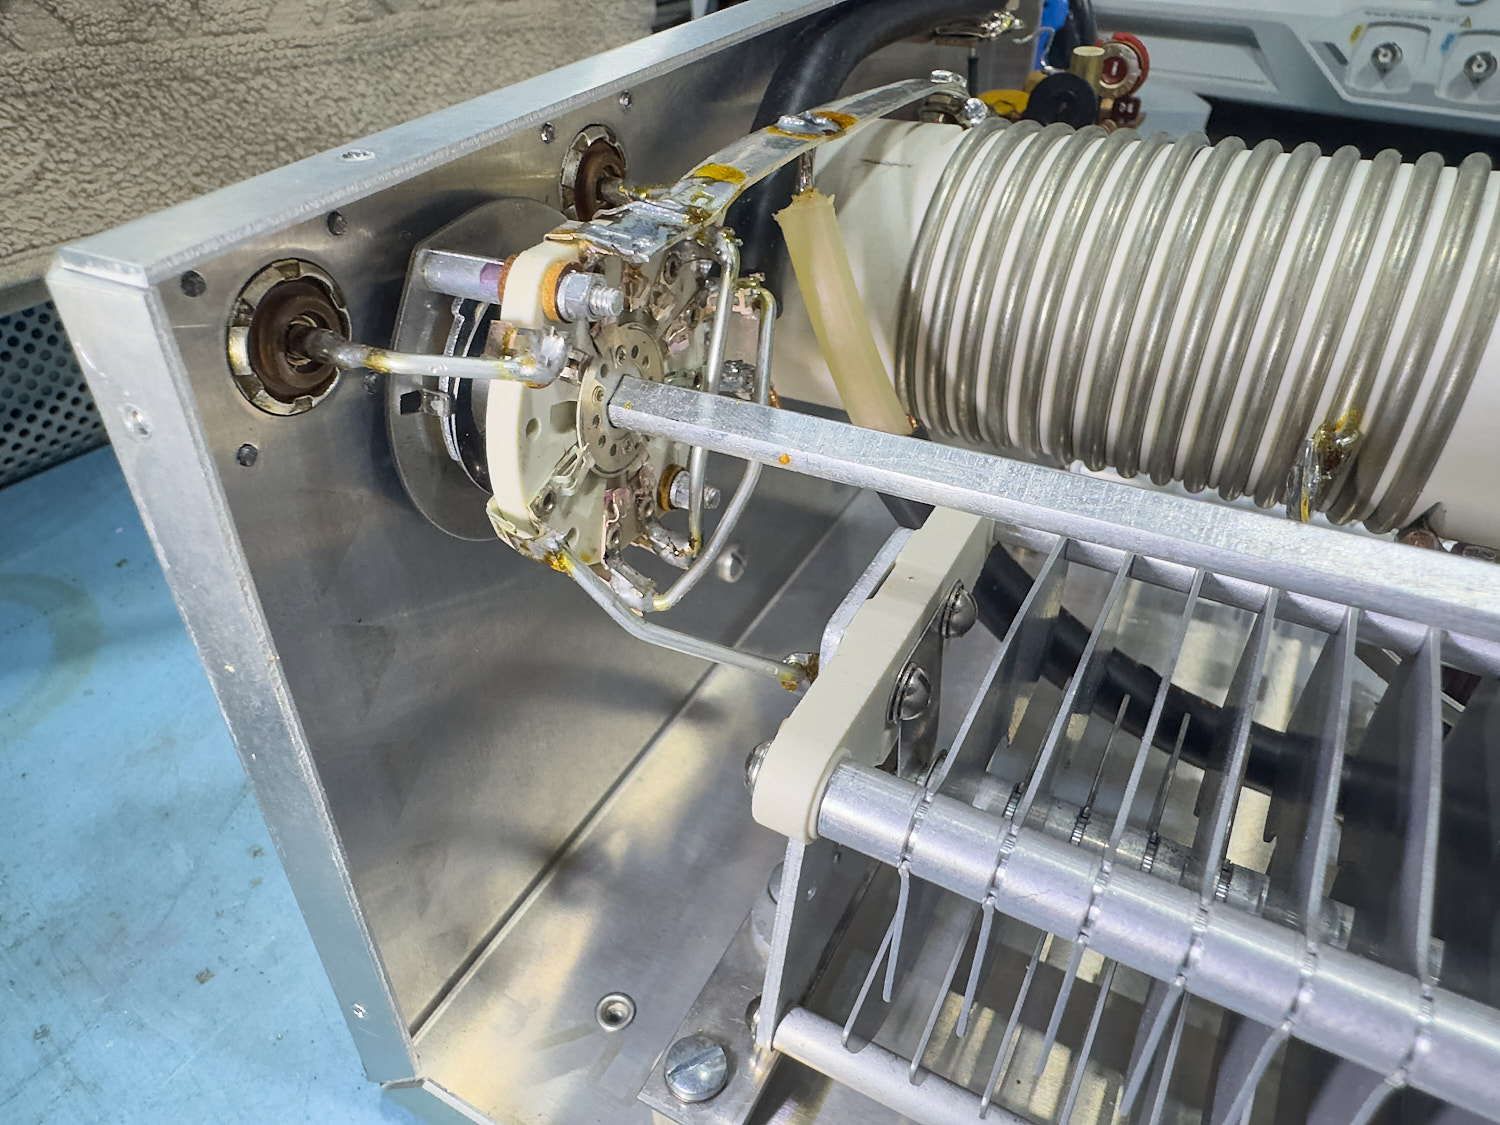
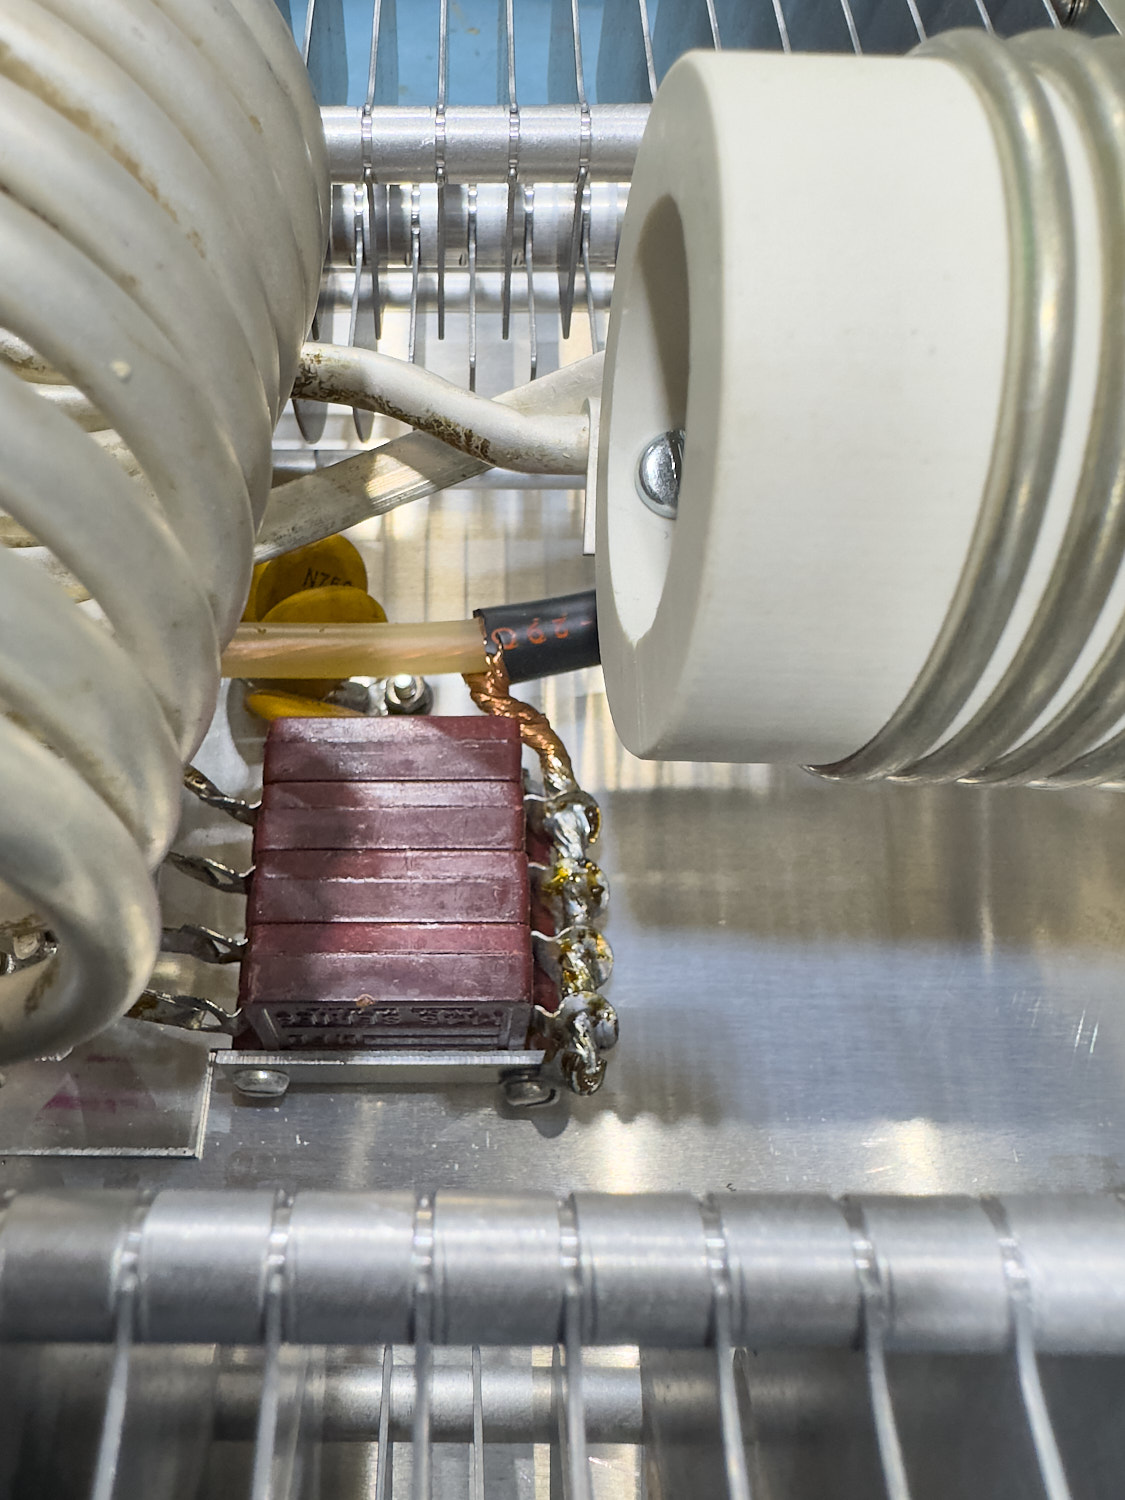
Behind the 'Band Switch' is this pretty lot hidden in the depths of the ATU.
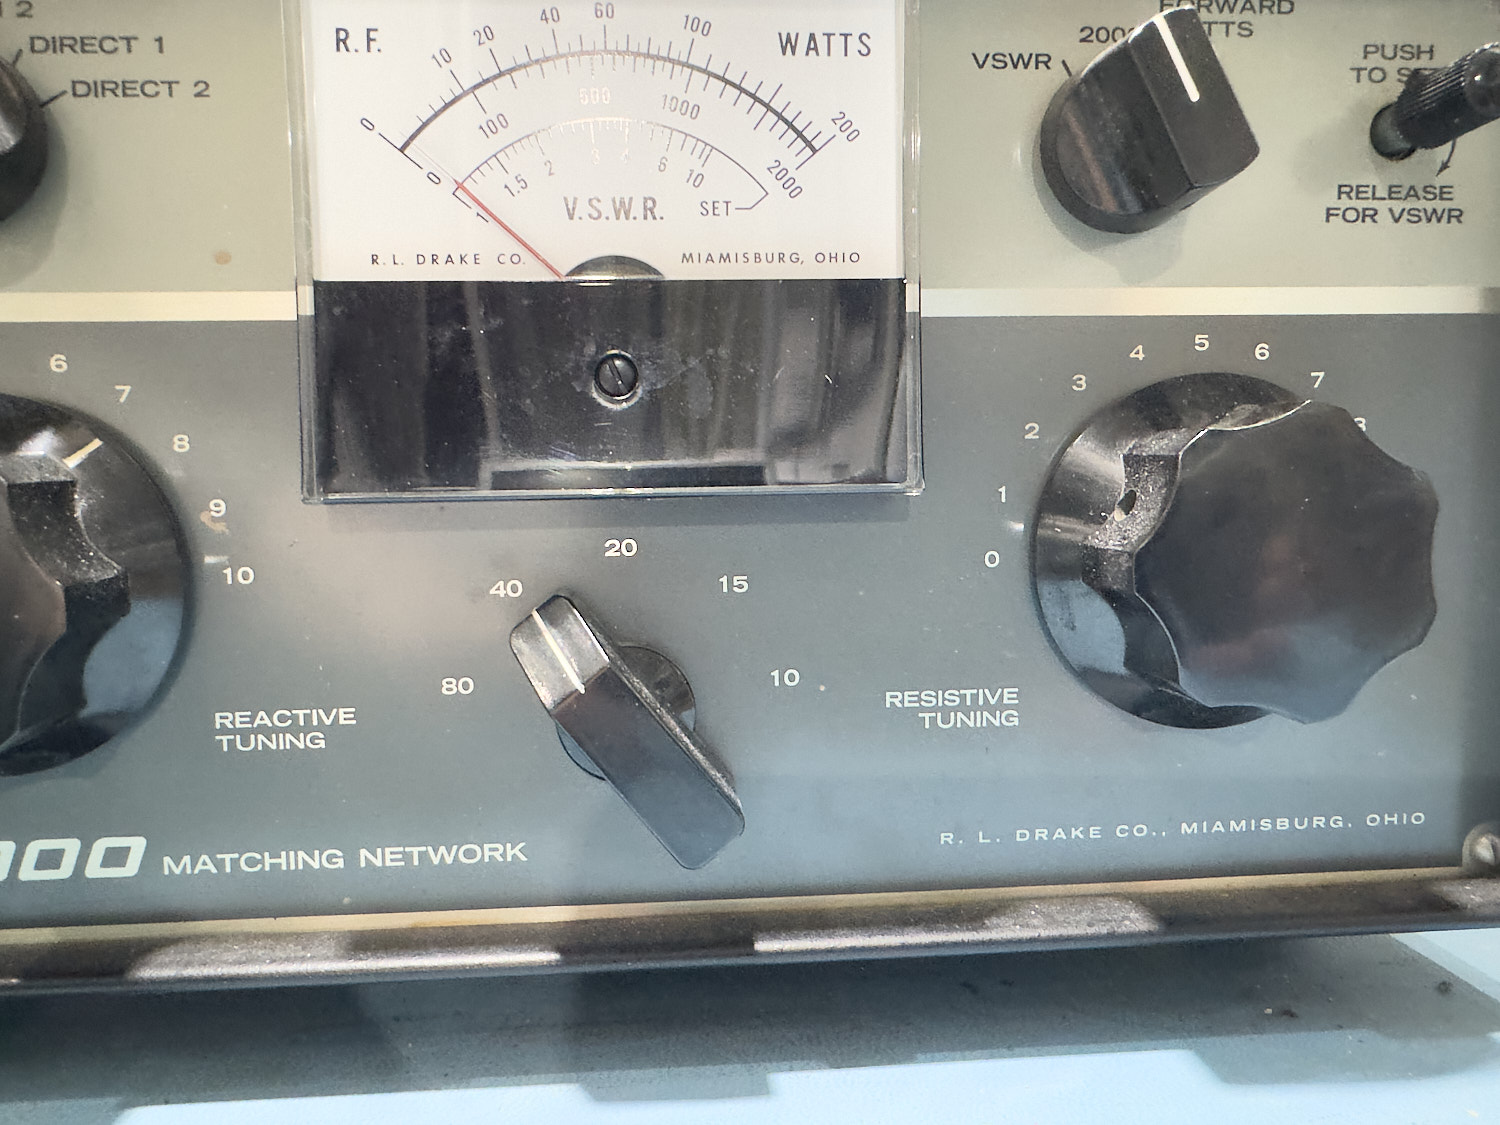
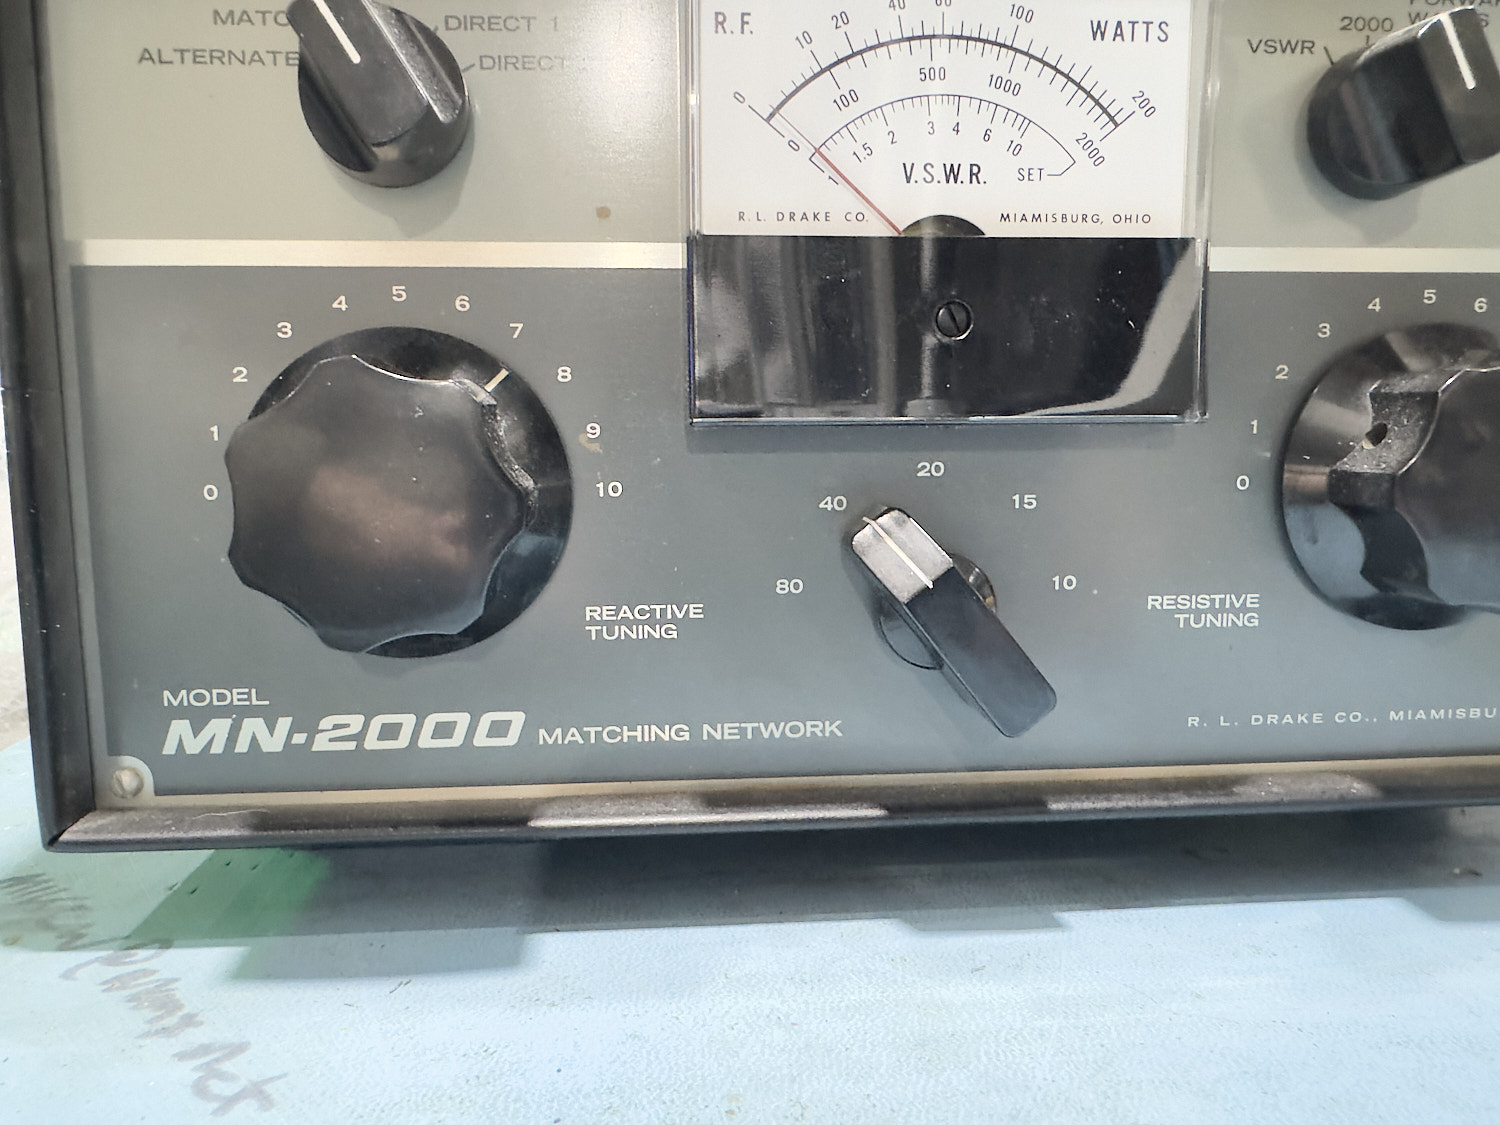
The ‘Reactive Tuning’ Control.
The 'Reactive Tuning' Control on the left of the front panel.
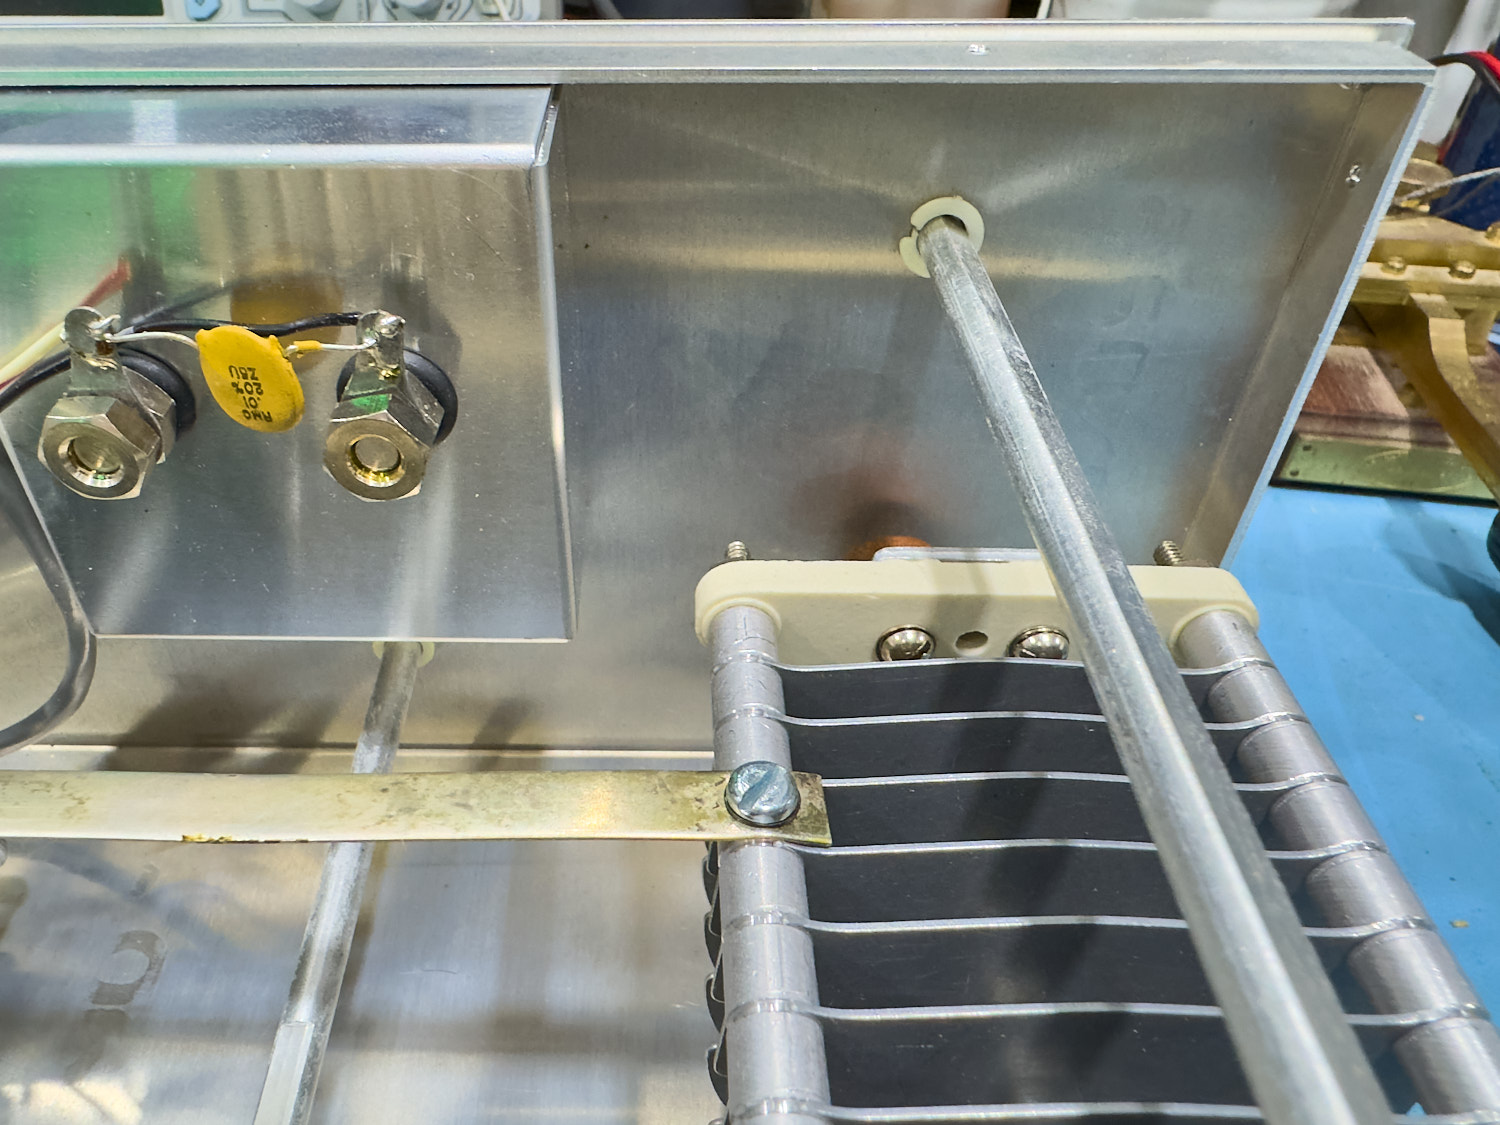
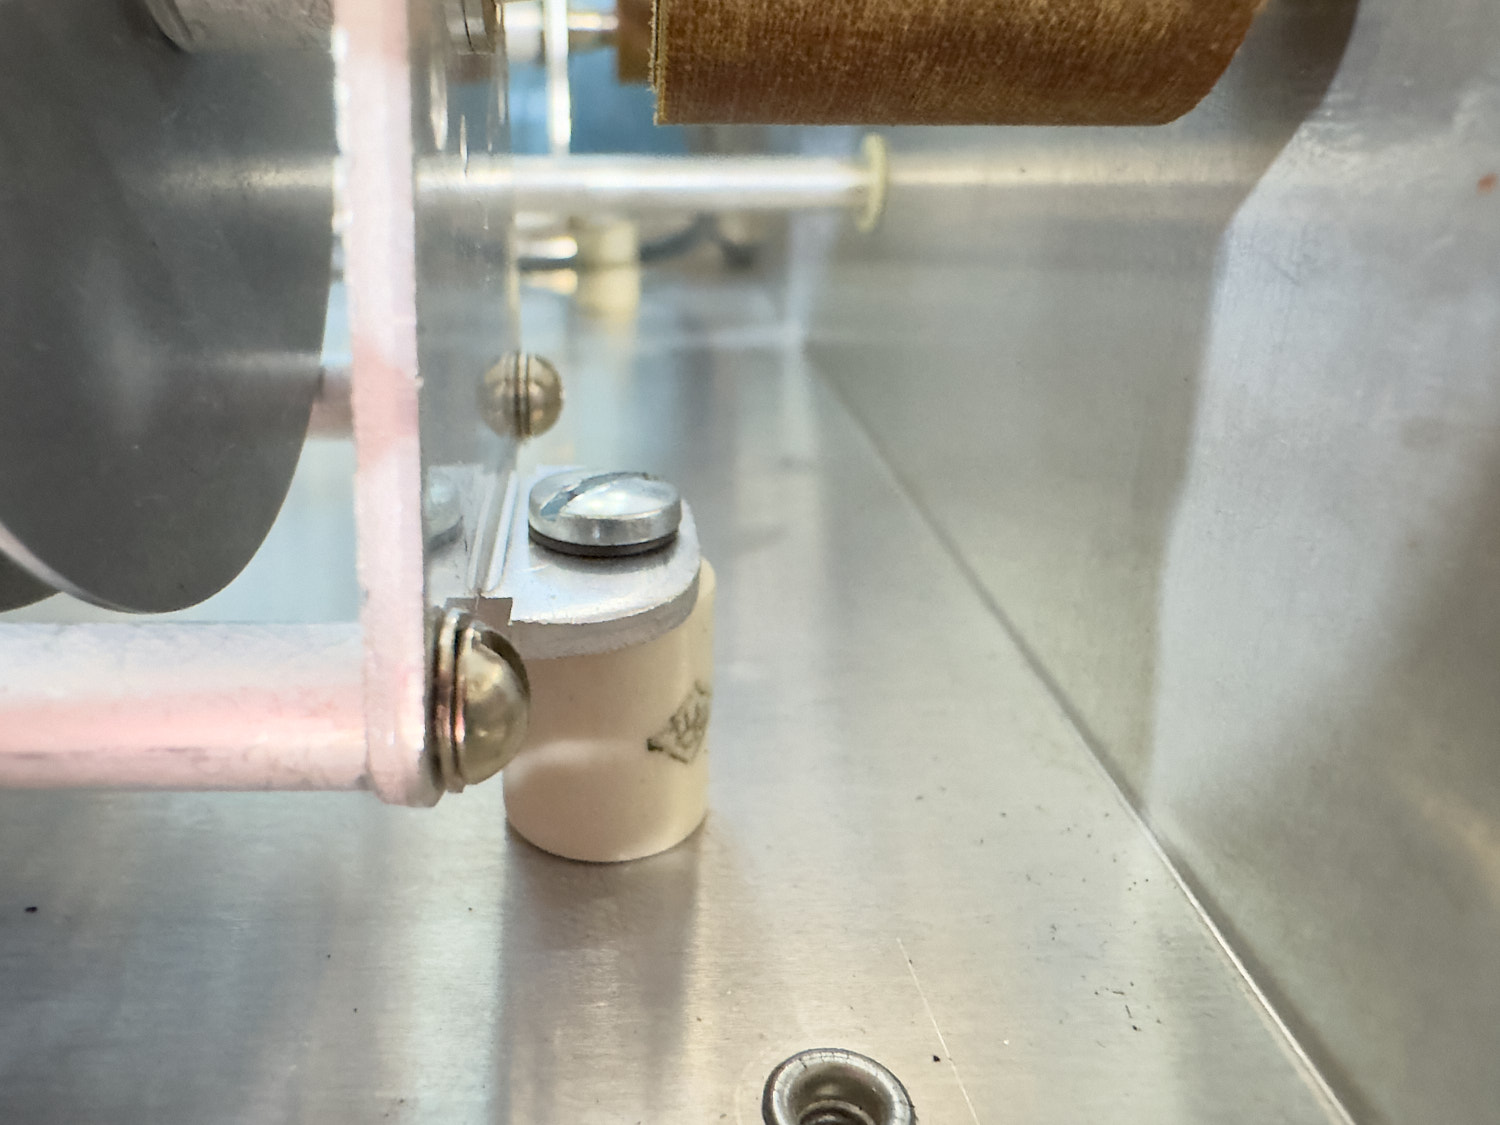
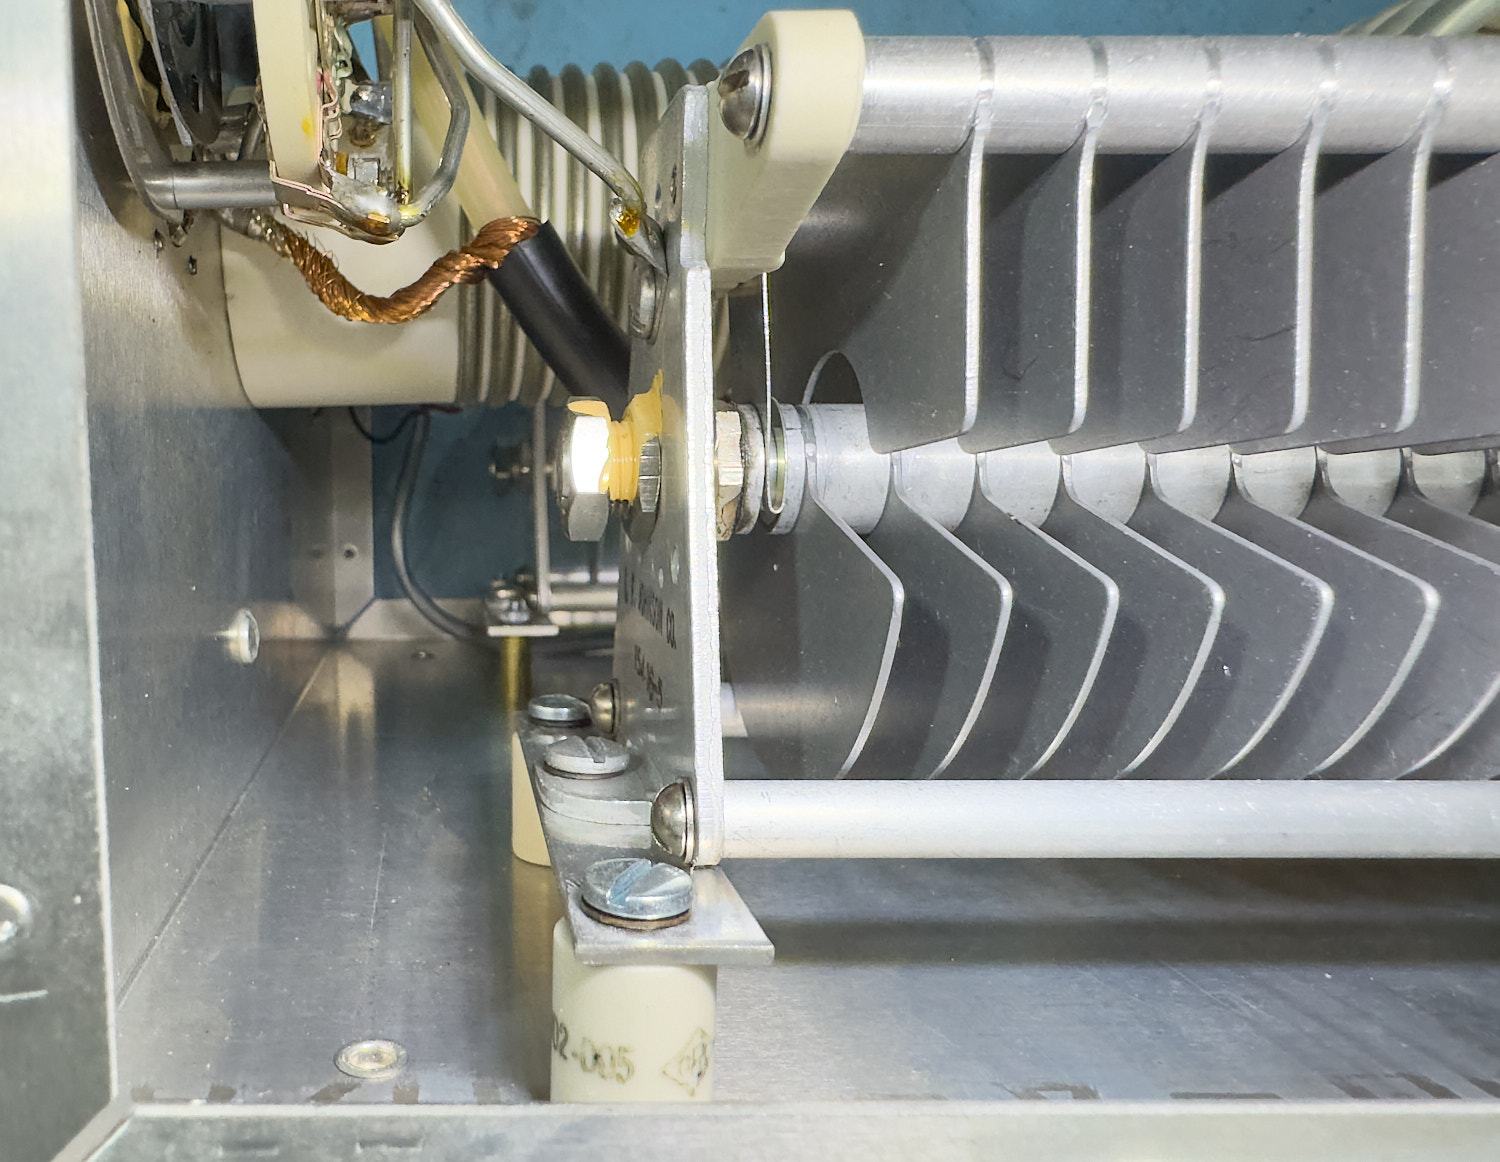
The front mounting post of the Variable Capacitor.
I was led to believe that the problem with this ATU was the mounting posts of one or both variable capacitor mountings, but so far, they do not seem to be broken or loose so with just one more to check I am not sure what is wrong with this ATU.
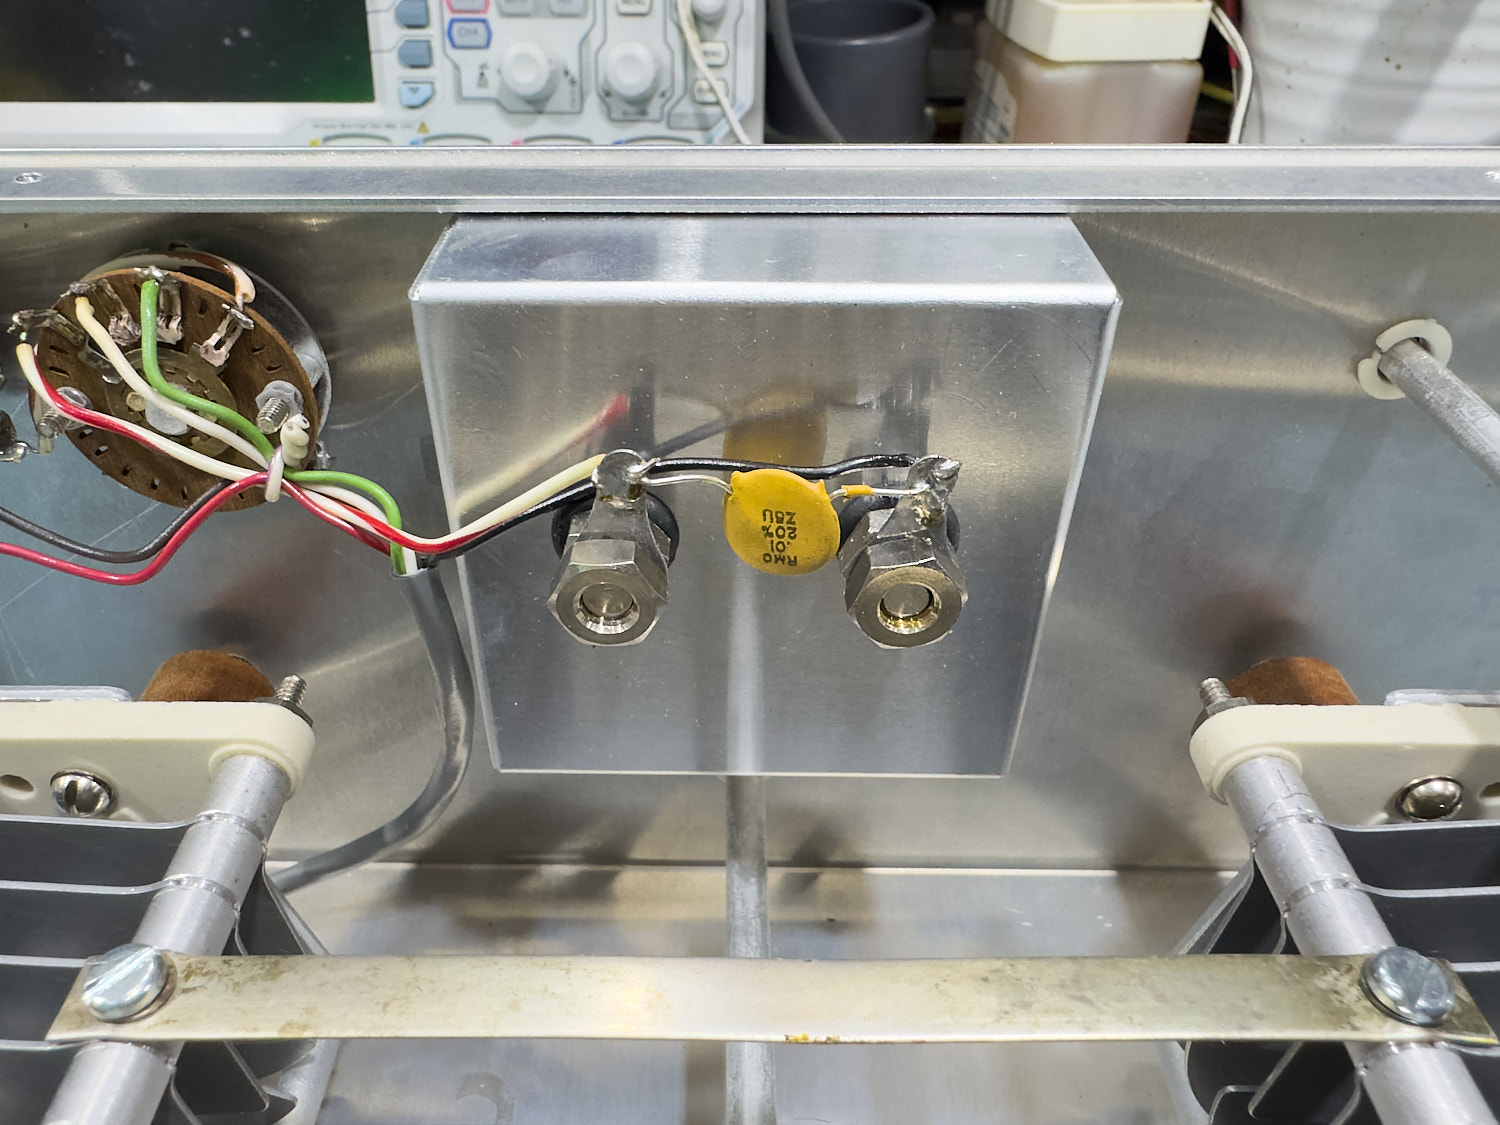
The inside of the 'Front Panel' for the 'Reactive Tuning' Variable Capacitor.
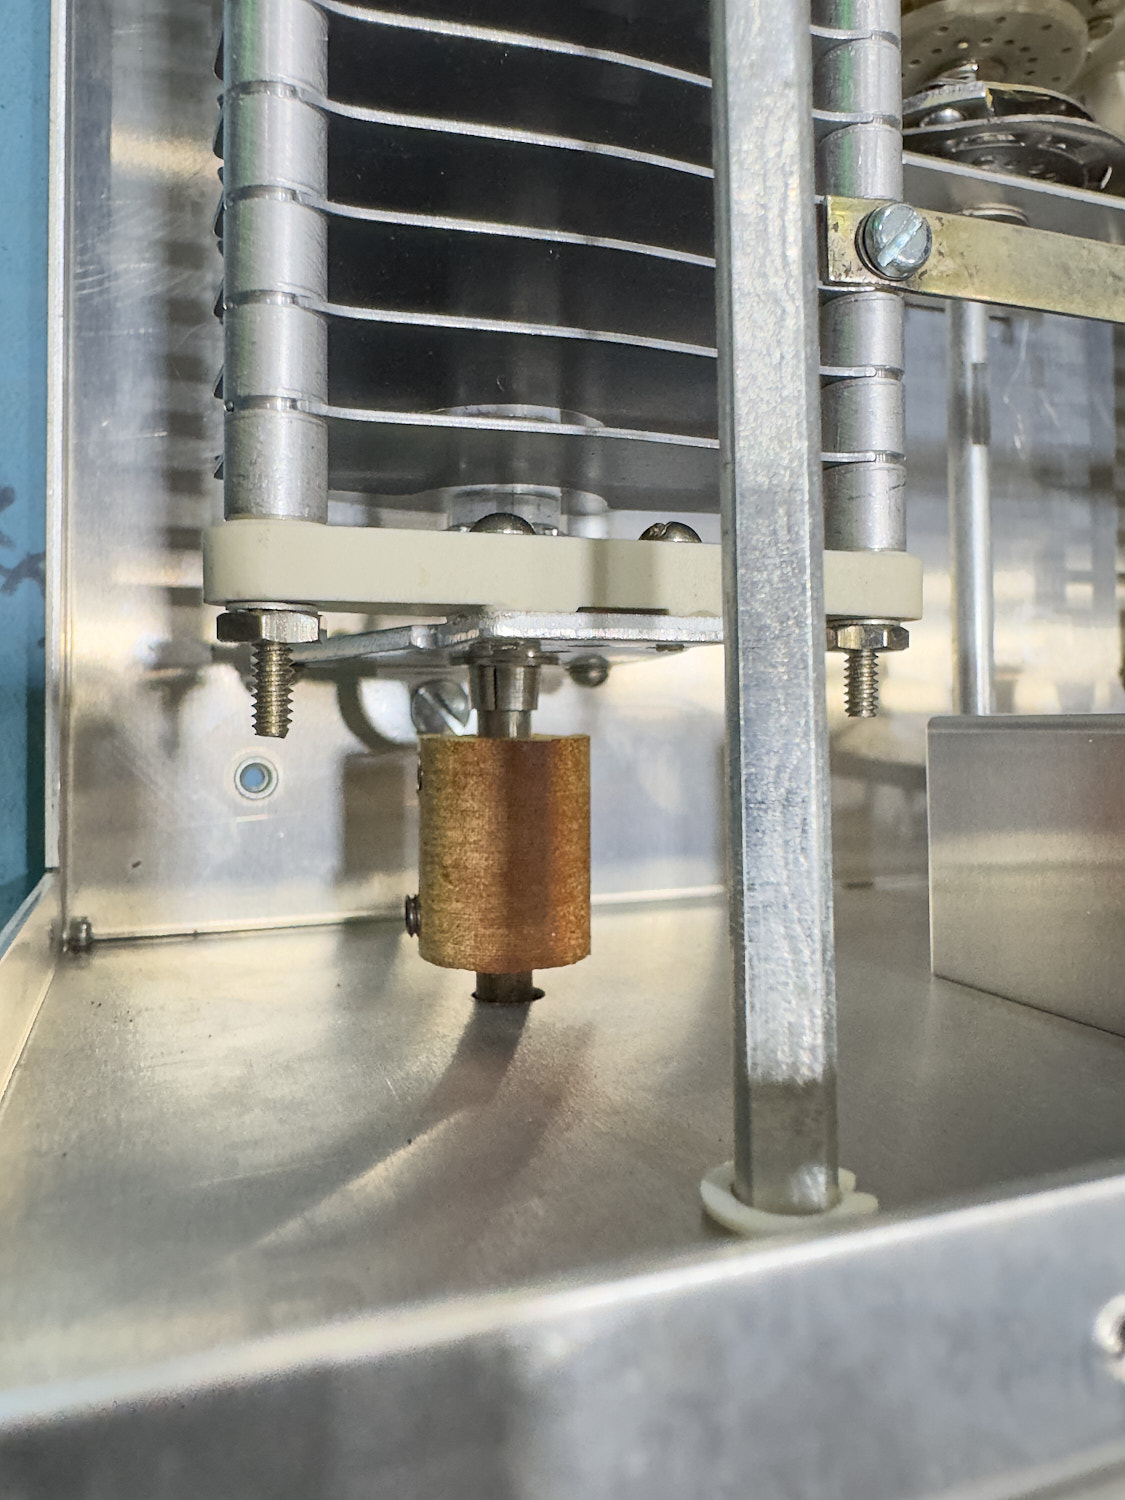
The 'Reactive Tuning' Variable Capacitor rear mounting posts.
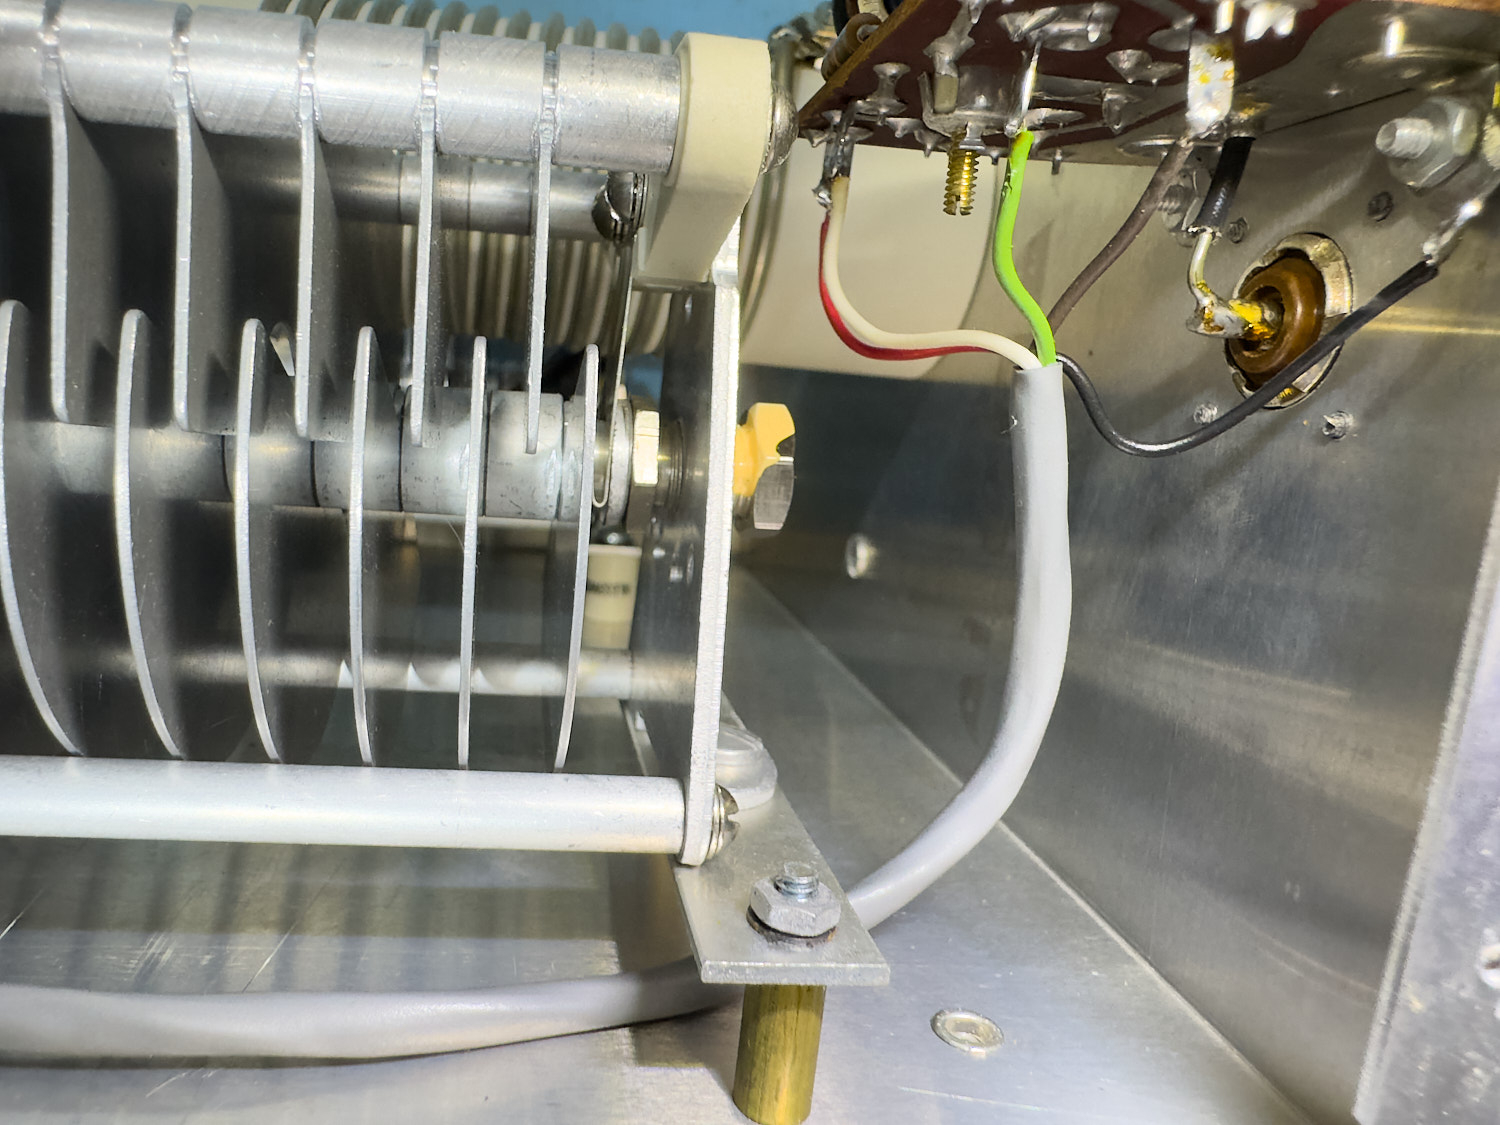
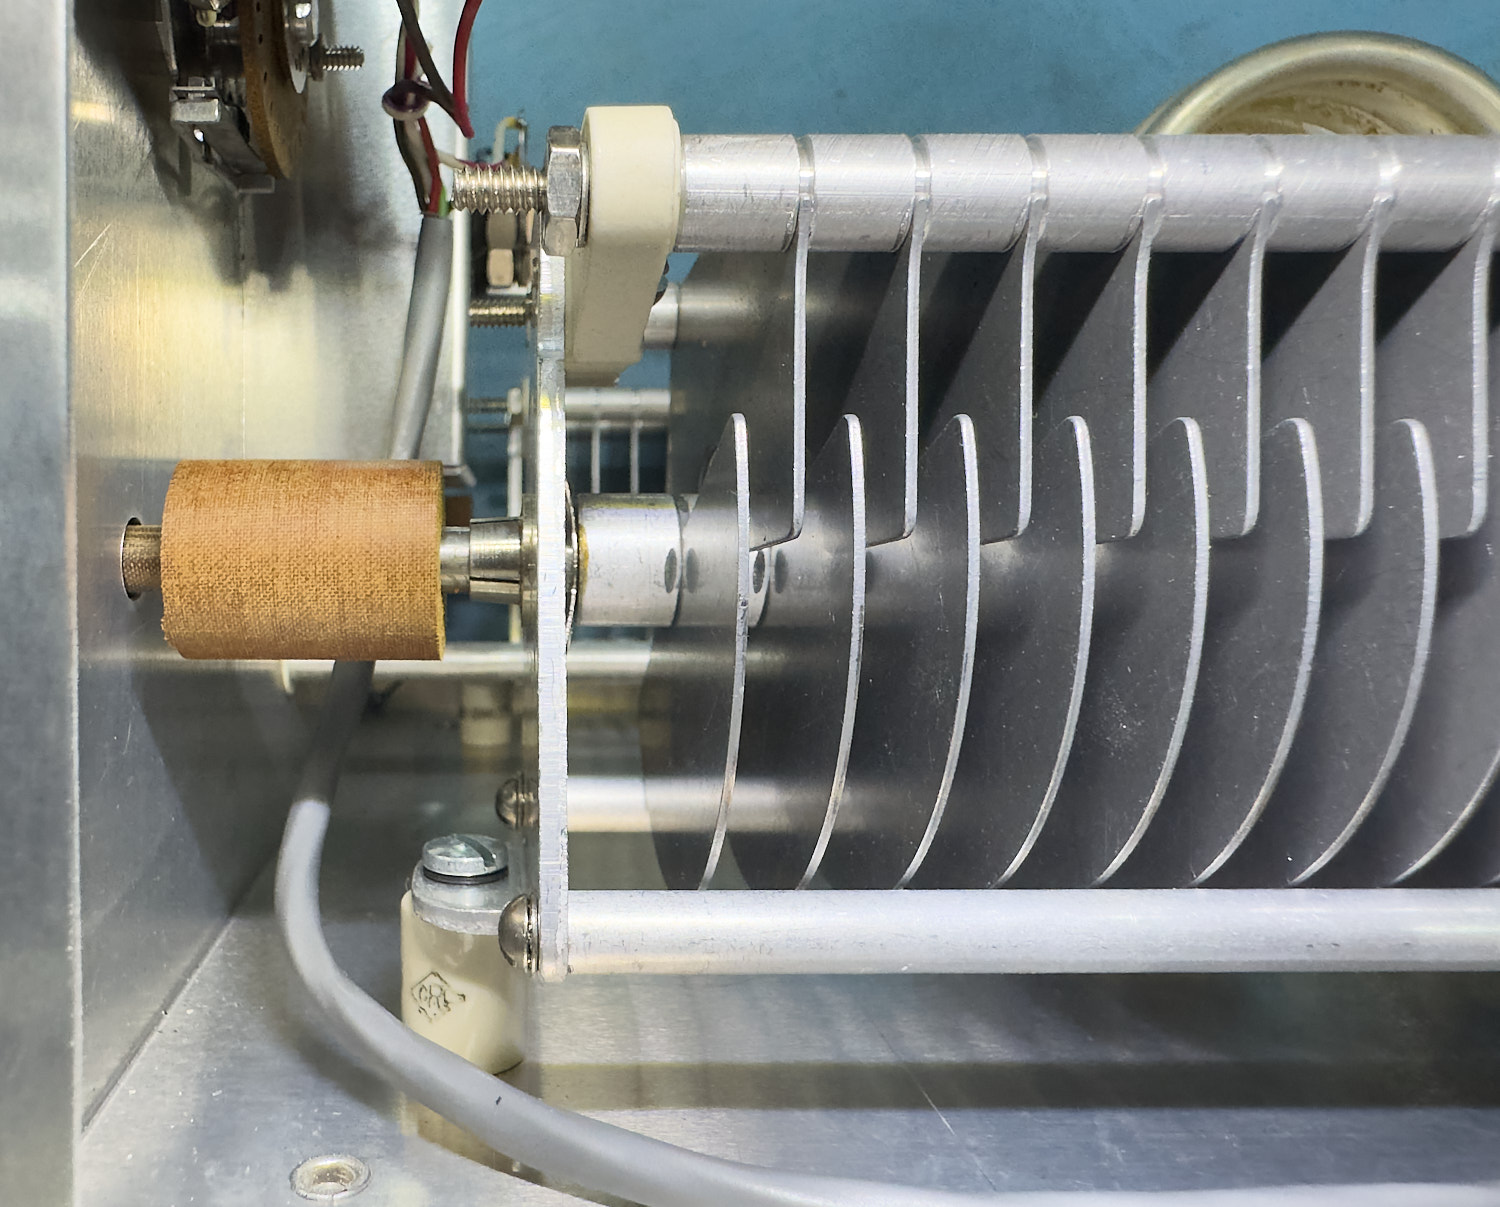
The ‘Resistive Tuning’ Control.
The rear mounting posts.
The front of the 'Resistive Tuning' Variable Capacitor mounting post.
Well, this is also Okay, and I cannot see anything wrong, again I tried to get things to move with a small amount of force, but everything seems to be fine.
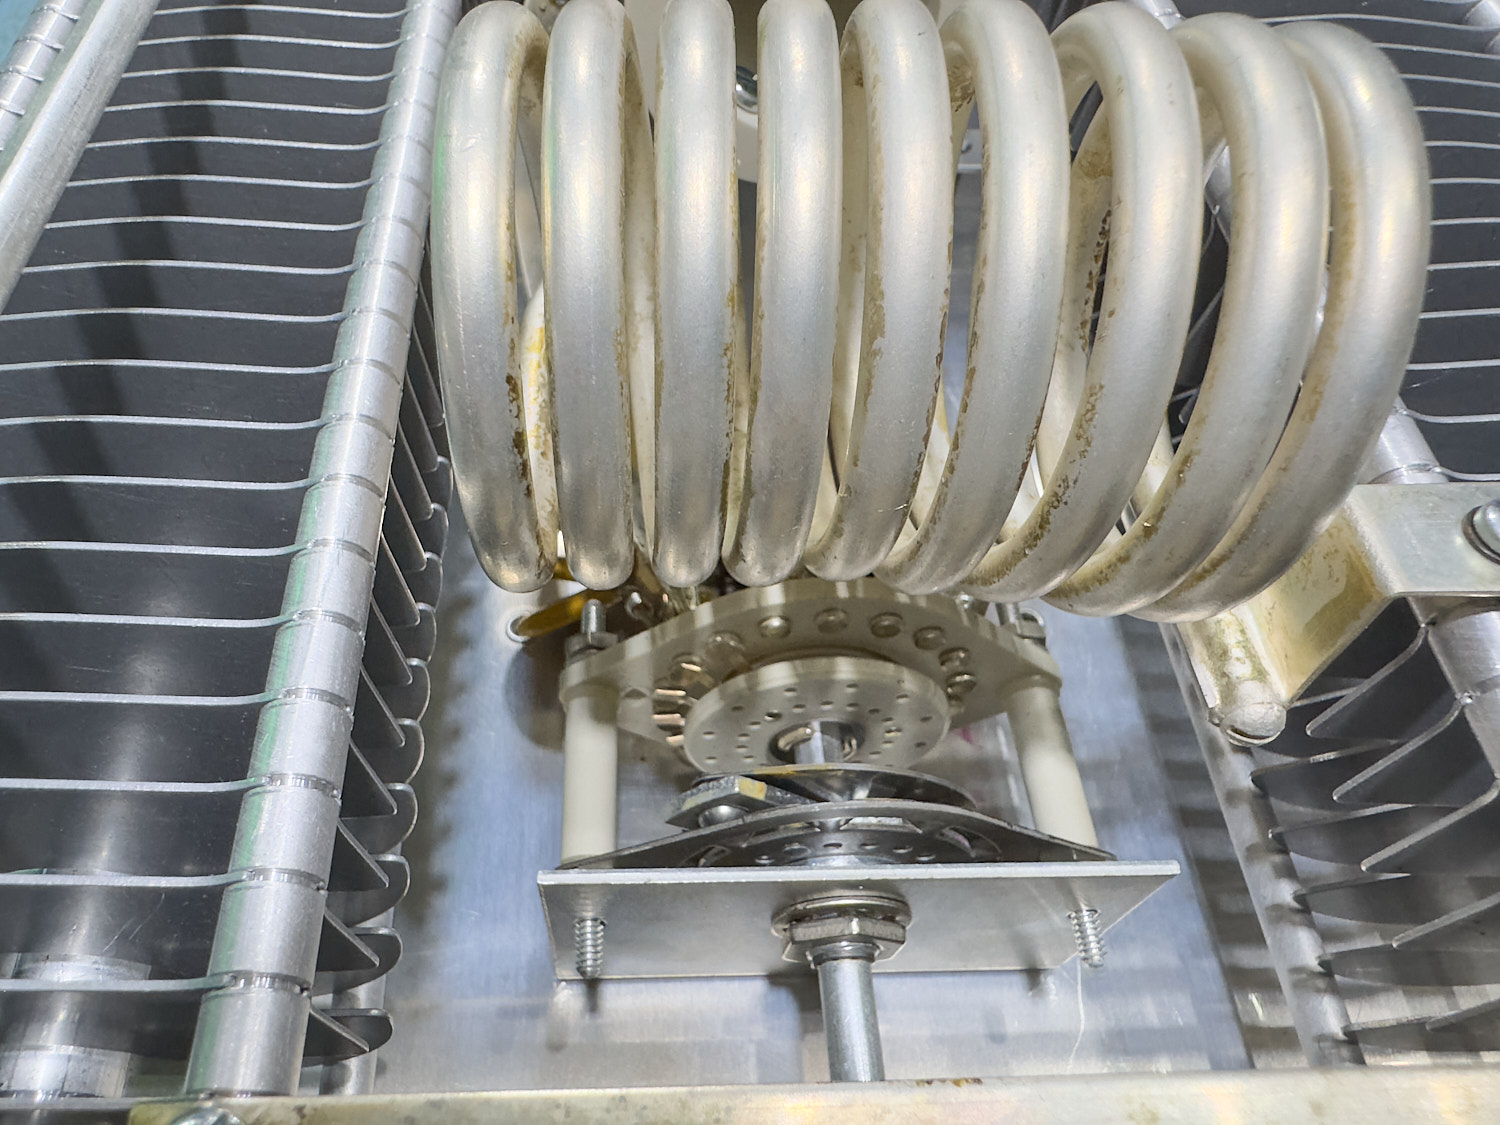
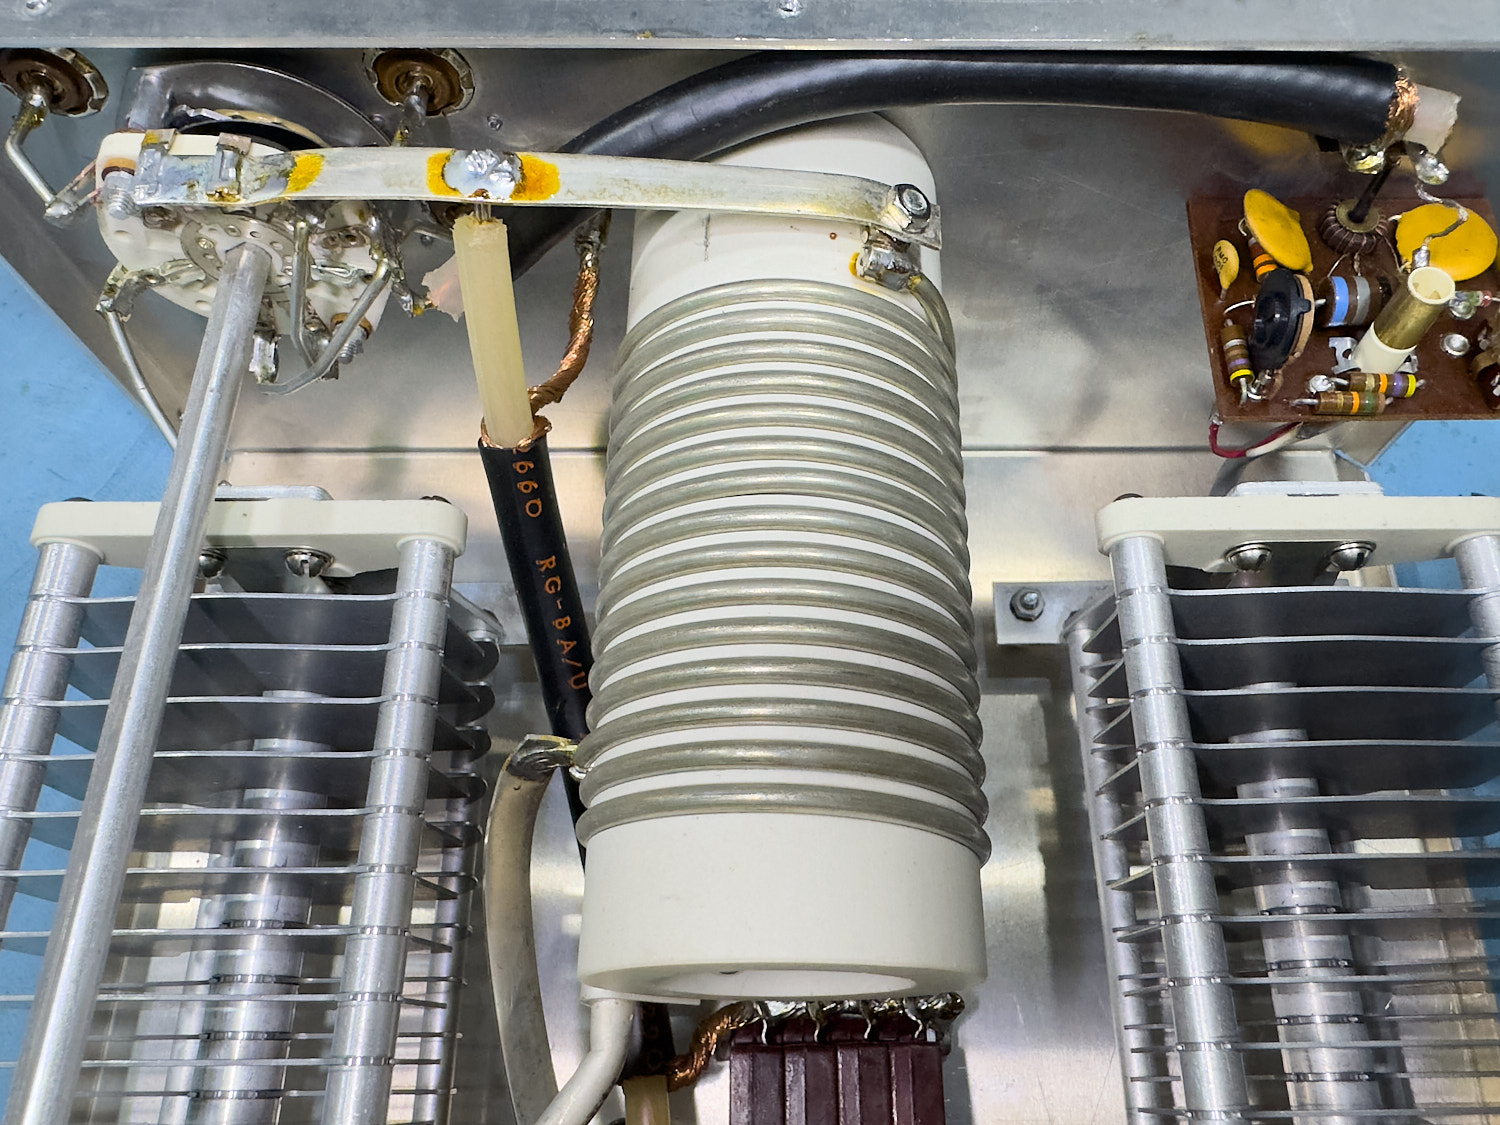
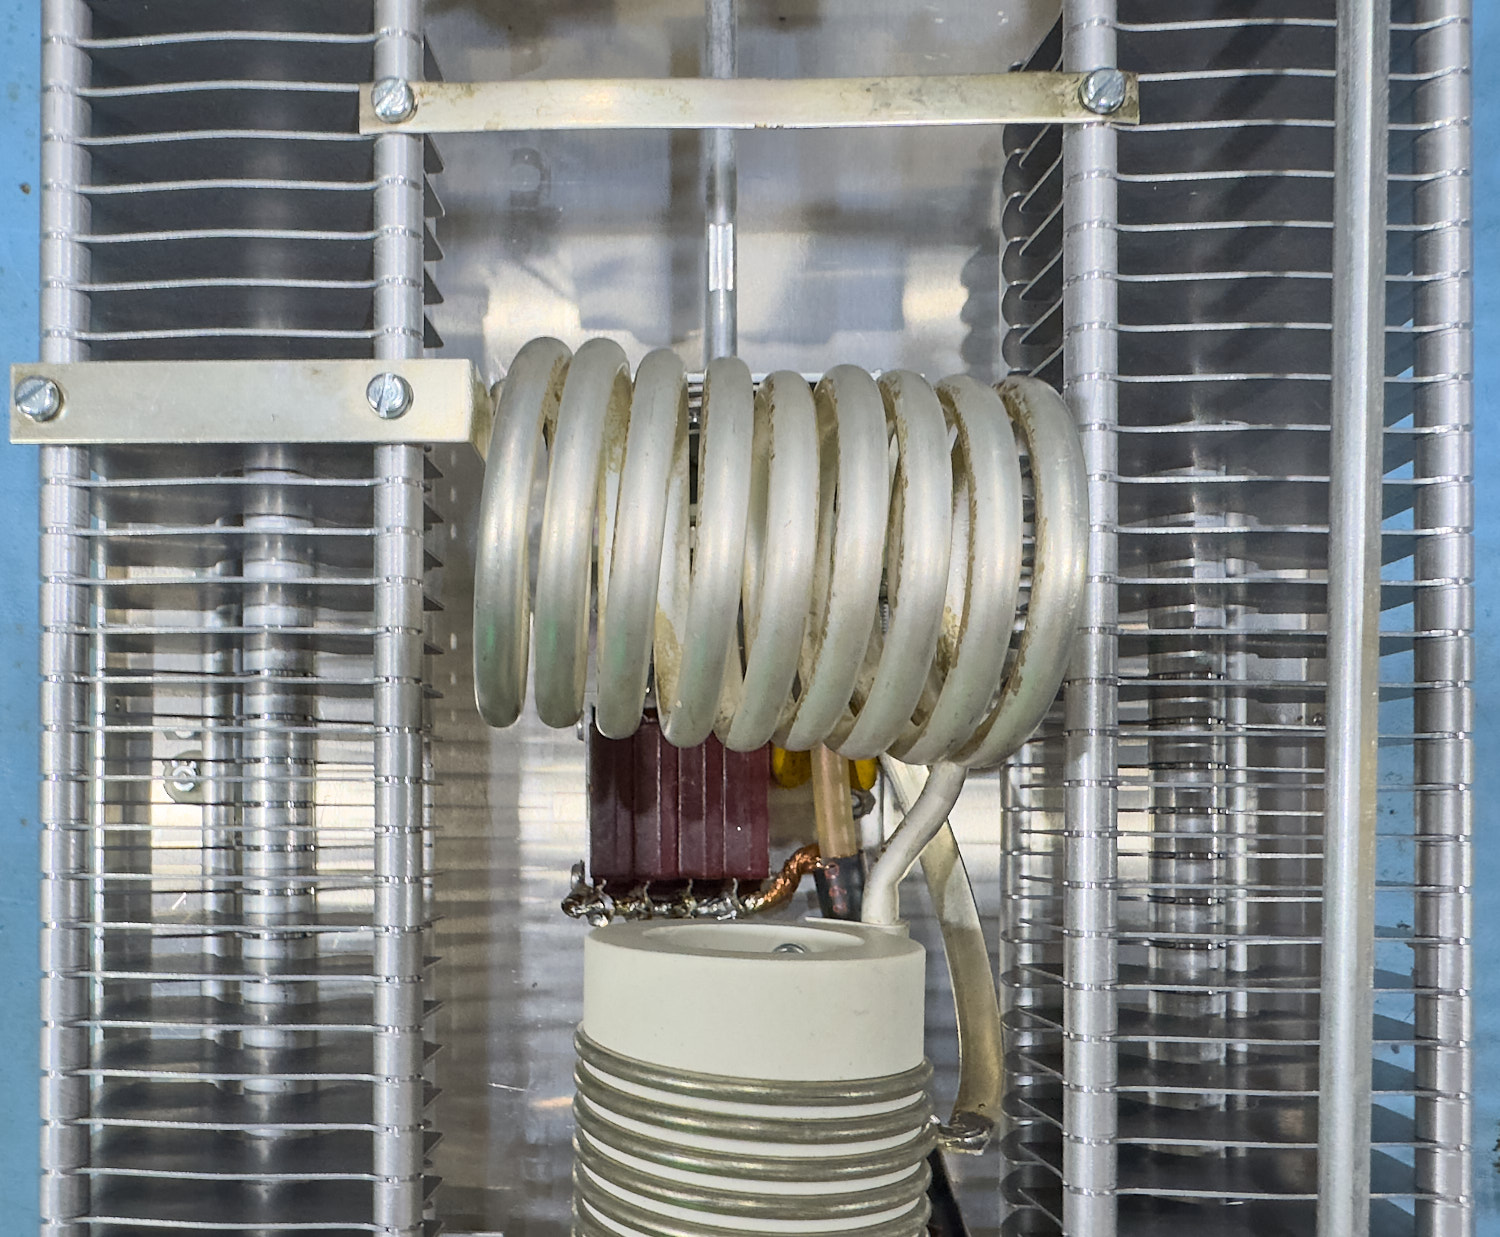
L2 and L3 Inductors.
The final things to check ate the two large coils, these are ‘L2’ and ‘L3’ and again things are fine, nothing wrong at all with the mountings and connections, so I am at a complete loss now as to what is meant to be wrong with this ATU.
L2 Inductor in the ATU.
L3 Inductor in the ATU.
The Only Parts that I need to sort out seems to be a set of screws for the inner chassis cover and the one screw that is missing from the outer case. I picked up the ATU and gave it a thorough shake, but nothing flew off or rattled, I suppose what I need to do now is test the ATU with an Antenna and Transceiver attached.
So, I hope that there will be more about this later so please check back.
I am now retired and living on the Isle of Man, my background is as varied as it gets, ranging from Information Technology to Graphic Designer and 3D VFX Artist, using and teaching Autodesk Maya, Softimage, and Smoke, one of more enjoyable positions. Since Moving to the Isle of Man I try to keep myself to myself and work on the house, I don't do much with regards to Amateur Radio or Electronics anymore, but I am still interested in the hobby and may well get back into it one day....