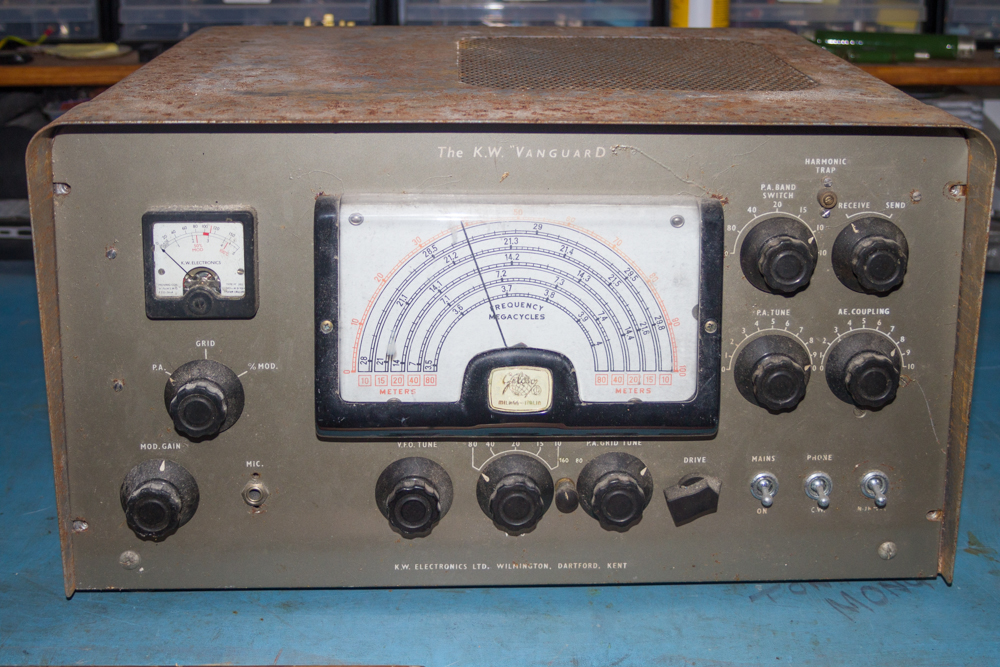
Dismantling the front panel on the KW Vanguard
The first job on the block is to start to clean all the knobs and switches off the front panel.
Tip – Have a Chinese or two delivered so that you have some suitable containers to put all the part in so that they don’t get lost, any excuse for Take Out!
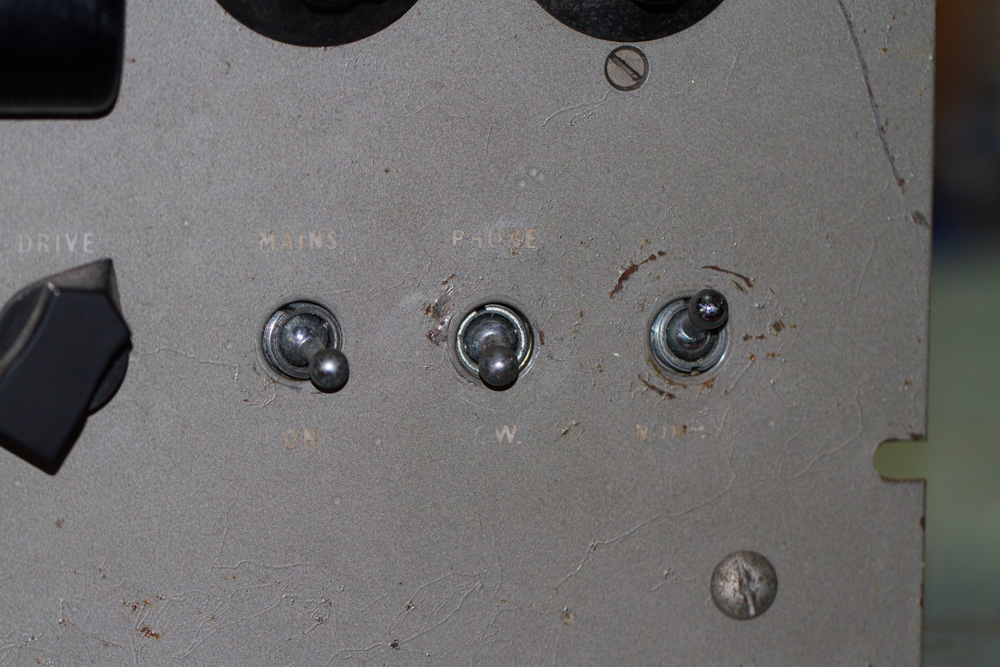
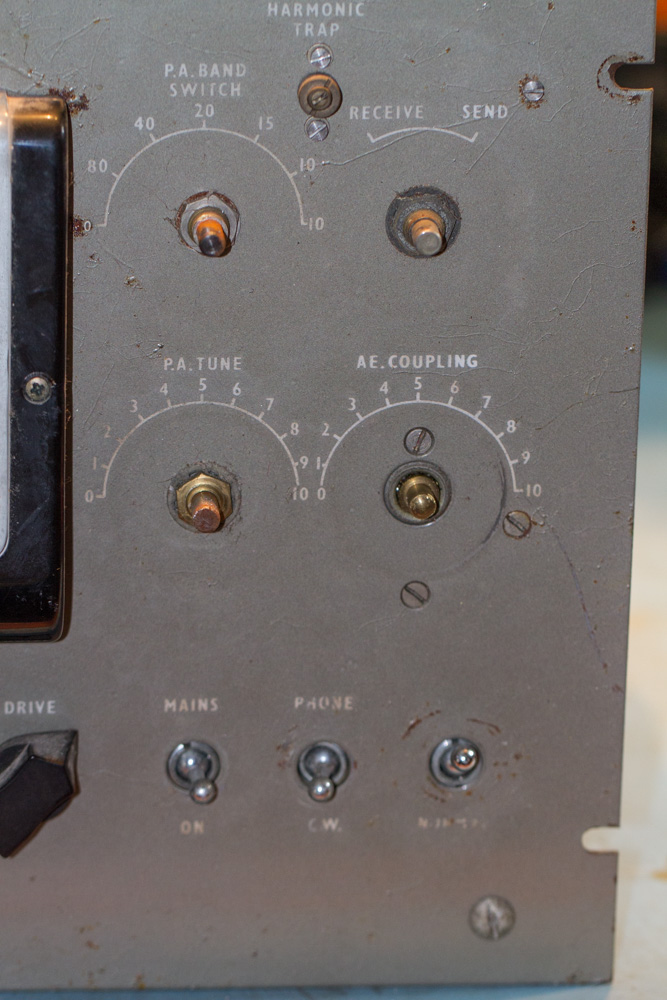
First to be removed are the three locking nuts from the toggle switches in the bottom right of the front display. I had to find a heavy set of pliers for mine as two of the nuts refused to budge, in the end and with a little INOX and some brute force they gave way and were easily removed.
I then decided to start to remove the larger knobs starting with the ‘AE Coupling’ knob, these seem to have two steel grub screws in each knob, I only had to unscrew one of these too remove the knob from the shaft on the KW Vanguard.
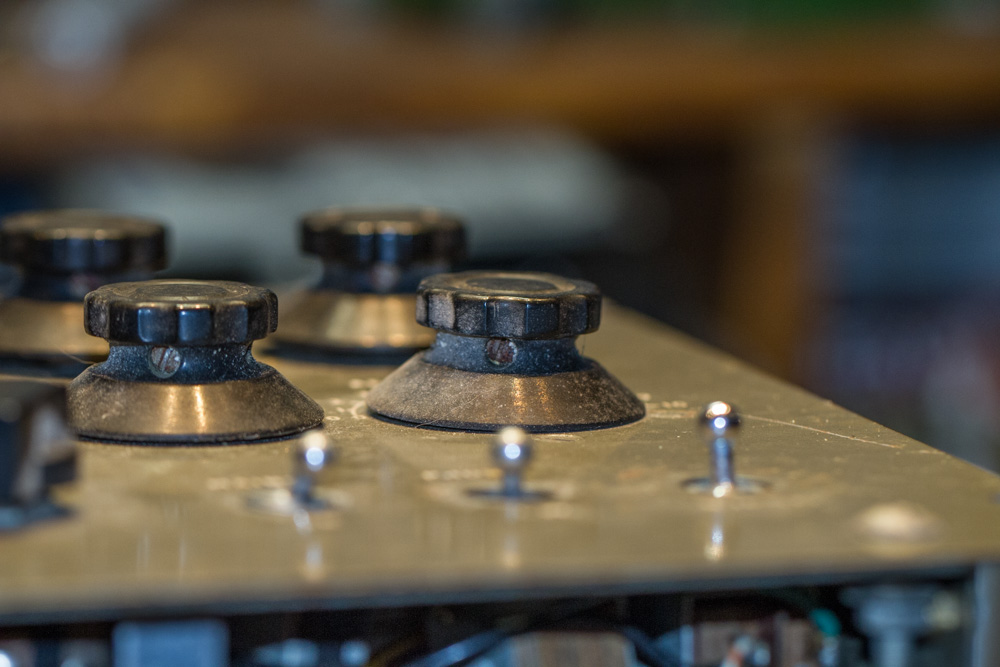
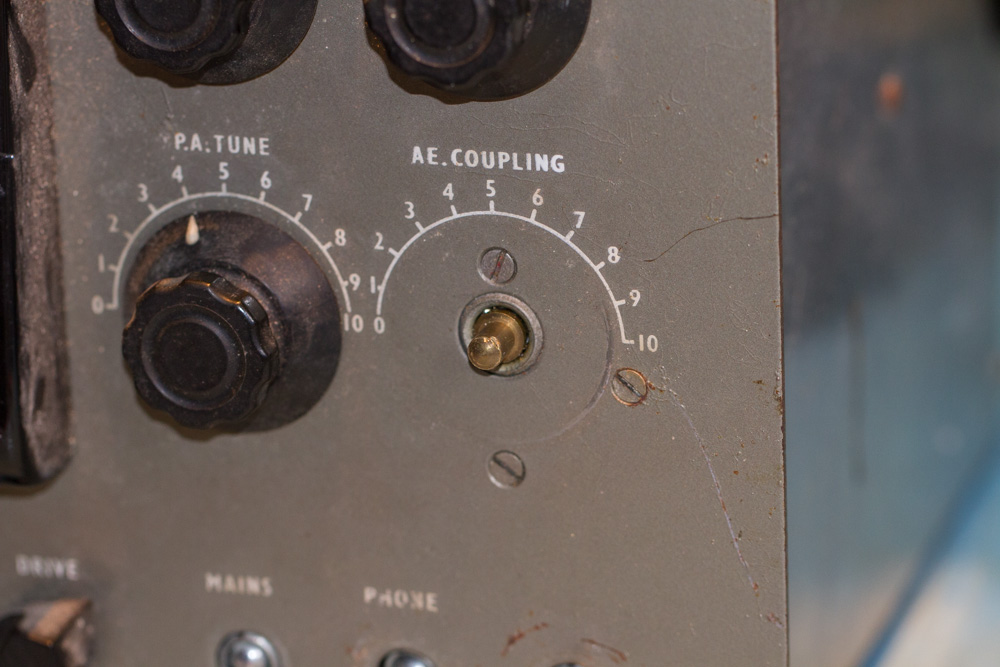
As you will see here the steel grub screws have a slight layer of rust on them, and although this does not seem to have eaten the metal away much I will replace these with new stainless steel ones when I rebuild the unit.
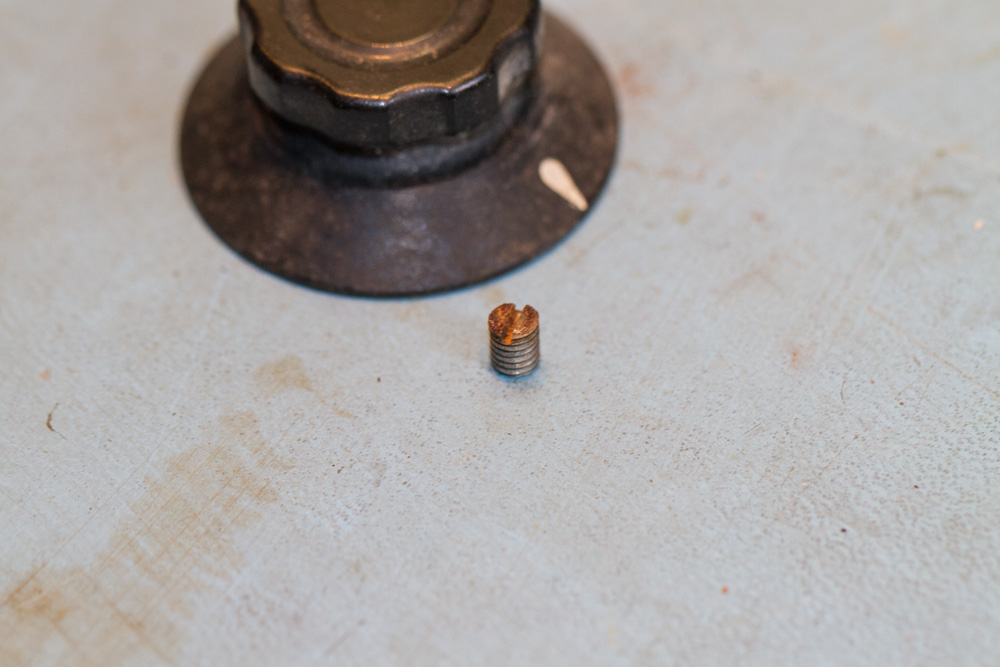
Next to be removed is the ‘PA Tune’ knob, I had a problem with mine when one of the slots gave way on one of the grub screws due to rust, typical that there is always one! Using a small tap hammer and gently tapping the screwdriver into the grub screw I managed to cut enough of a new grove to grip and loosen off the screw. I was as careful as I can be to make sure that I did not damage anything, it’s will be nearly impossible to find replacements for anything on a KW Vanguard..
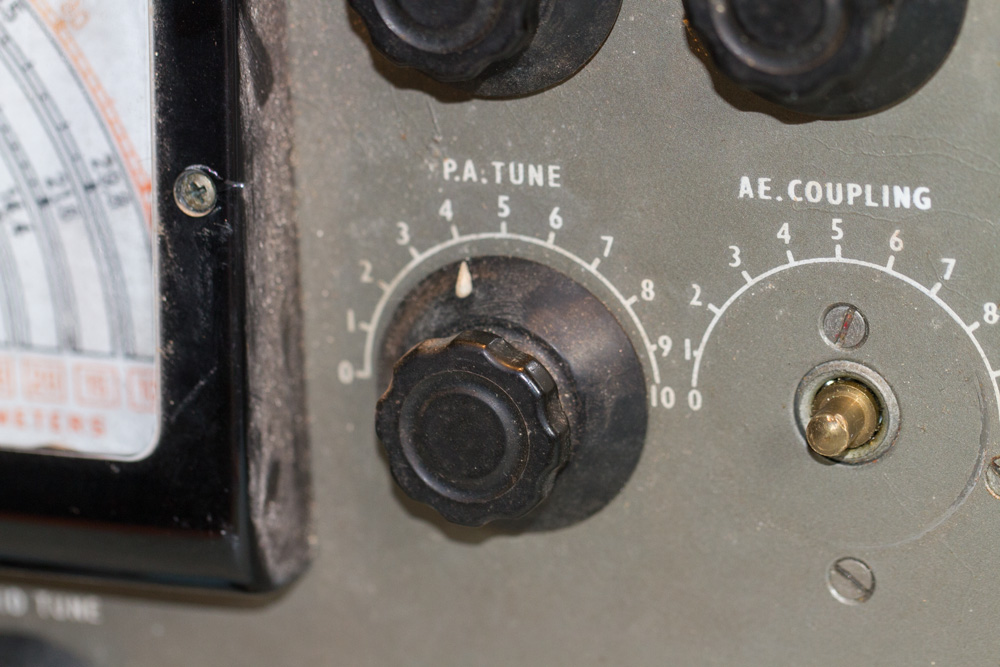
The ‘Send and Receive’ came off really easily.
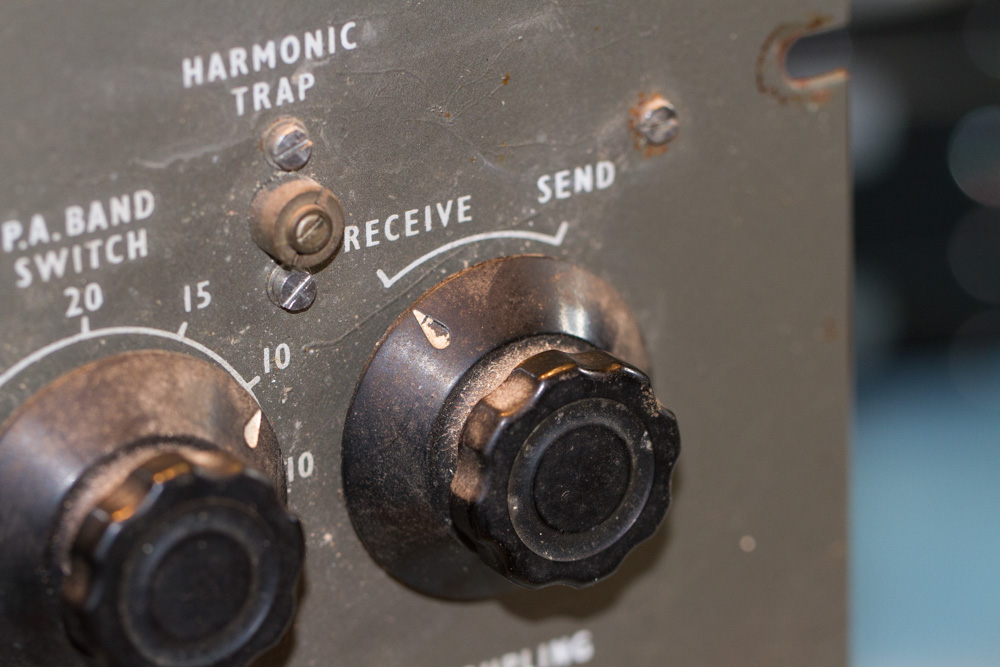
But the ‘PA Band Switch’ was a real headache and took a lot of INOX to free up.
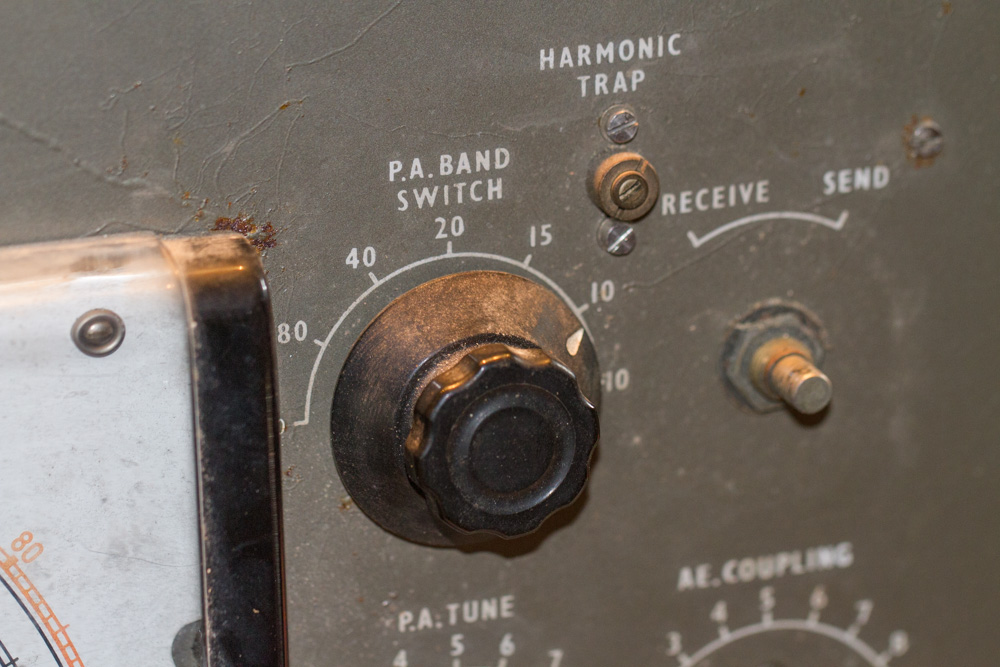
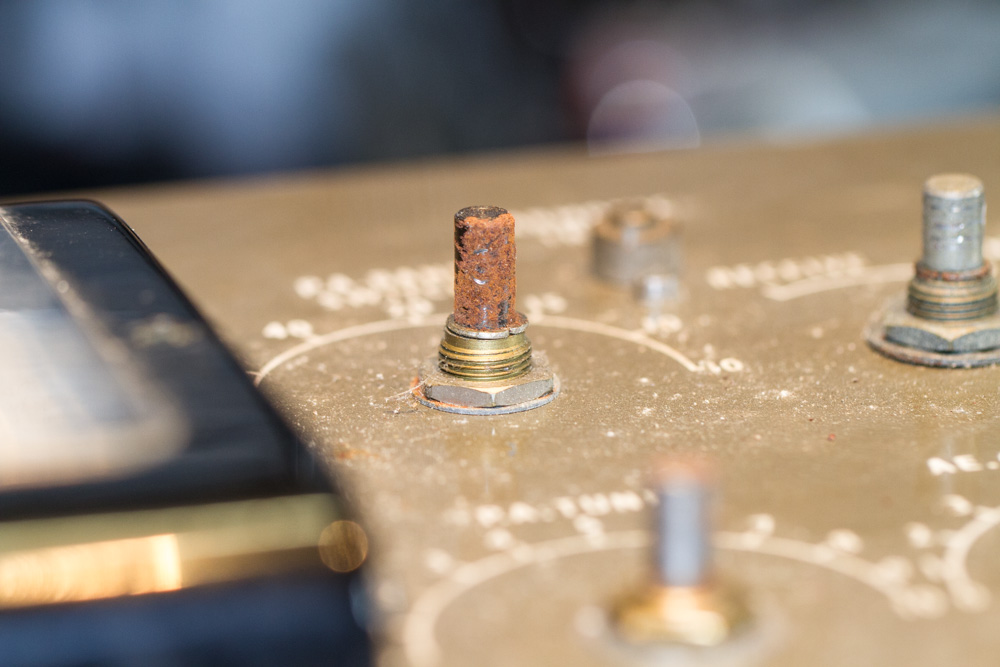
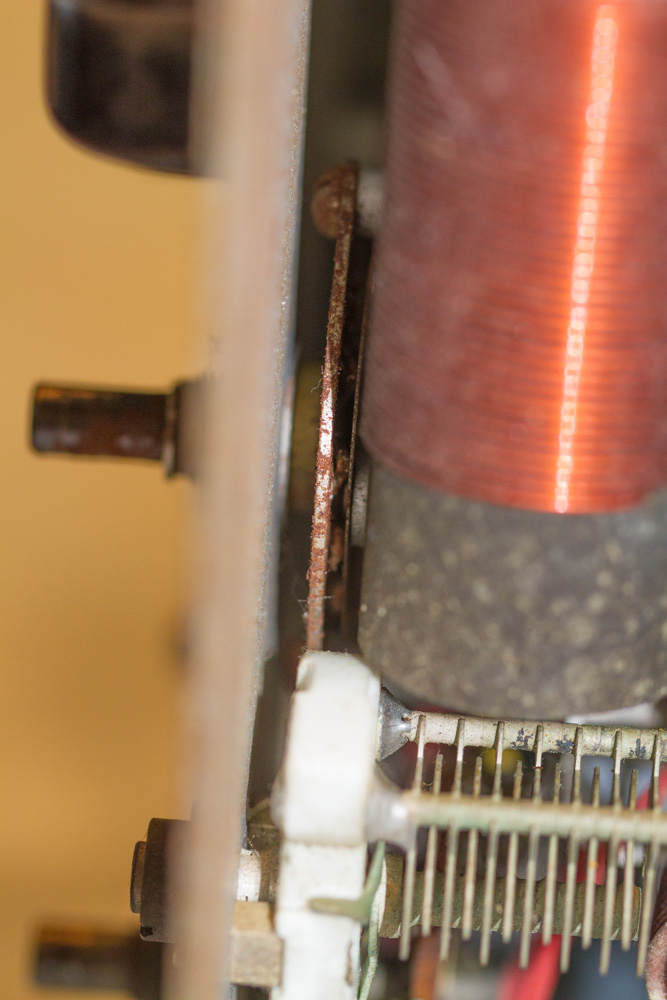
As you will see from the photo the shaft of this switch is also rusted quite well, and hopefully will be OK after a clean up at a later date, I am hoping that a lot of these switches will take a trip through the autoclave to clean them up, and if not I will have to try and locate alternatives to replace them with, this one is actually quite rusty from what I can see.
That’s the right hand side of the front panel finished with…
Last Updated : 31st July 2024

