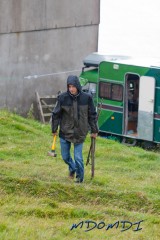
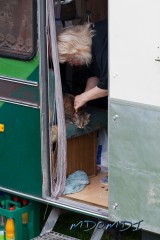
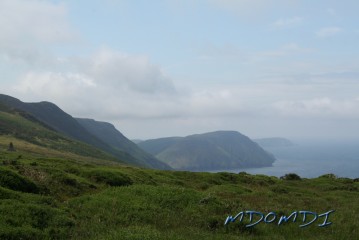
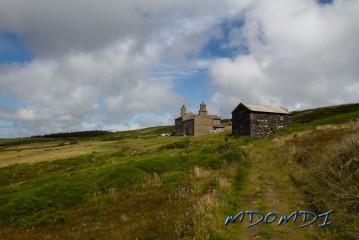
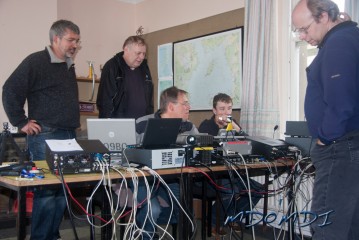
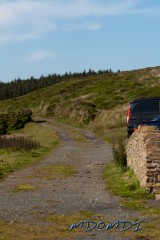
With the first day at Eary Cushlin over, the crew had already un-boxed most of the hard ware, but had left the antennas for a new day, Claus left for the airport to collect the remaining members.
7th July 2011
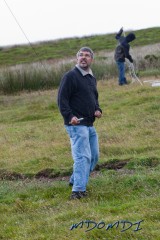
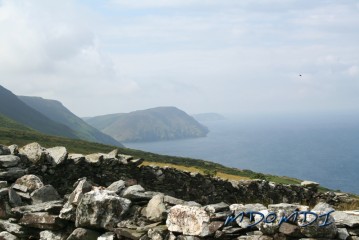
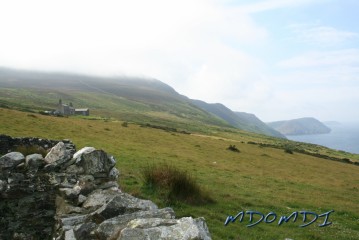
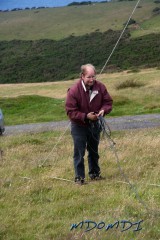
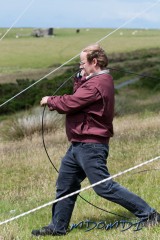
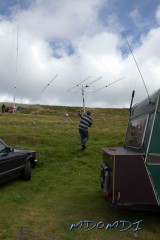
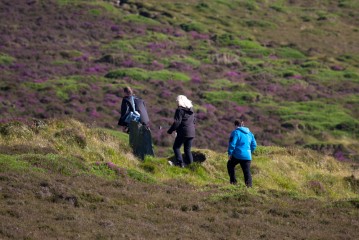
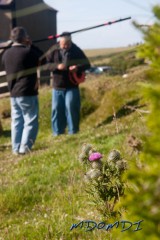
And being typical Manx weather, it started off cold and very damp, in fact it did not stop raining till around midday, but with typical German efficiency, the crew got there water proofs on and got to work erecting some very sexy antenna.
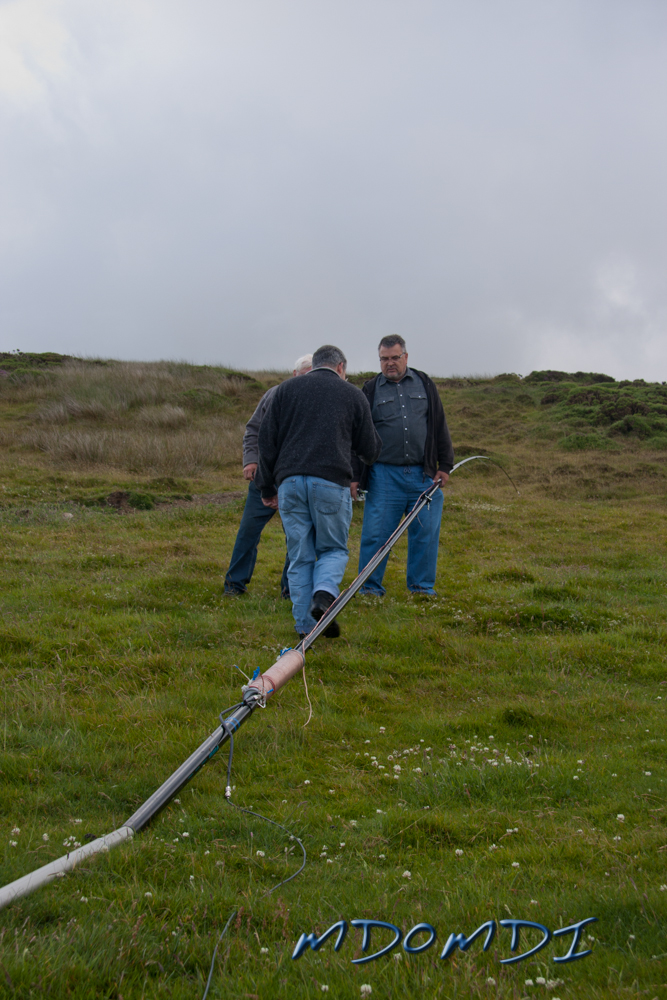
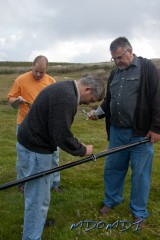
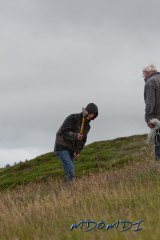
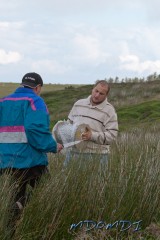
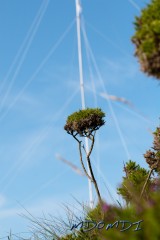
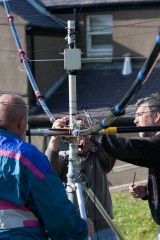
The first antenna to go up was a home-made 40M vertical.
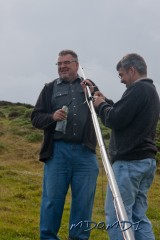
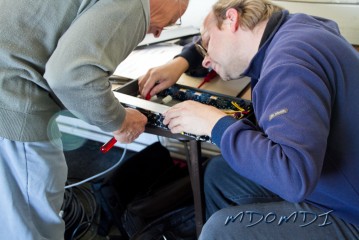
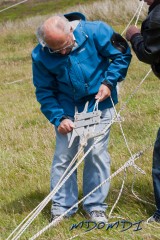
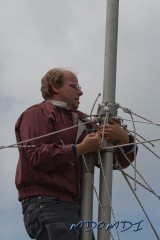
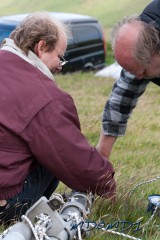
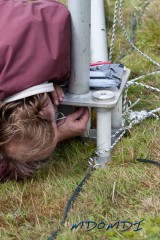
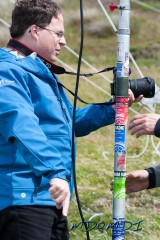
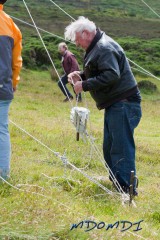
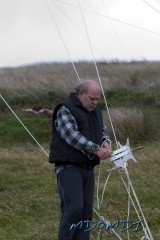
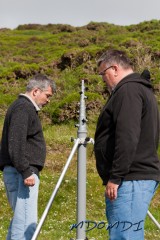
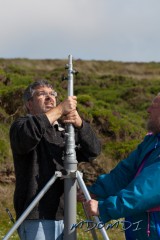
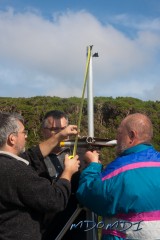
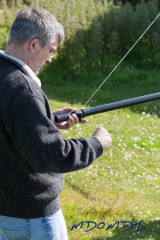
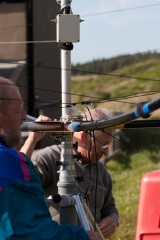
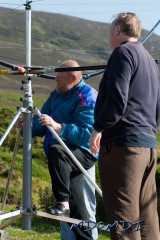
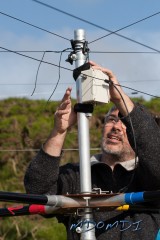
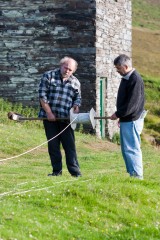
Bernd (DH1SBB) making changes to the vertical with Guenther (DG1SBU)
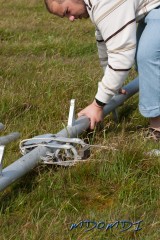
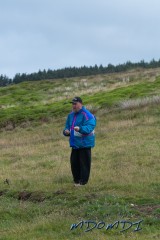
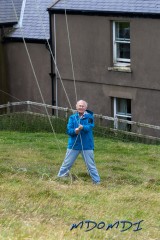
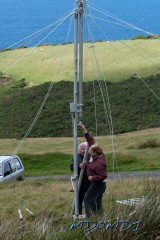
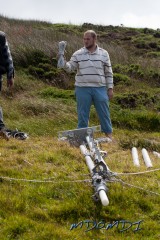
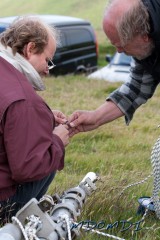
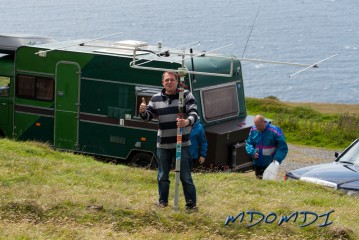
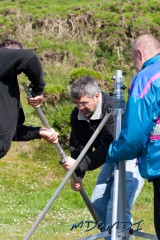
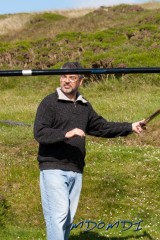
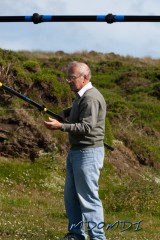
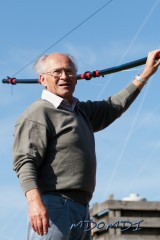
Left holding the pole - Adriano has to keep it upright whilst Guenther (DG1SBU) goes to check the stats.
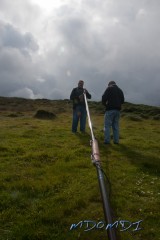
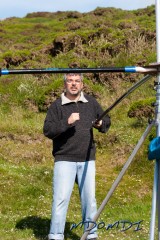
It took a few attempts to get the antenna, mainly due to having to lower it to tune it in for the best SWR, but once sorted, and radials attached, she was up and being used.
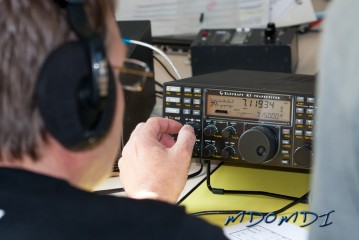
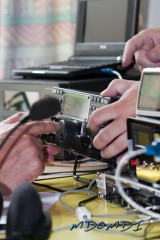
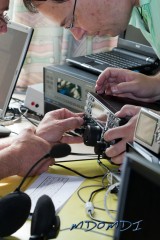
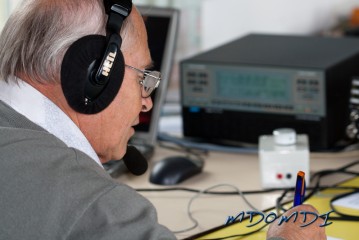
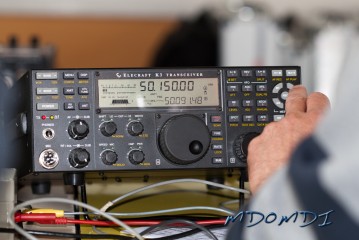
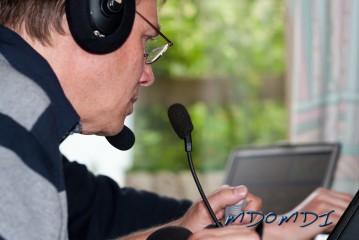
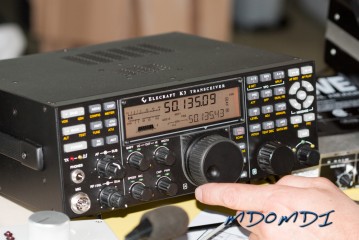
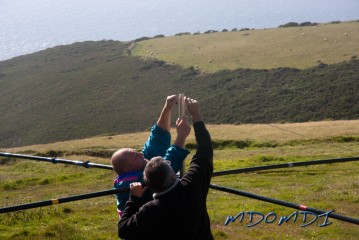
It did not take long before someone connected up one of the Elecraft K3’s and started to test the antenna, though could not really believe the first contact made, sods law really but the very first contact made was to a local School using the callsign MT0GLK, it was really nice to hear a young new amateur on the radio and thankfully Andreas Pahler (MD/DO2TGO) who made the first call on the freshly raised antenna was able to speak quite good English, even though I think that the young ham on the end was a little nervous, but still managed a very good QSO, so many thanks go out to MT0GLK for the very first contact from Eary Cushlin by the DARC DXpedition to the Isle of Man.
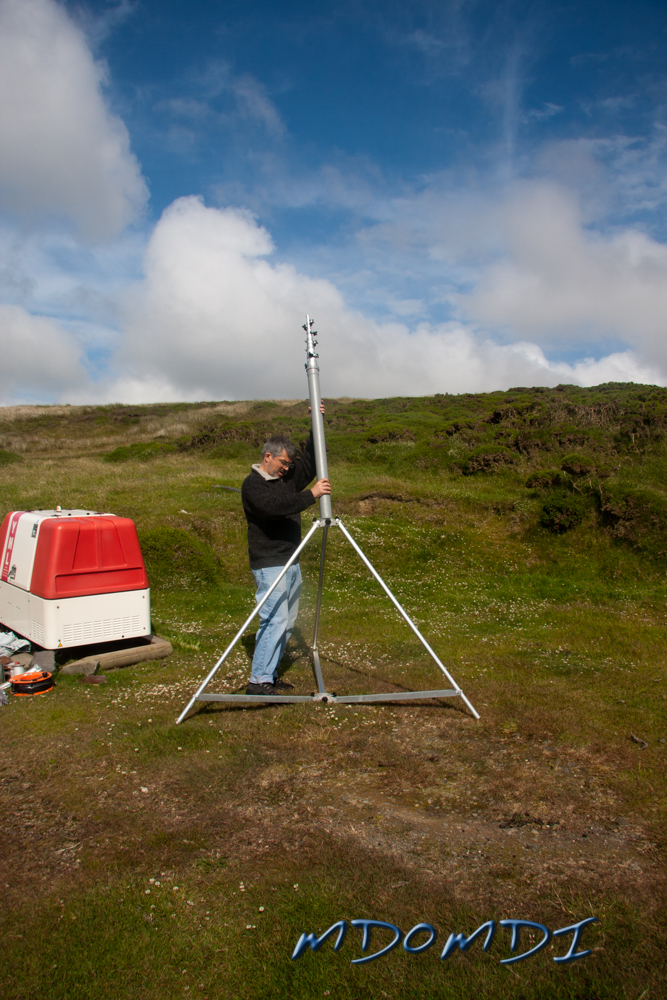
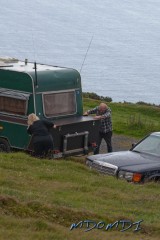
The next antenna to go up was a superb piece of German engineering, initially designed as a portable 20 meter mast for mobile events, with the aid of a small modification to its base to electrically isolate the mast from the ground, the entire mast can be easily assembled and also tuned to a perfect 80 meter antenna with an SWR of 1.0:1 with incredible ease.
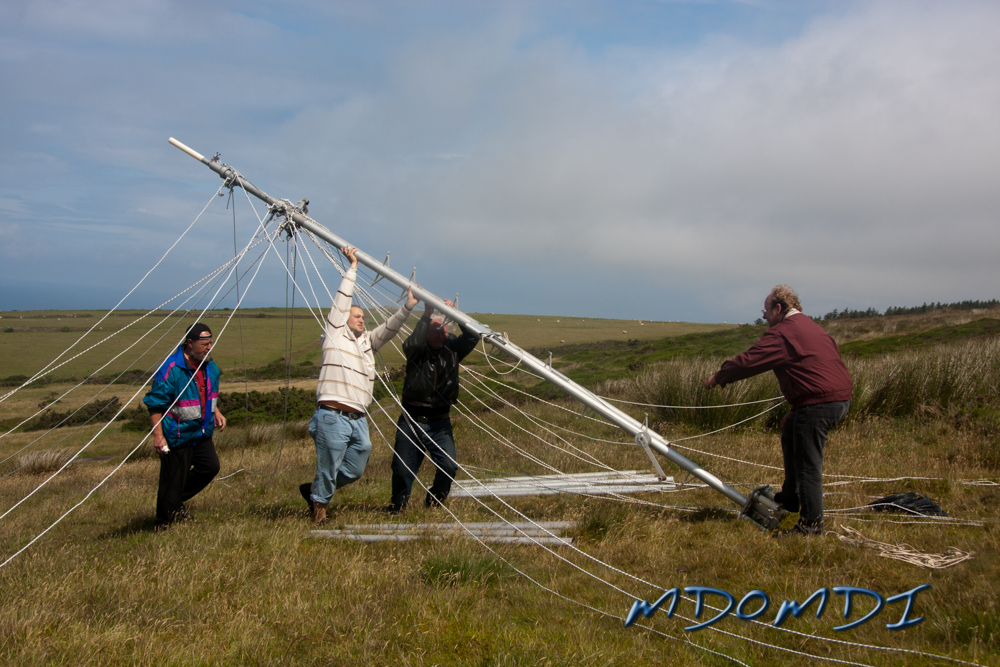
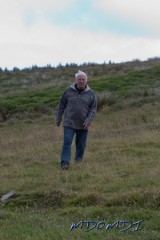
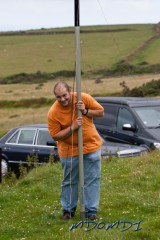
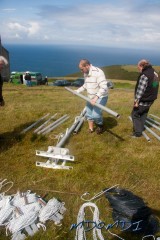
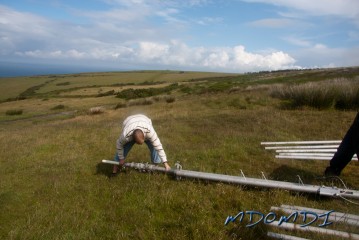
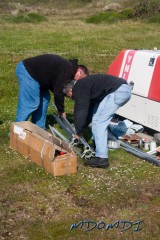
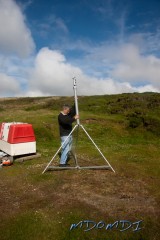
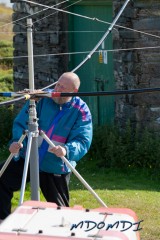
Adriano monstered on and the base section was nearly built.
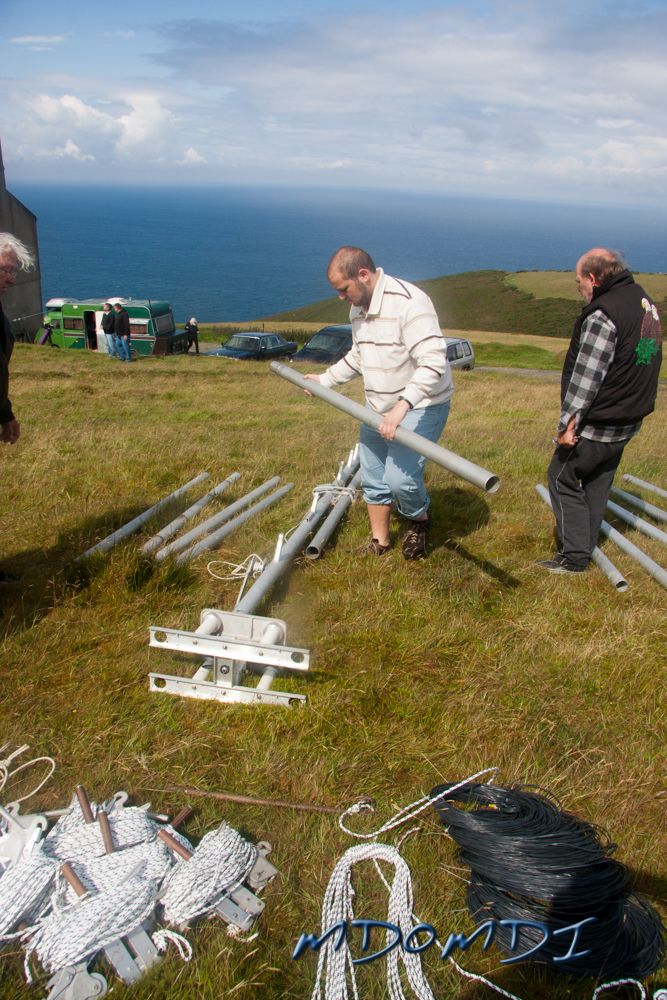
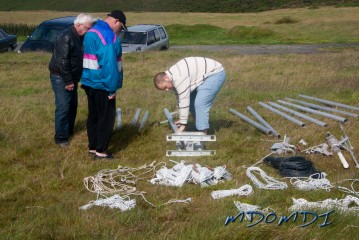
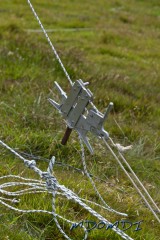
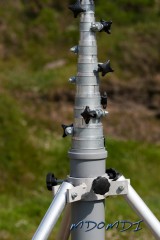
All of the parts of the 80 meter antenna (Mast) laid out ready for assembly.
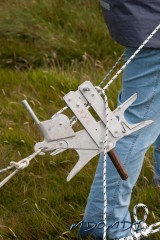
Although it looks rather complicated, the mast itself is very easy to erect, but due to its height, it does need a little planning, especially with regards to all the guys ropes that need to be correctly laid out first to make sure that none get tangled up as the mast is put up and raised to its working height.
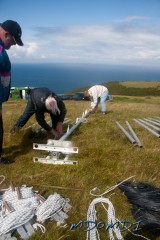
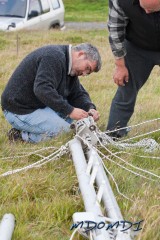
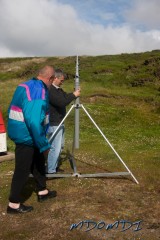
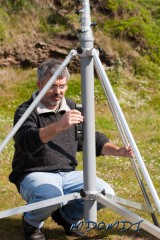
So the base sections of the mast are connected together and then raised up, once this is in position and leveled up, the guys are locked off and the crew move onto the next set of guy ropes.
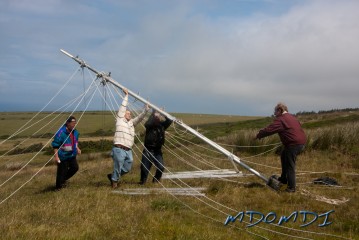
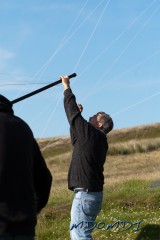
Do you remember that image of the American's lifting a flag on Iwo Jima, well this is our version.
The base of the antenna standing upright and starting to look like an English may pole
The first step over and done with.
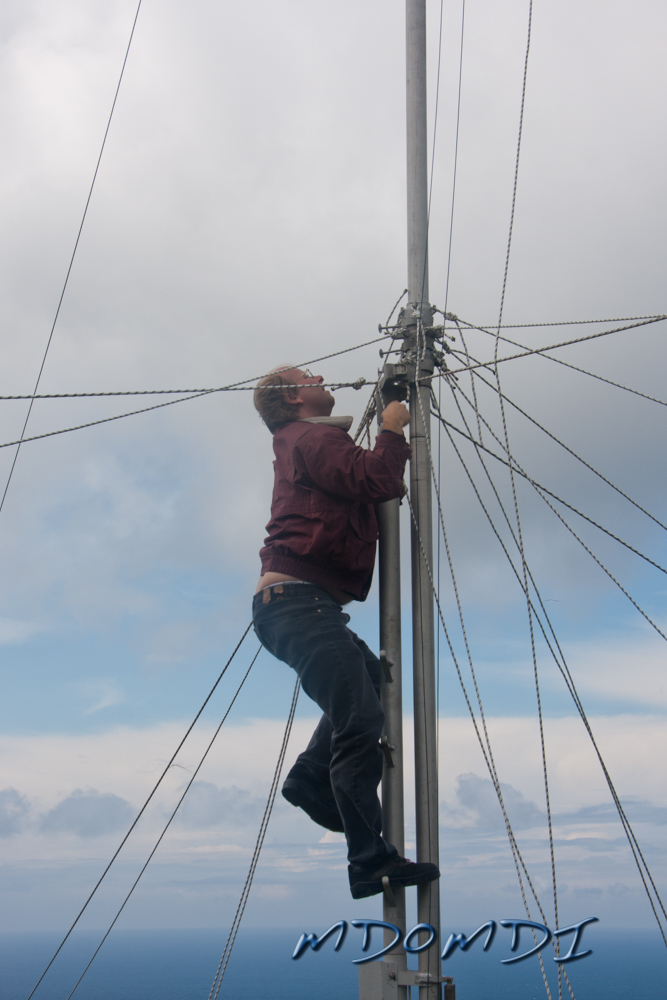
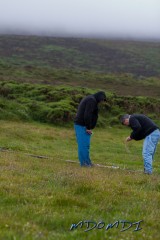
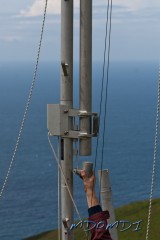
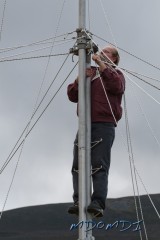
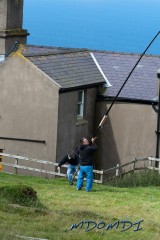
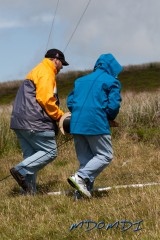
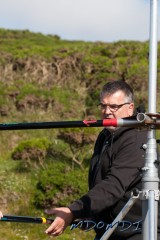
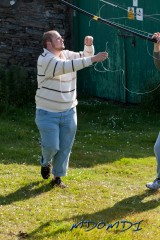
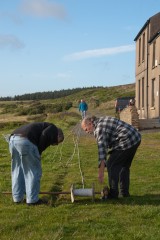
Markus (DO5MZ) climbing up the bottom section of the mast to untangle something that got caught
Small minor adjustments are performed by Markus (DO5MZ).
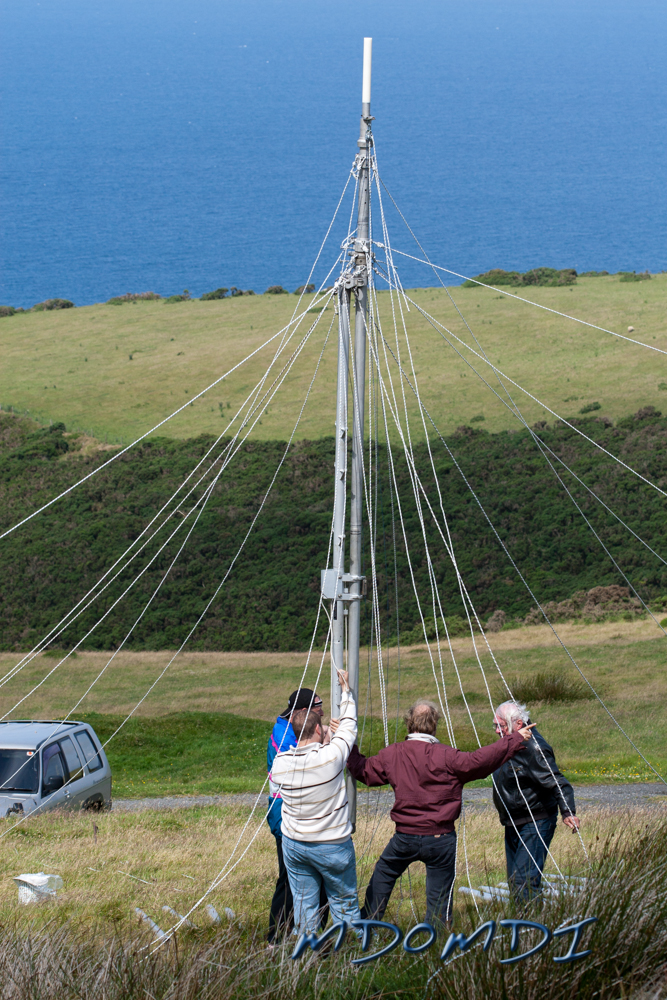
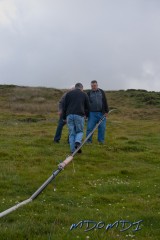
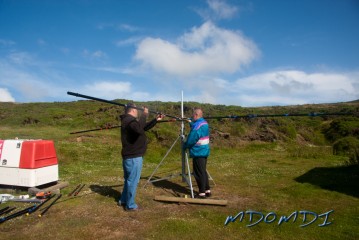
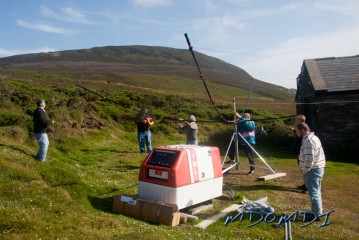
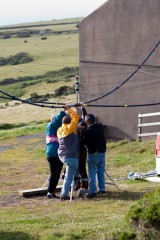
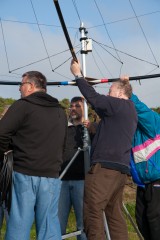
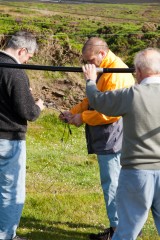
With the base section upright, each subsequent section is loaded under the previous sections and then wound up mast with the winch, when the section gets high enough anther is loaded under it, this carries on until the correct height is reached, meanwhile four colleagues hold onto the guys of the top section until they can be tied off.
The antenna nearly there, all that is required is to tighten up the guys and then tune in the antenna.
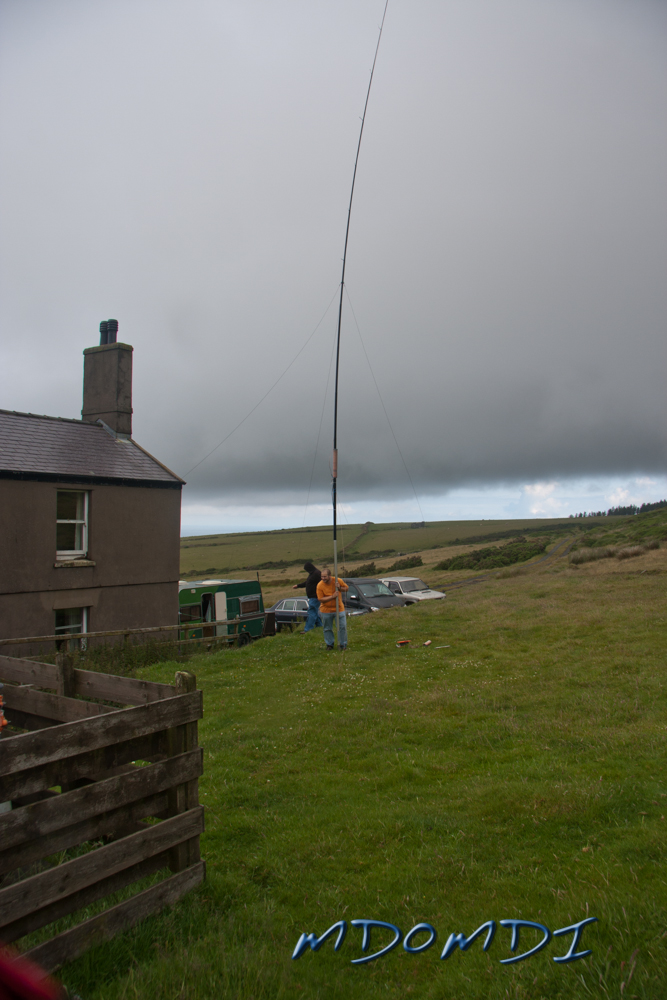
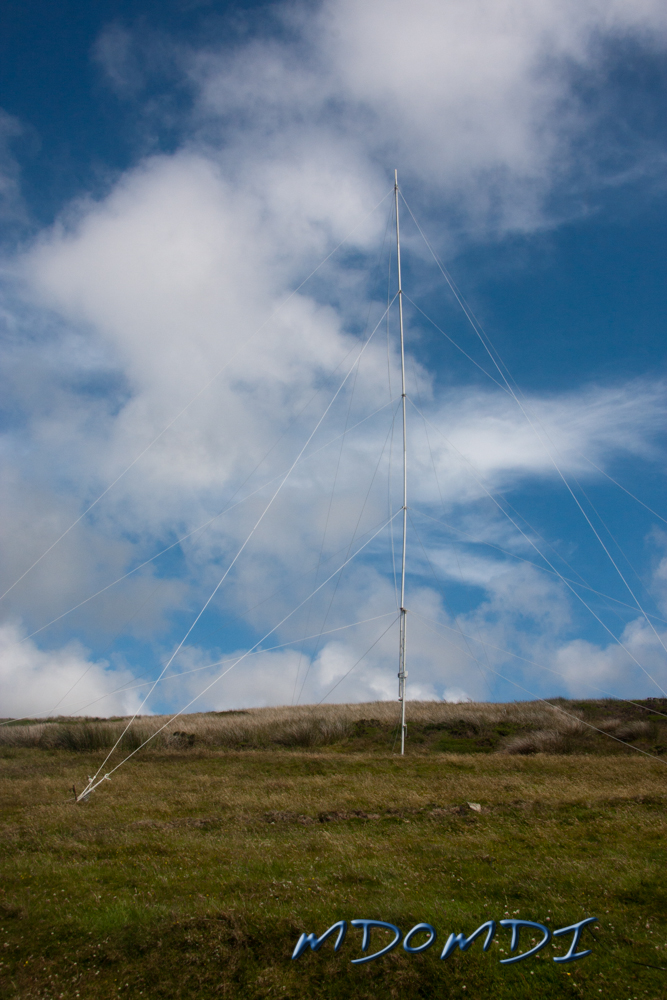
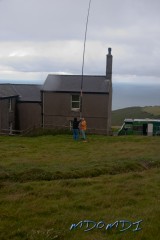
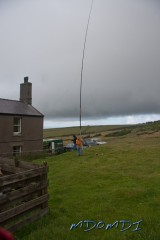
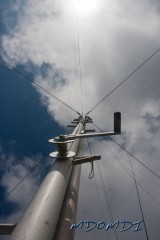
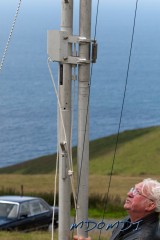
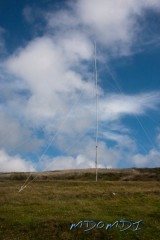
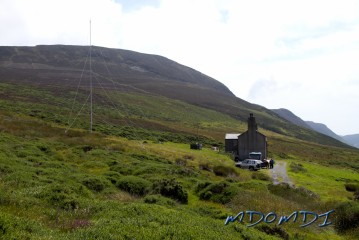
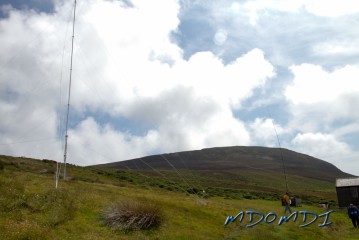
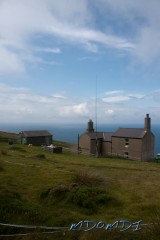
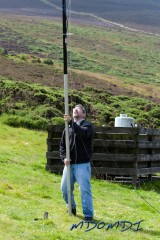
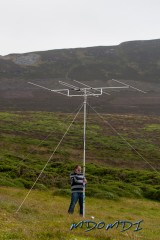
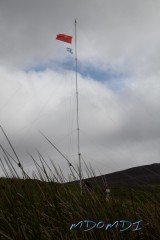
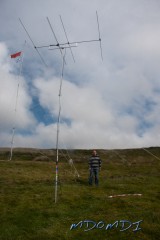
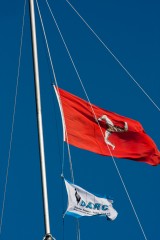
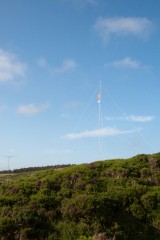
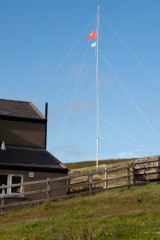
The Top Band Vertical used by the crew of the DARC OV P08 DXpedition
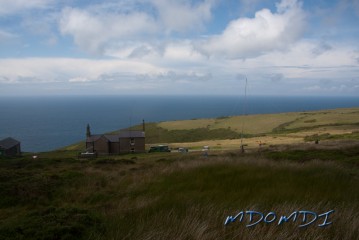
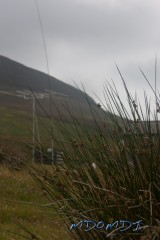
With the antenna now raised to the required height all that is required to be done is to lock off all the guy ropes, and make sure that the mast is as upright as possible. This took a while mainly due to the high winds that the crew had to work through, but after much running around the mast was looking very pretty up on the hillside behind the house.
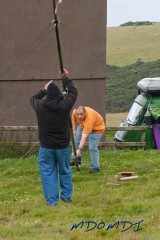
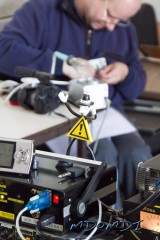
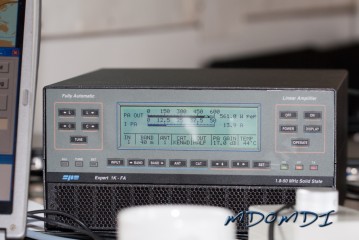
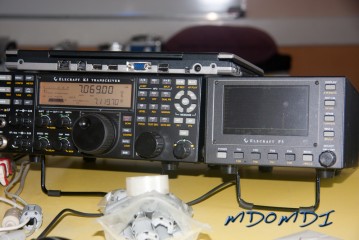
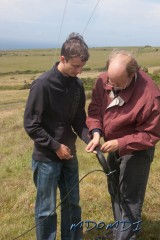
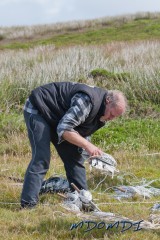
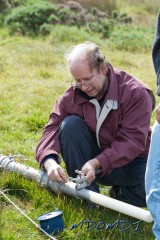
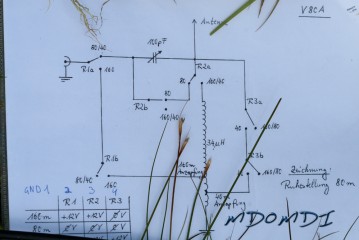
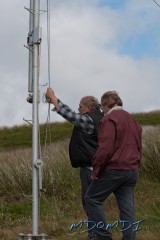
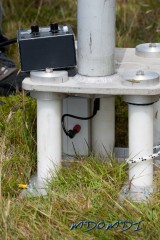
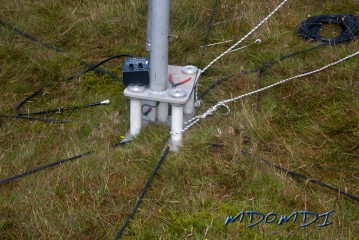
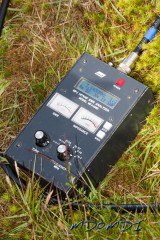
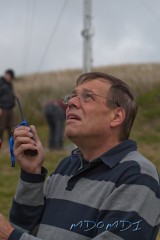
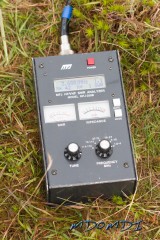
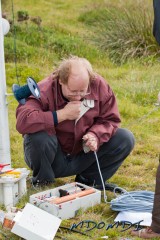
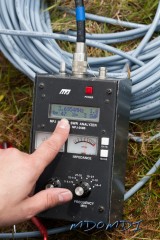
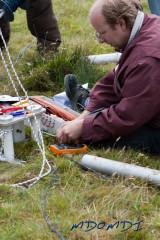
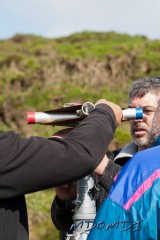
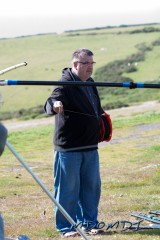
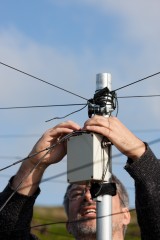
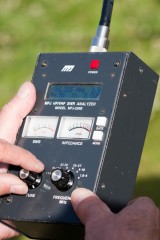
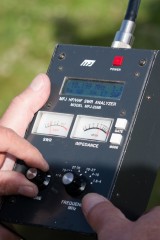
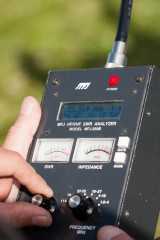
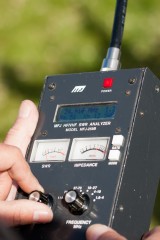
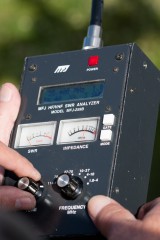
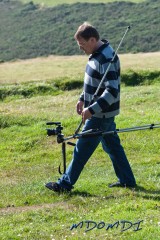
The really simplistically beautiful part of all this was the tuning, this was achieved by connecting up a MFJ analyser to the bottom of the mast and then simply either winding up or down the mast to achieve the best SWR for the desired band, and literally within a few seconds the antenna was tunes to a perfect 1:1.2.
3.68MHz with an SWR of 1.1:1
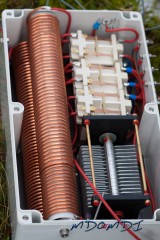
A perfectly tuned 80 meter vertical.
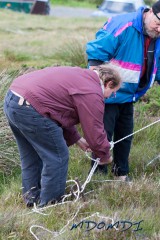
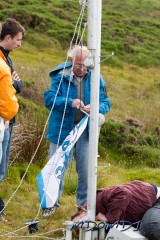
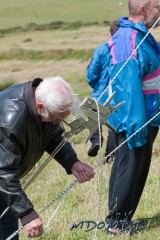
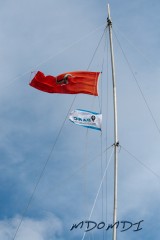
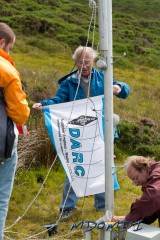
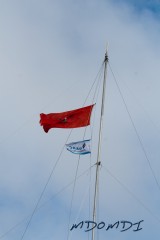
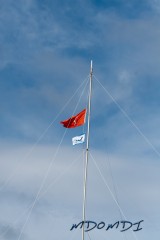
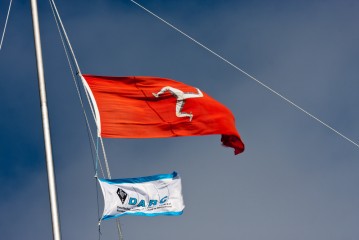
The last job was to retie off the guy ropes and raise the flag!
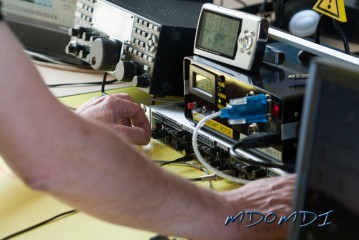
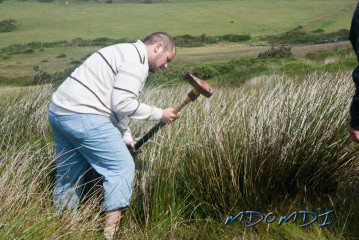
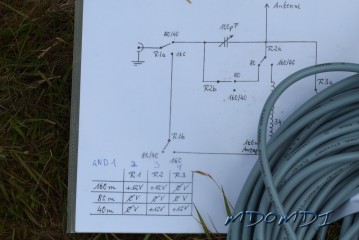
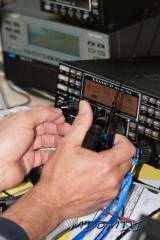
As with all of the antennas raised here at Eary Cushlin by the crew of this DXpedition, they make sure that all of the antennas will work without any need to tuners, and all are tested at the base of each antenna and then again at the end of the connect feeders, and they are not happy unless the SWR is a very acceptable 1.6:1 or below.
No just throwing up a length of wire here and hoping it will work like some amateurs would do, or relying on a tuner to handle the mismatch, the antennas here are built, tested, erected, and retested again and again till they know that they will work when they ship them to the different countries that they visit on these DXpedition.
Next –
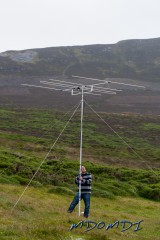
The Spiderbeam
The Spider beam proved itself to be a real monster of an antenna last time it was erected here back in 2009, and with a few slight modifications it was hopefully going to prove to be great once again!
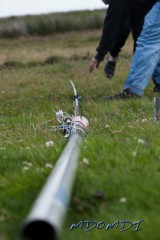
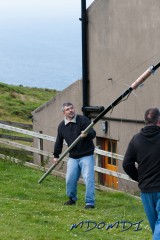
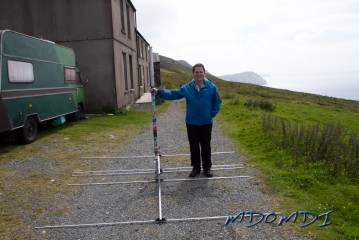
Telescopic Mast ready for an antenna to be added to it
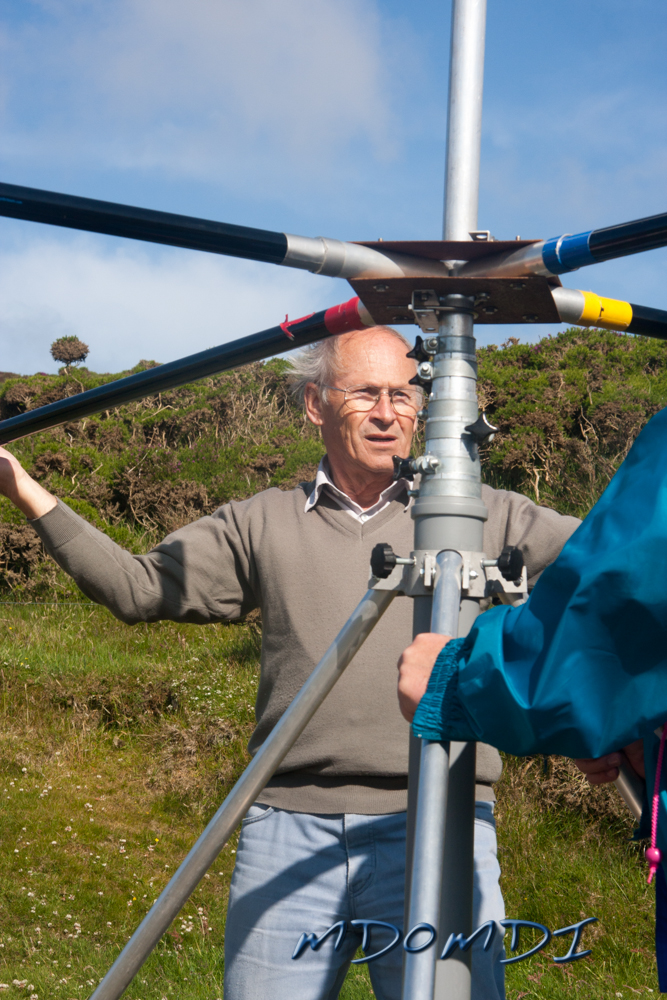
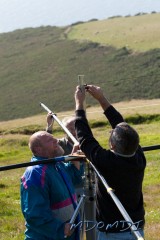
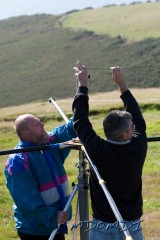
Although a little fiddly, the Spider beam is a great antenna for this sort of DXpedition, it comes in just one box and is totally lightweight and portable, the heaviest part of this build is the heavyweight tripod that the crew will mount the antenna on.
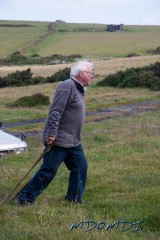
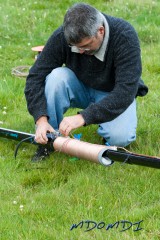
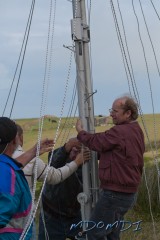
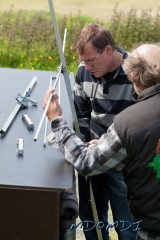
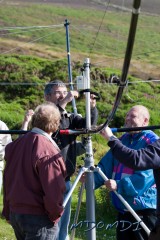
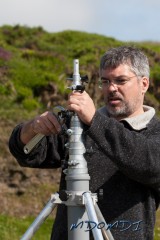
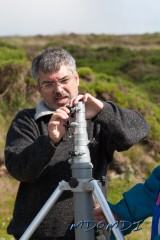
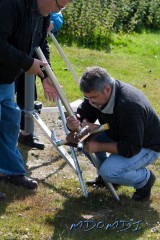
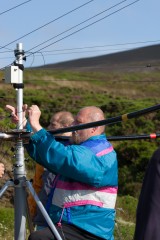
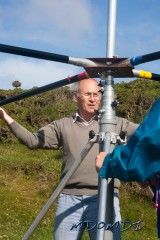
Bernd (DH1SBB) Checking the level
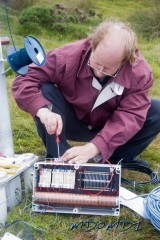
Like most things done on this DXpedition, great care is taken in making sure that this are correct before they install anything, this is the same for all of their equipment, not just the antennas used here.
Bernd (DH1SBB) assembling the base of the Spiderbeam
Once the Base of the Tripod stand is setup level, the mast is inserted and the build of the Spider beam is started.
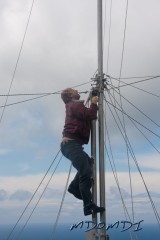
Walter (DJ4AK) joined the guys to help put the Spider Beam together
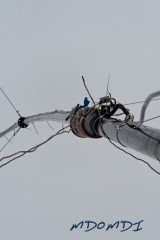
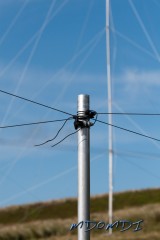
The main poles are attached to centrepiece and then these are connected together with insulated nylon line to keep the poles from moving around in the wind.
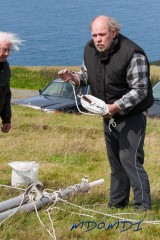
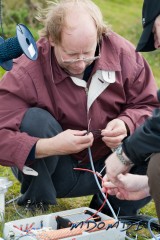
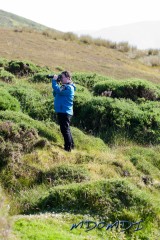
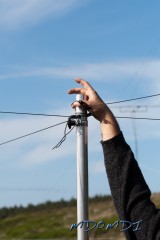
Erwin (DL6SBN) playing with the wires
With this done the end poles are connected up and then the radials are attached to all the poles in order, this may sound as though this is easy, but it does take a lot of time to make sure that each element is laid out correctly and that they are attached in the correct order.
Now will it lift?
After all of the radials are fitted and tightened up, the last thing left is to raise the antenna up to its working height.
Once again this was tested with a meter and was found to be perfect on all bands between 20 meters and 10 meters
14.35MHz and a 1.0:1 SWR
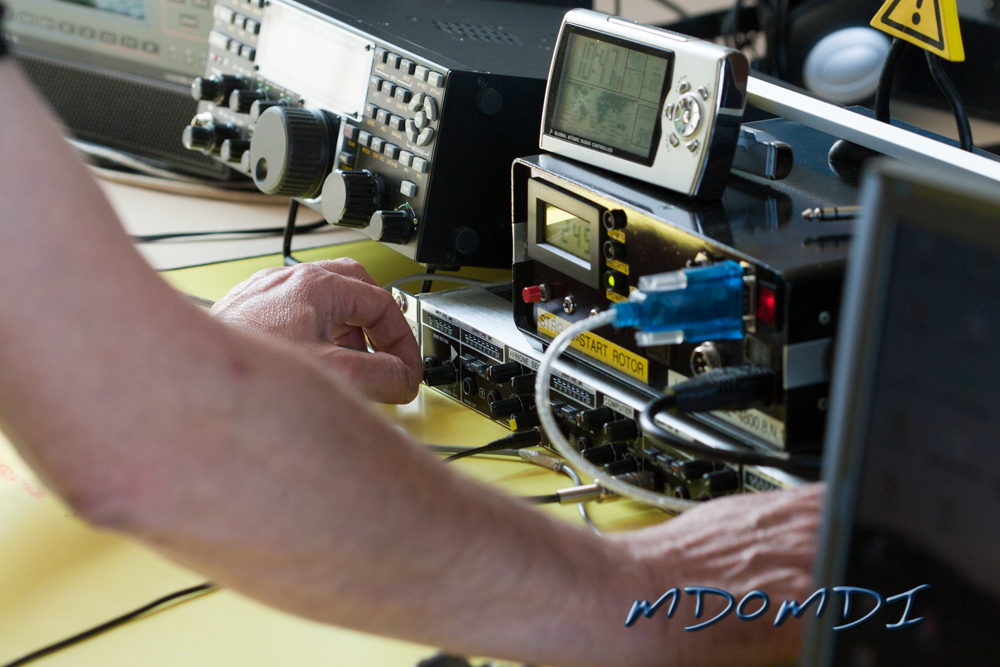
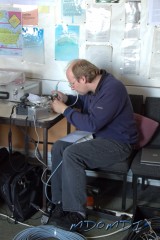
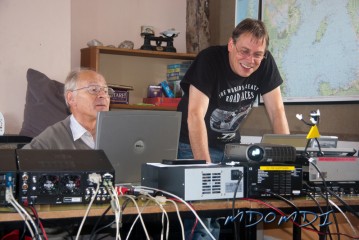
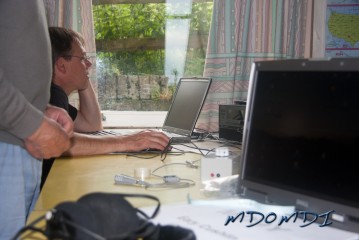
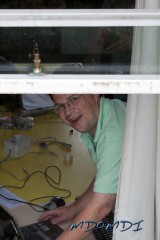
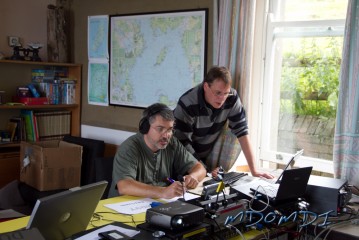
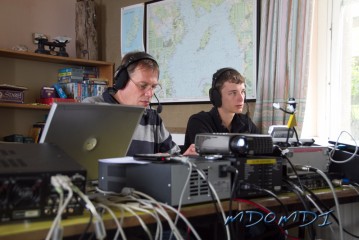
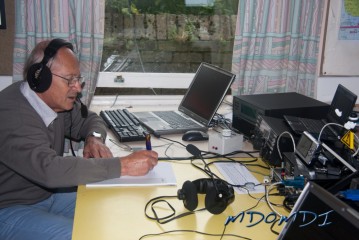
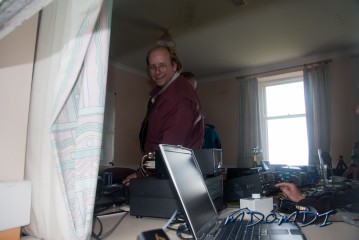
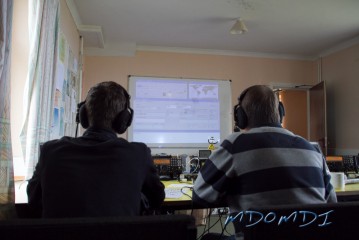
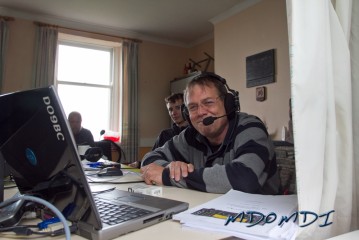
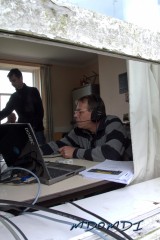
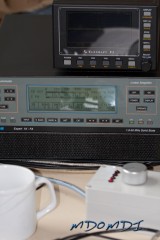
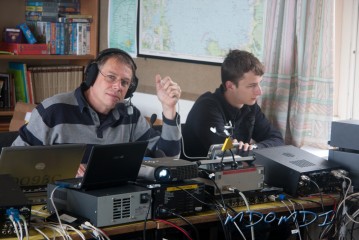
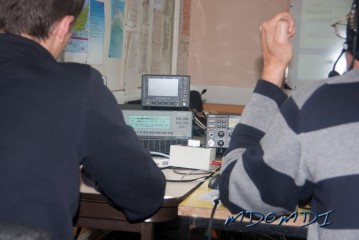
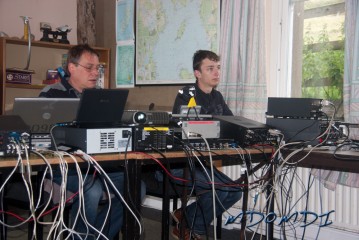
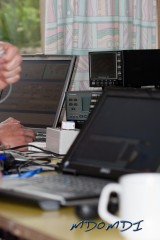
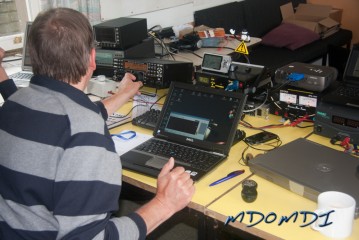
So with the end of the day looming, and a lot of work carried out by all, all that was needed was a finally clean up around the house and final testing inside the shack to make sure that all of the feeders where working correctly.
So all set for the weekend and just some minor checks to be done of the radio equipment and sundry items.
I am now retired and living on the Isle of Man, my background is as varied as it gets, ranging from Information Technology to Graphic Designer and 3D VFX Artist, using and teaching Autodesk Maya, Softimage, and Smoke, one of more enjoyable positions. Since Moving to the Isle of Man I try to keep myself to myself and work on the house, I don't do much with regards to Amateur Radio or Electronics anymore, but I am still interested in the hobby and may well get back into it one day....