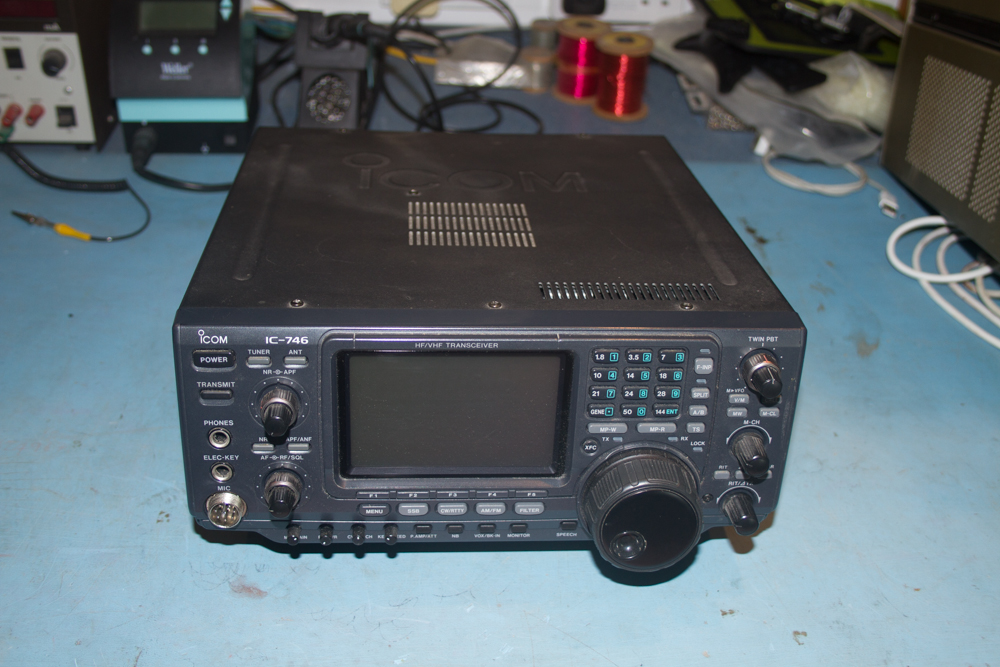
This is a quick tutorial on how easy it is to Expand the TX range of the Icom IC-746.
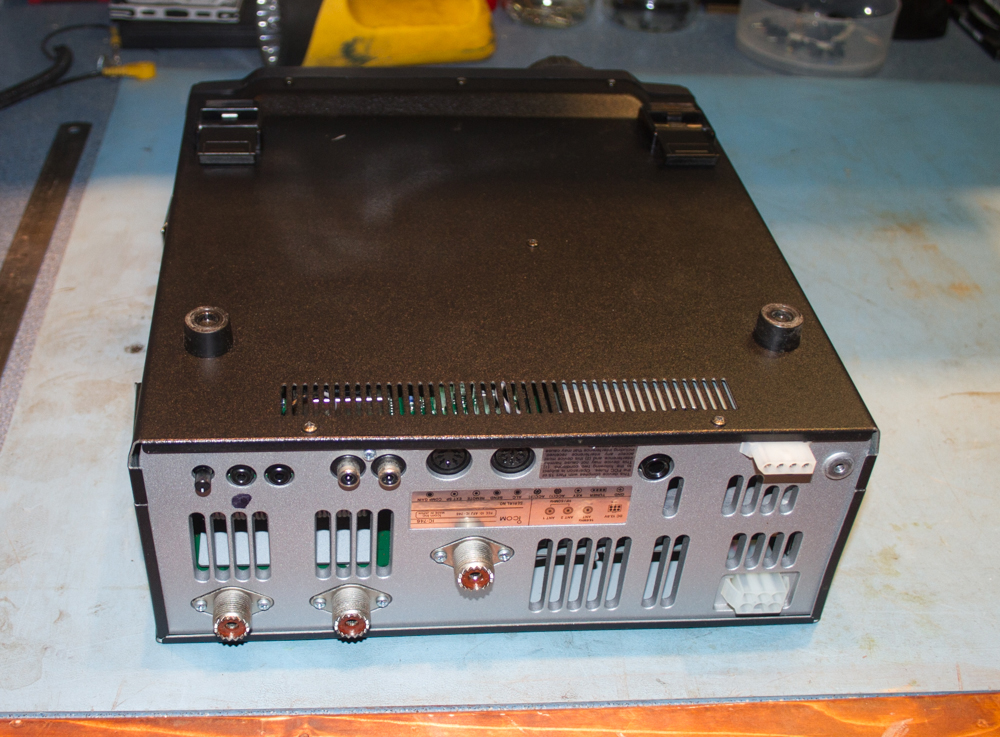
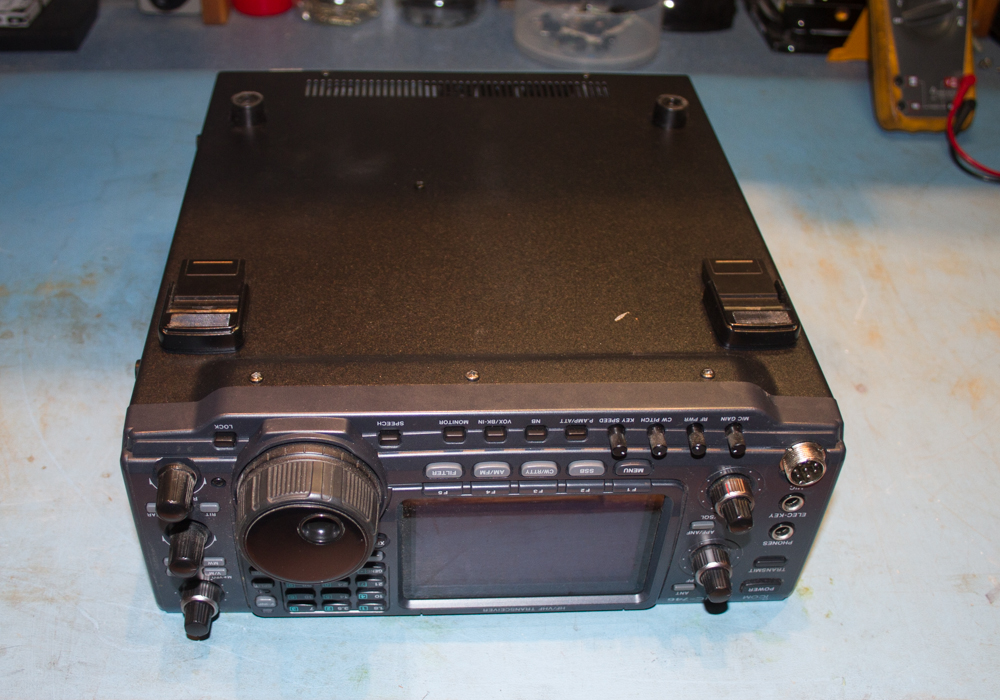
Your fist job is to remove the bottom cover of the radio. If you are careful here and you have a soft surface to put the radio on, you could get away with only removing the bottom cover, it is a bit of a fiddle, but it will save you a little while doing this.
You will need to spin the radio around to get at all the screws.
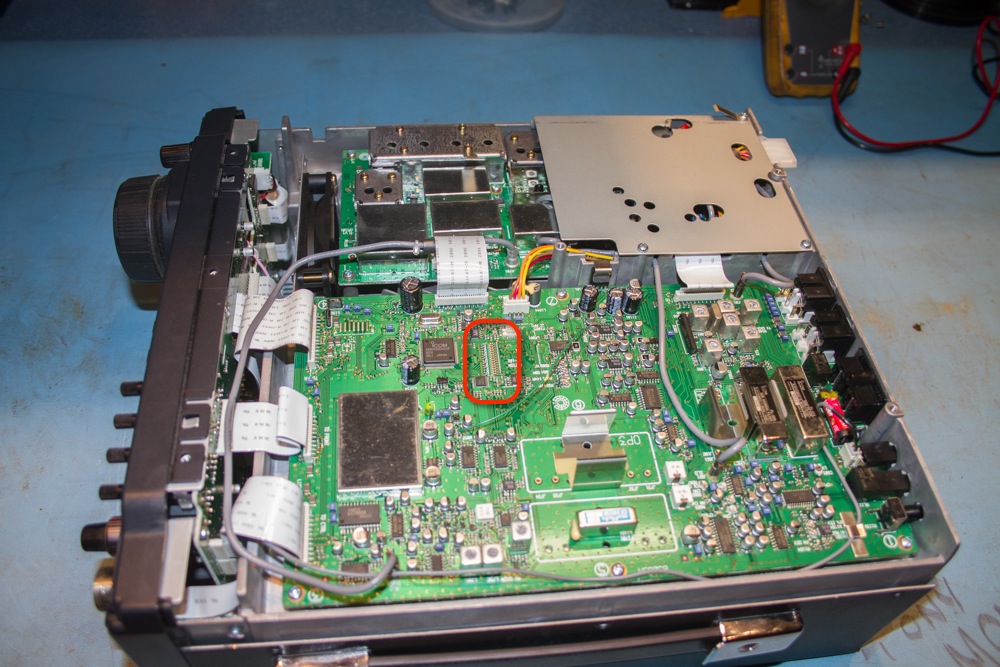
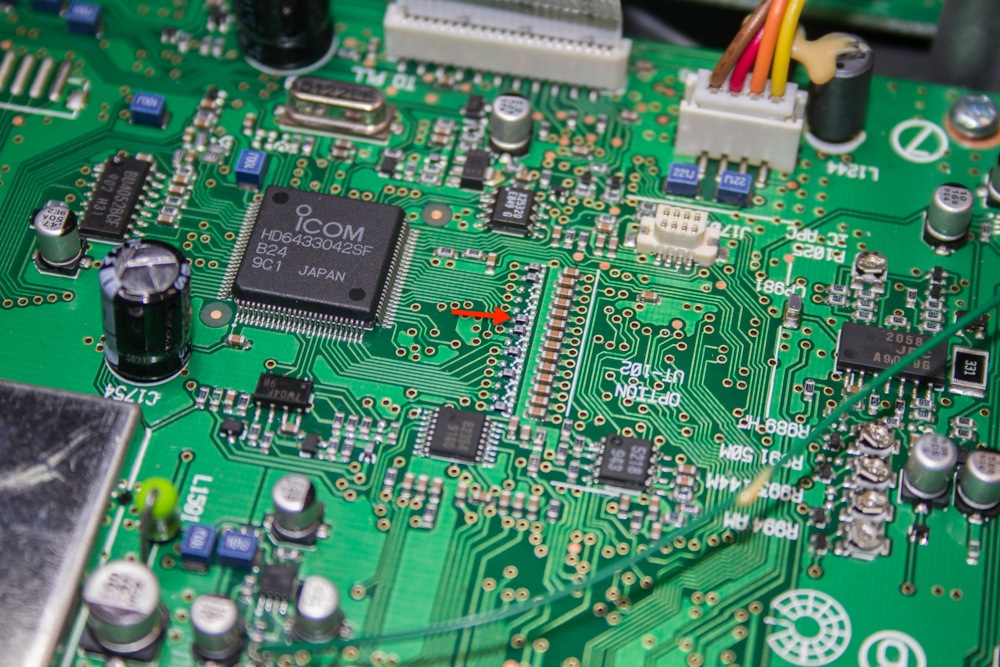
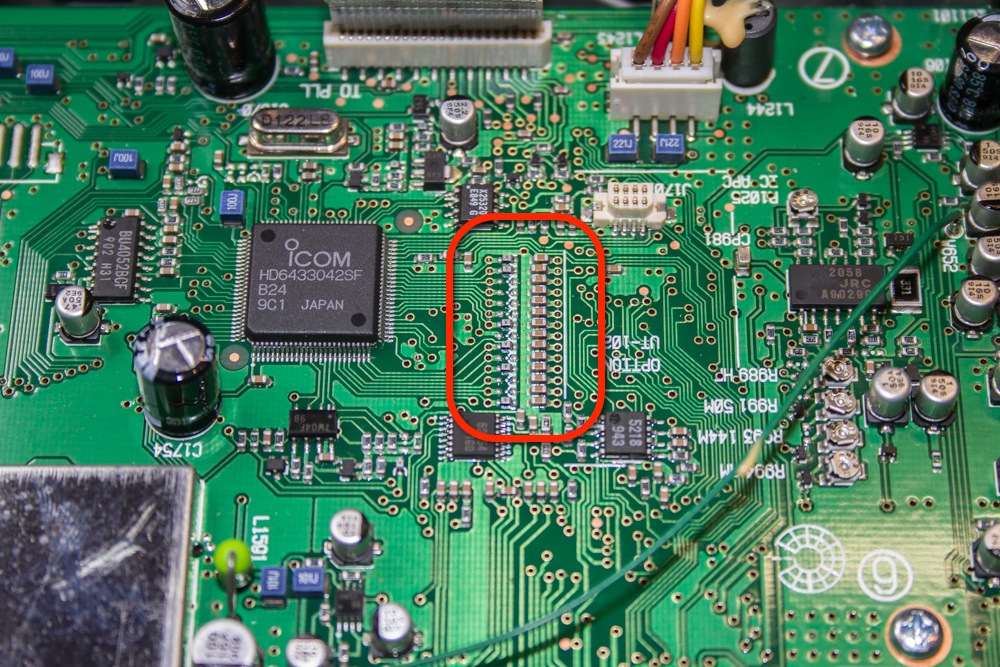
Once the bottom cover has been removed, you need to look for the jumper block that is situated in the middle of the radio as highlighted below in red.
The link that needs to be removed is shown below by the red arrow.
You will need quite a fine soldering iron for this task as the links that you are de-soldering are very small indeed.
I would recommend just de-soldering one end of the link, you should then be able to ever so gently lift this up a little so that it about 45 degrees off the board as shown below.
This will enable you to test the radio before removing the link. If you remove the link in one go and then find that you have not removed the correct link, you will have the fun task of re-soldering it onto the PCB, and as stated, these are very small and if you have no experience of Surface Mounted devices, then you may regret this.
Once you have tested that the radio will Transmit out of band, then you can un-solder the other end of the link and remove it with a very fine set of tweezers.
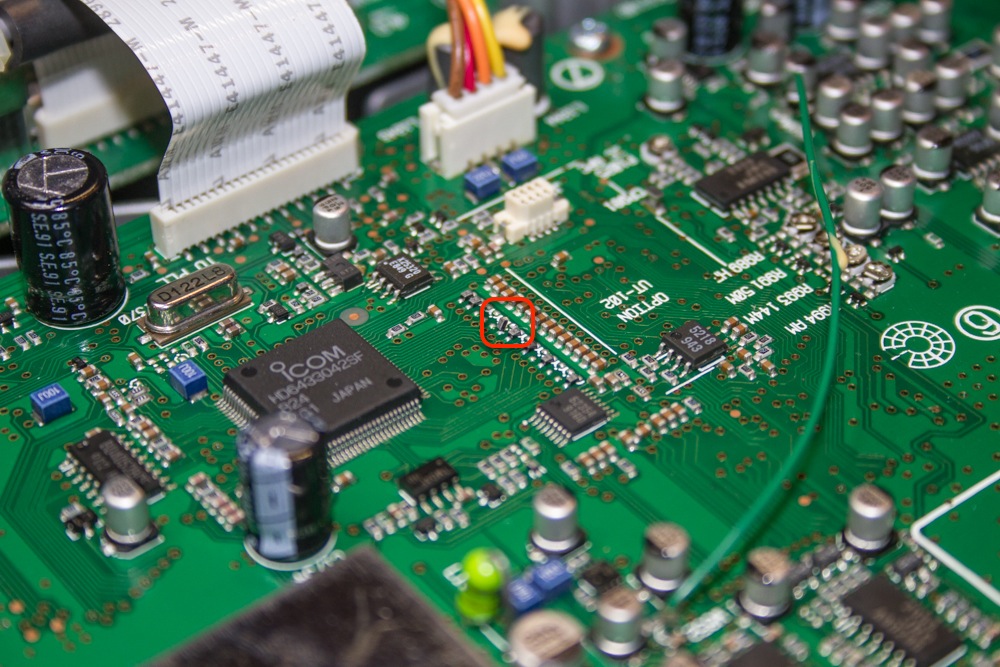
Here is the final look of the jumper block with the link removed.
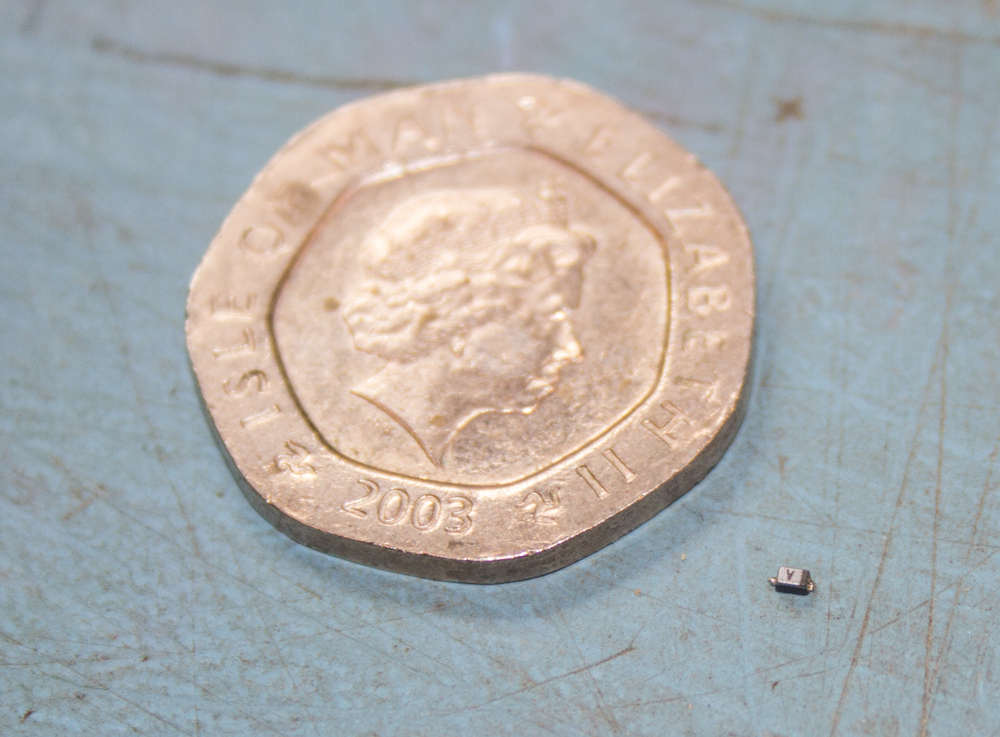
And just to give you an idea of scale regarding the size of the link that needs to be replaced, here it is alongside a 20 pence peice.
If you are now happy with this modification, you should now replace the cover and screws and put the radio back into use.
IC-746 Resistor comparison to a 20 pence piece.
Kenwood TS-570D Blue LED Display Modification
Simple guide to changing the display to a much more easy to read colour.
I am now retired and living on the Isle of Man, my background is as varied as it gets, ranging from Information Technology to Graphic Designer and 3D VFX Artist, using and teaching Autodesk Maya, Softimage, and Smoke, one of more enjoyable positions. Since Moving to the Isle of Man I try to keep myself to myself and work on the house, I don't do much with regards to Amateur Radio or Electronics anymore, but I am still interested in the hobby and may well get back into it one day....