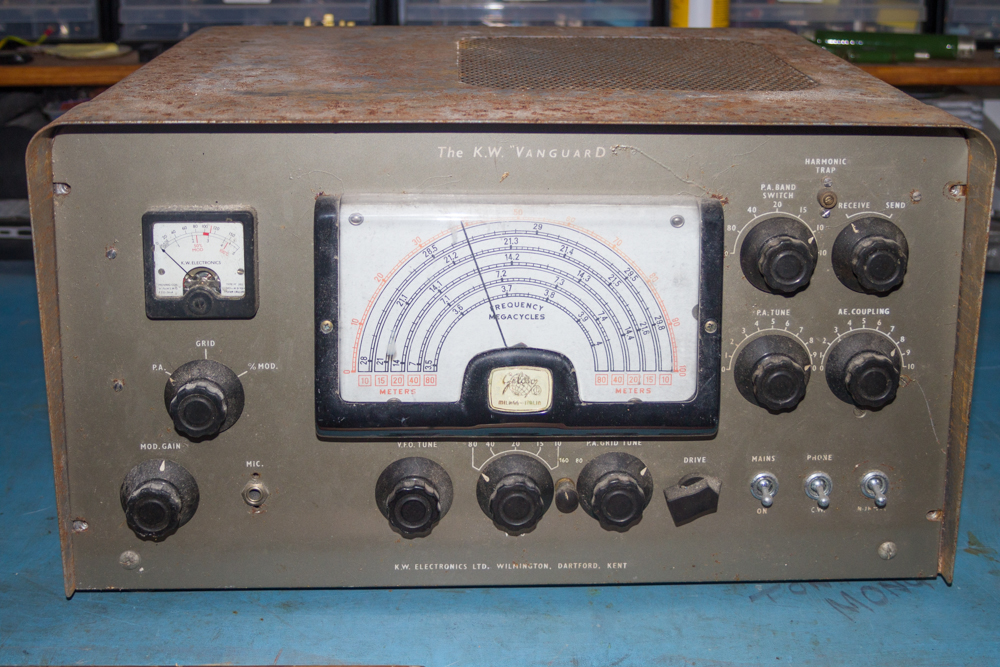
KW Vanguard's Control Knobs
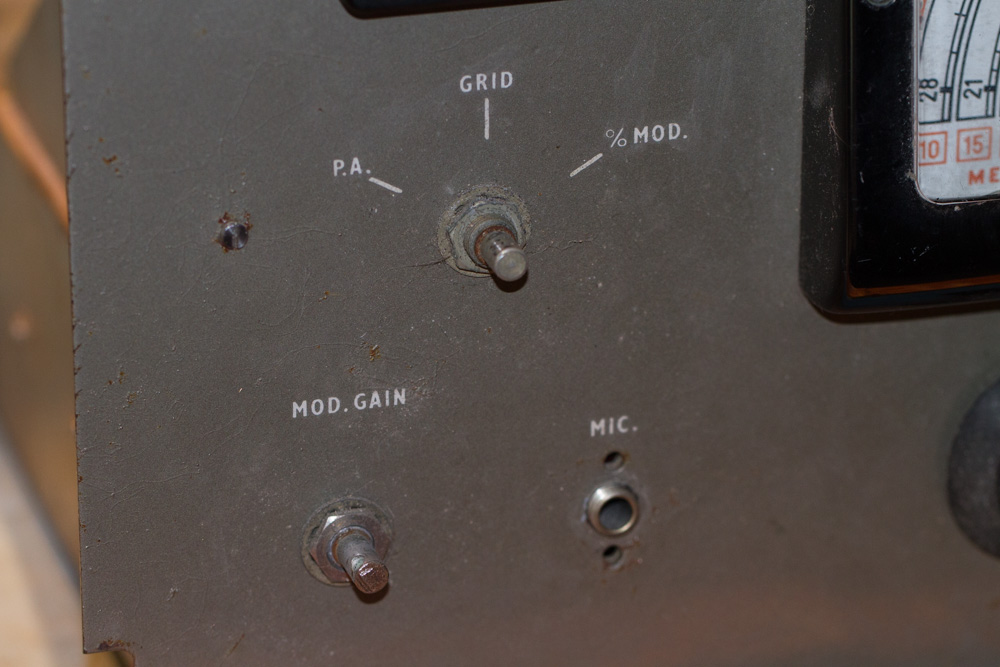
So that’s the right hand slide of the unit sorted, now lets look at the left hand side starting with the ‘Mod Gain’ control knob.
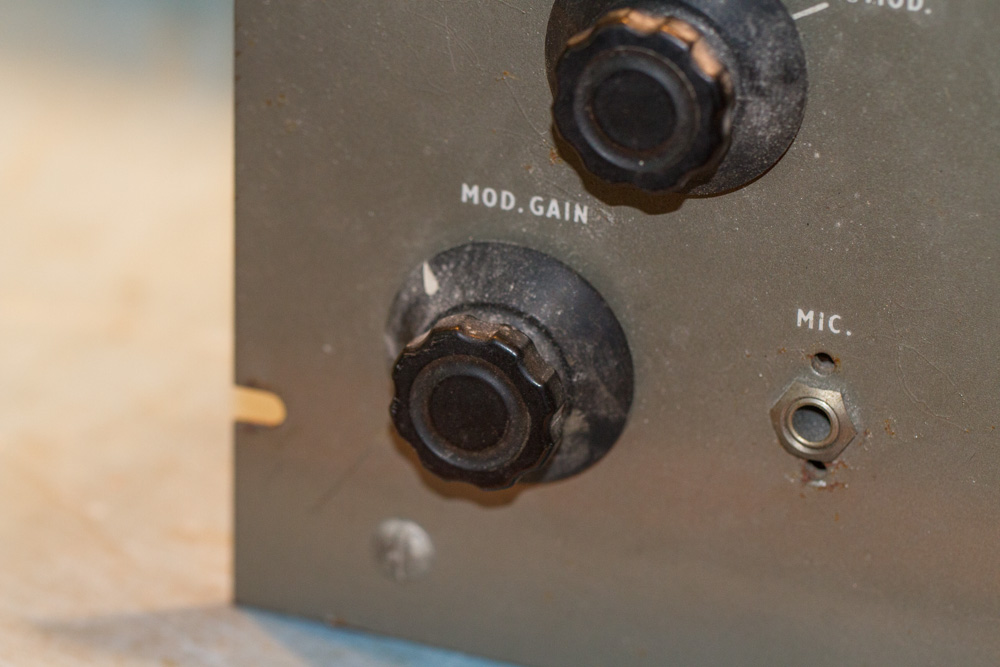
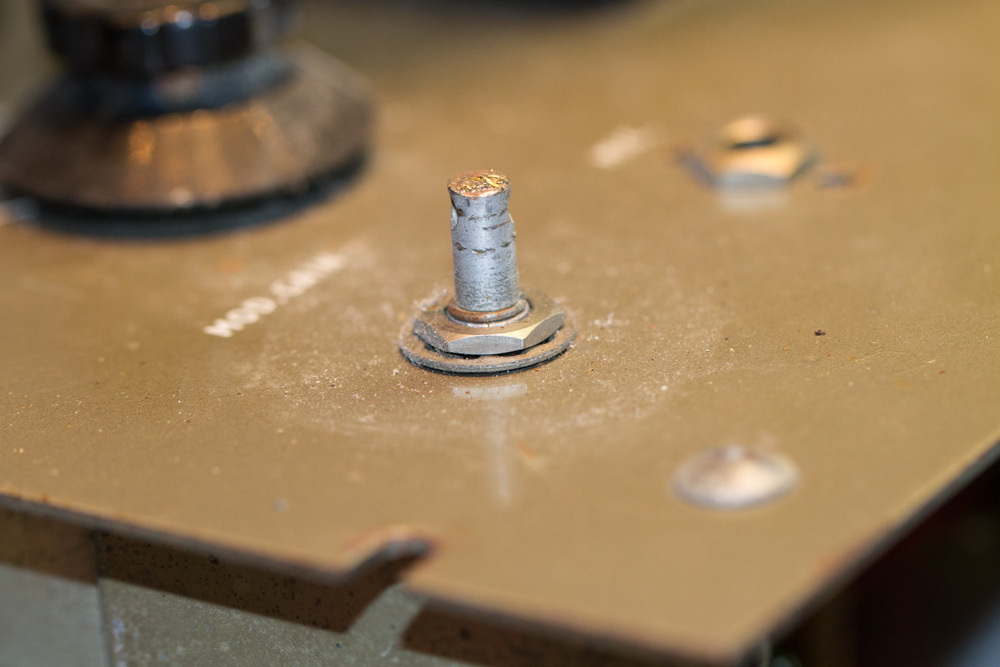
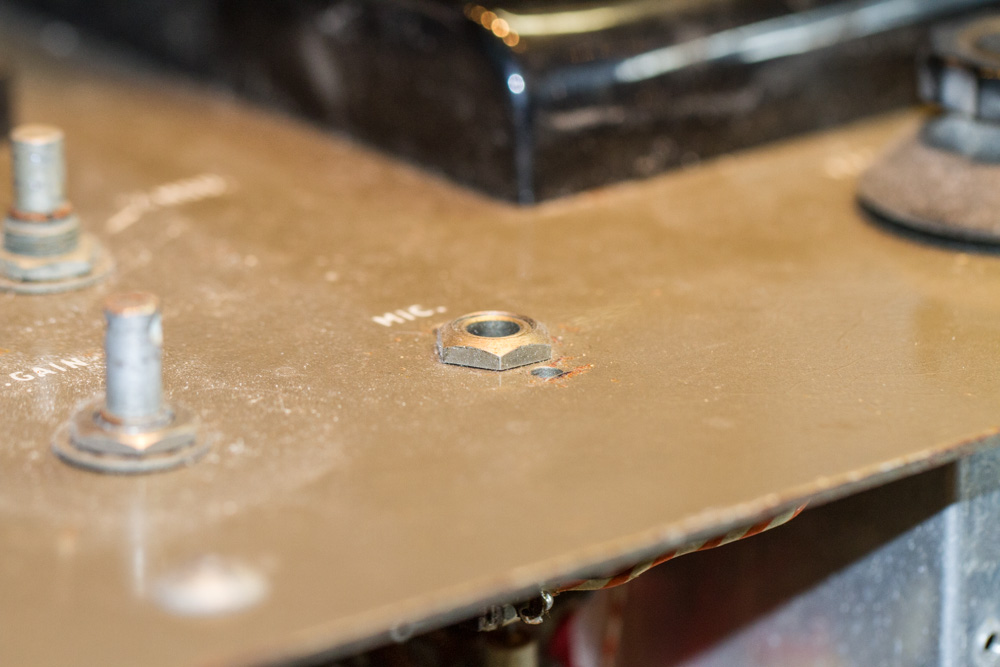
Staying with the left hand side I need to remove the nut that holds the ‘Microphone’ socket in place, this is a simple job to do with either a small spanner or a set of pliers, if using pliers try to make sure that no damage is done to the nut as this will show and may need to be replaced.
After this is the ‘Meter Switch’ which came off as easy as the last.
That just leaves the meter itself but this will be done at the end of this part.
Last, well for the knobs that is, we need to do the center lot starting with the ‘VFO’ Knob.
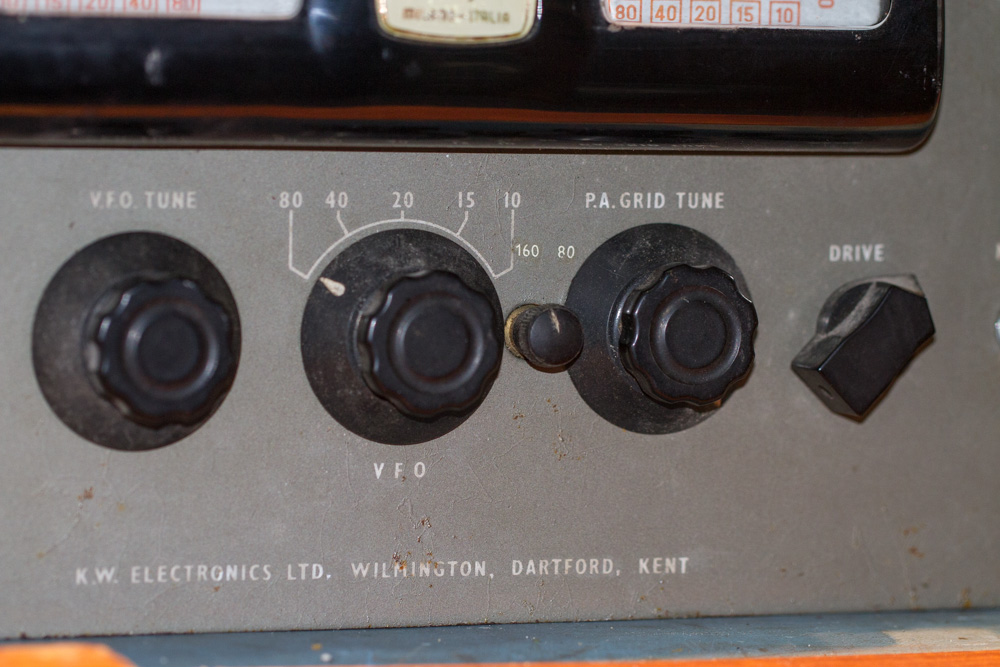
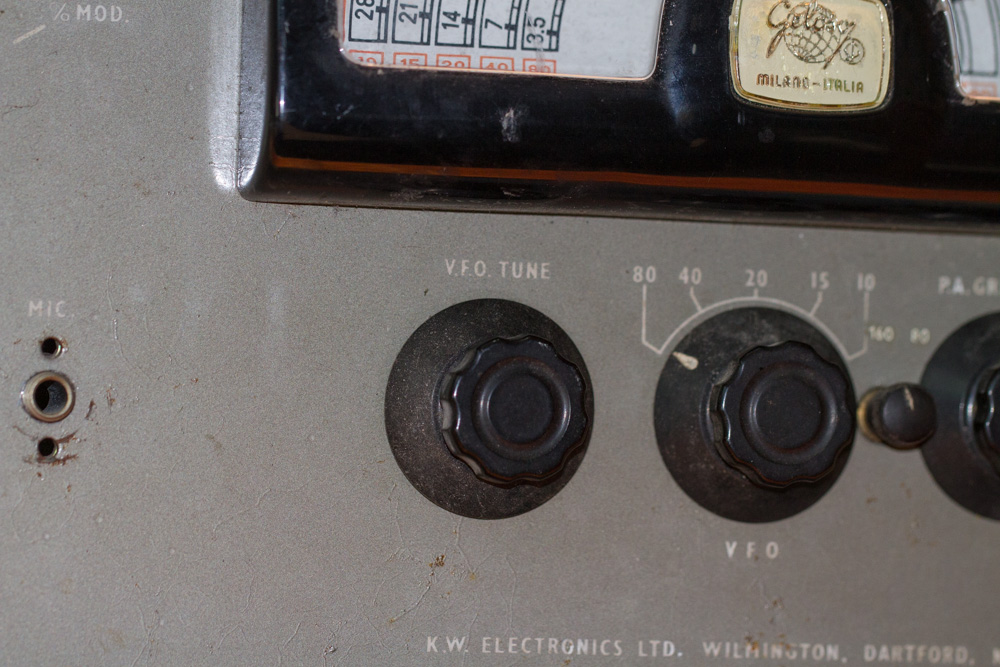
With that one removed we move onto the VFO Band Selector knob which can be removed with ease.
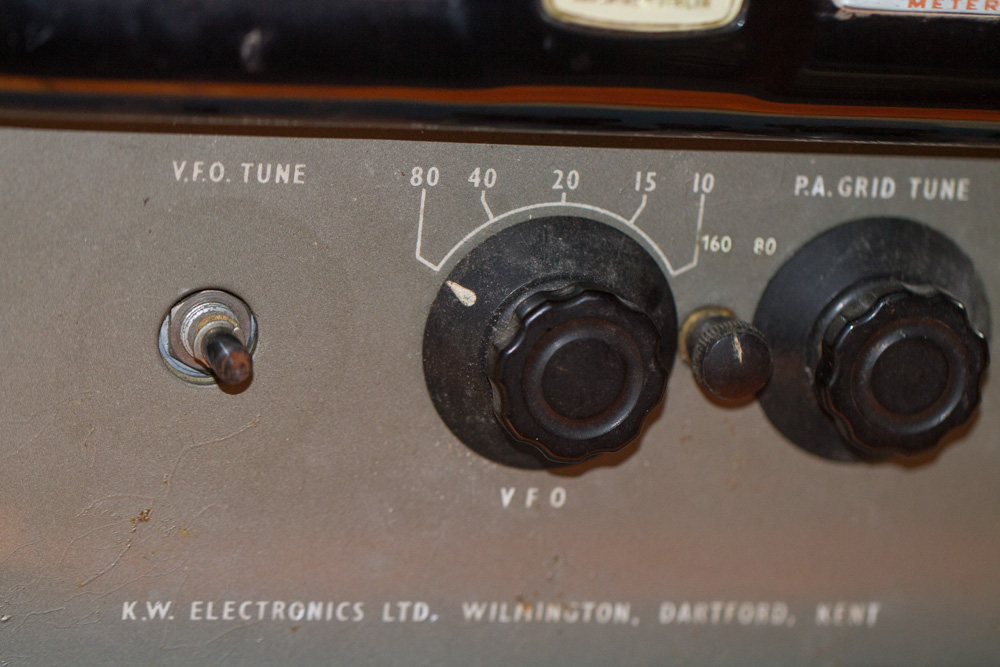
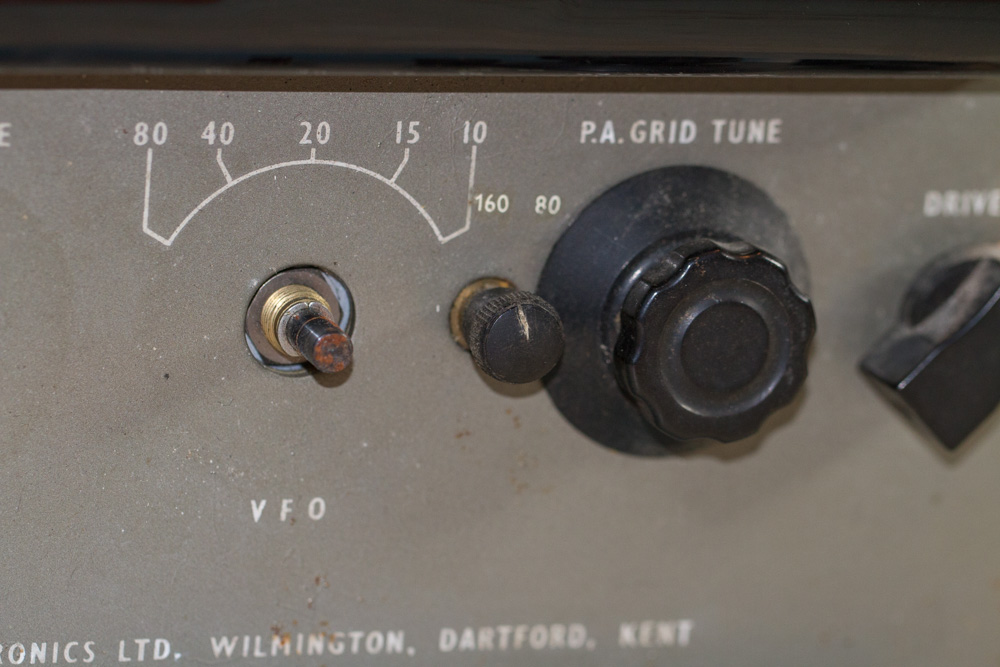
This small knob is the one that is used to select 160m or 80m operation, I will miss this for the moment and move onto the next knob so that I can get a bit more access to this knob.
So the next to be removed is the ‘PA Grid Tune’ knob.
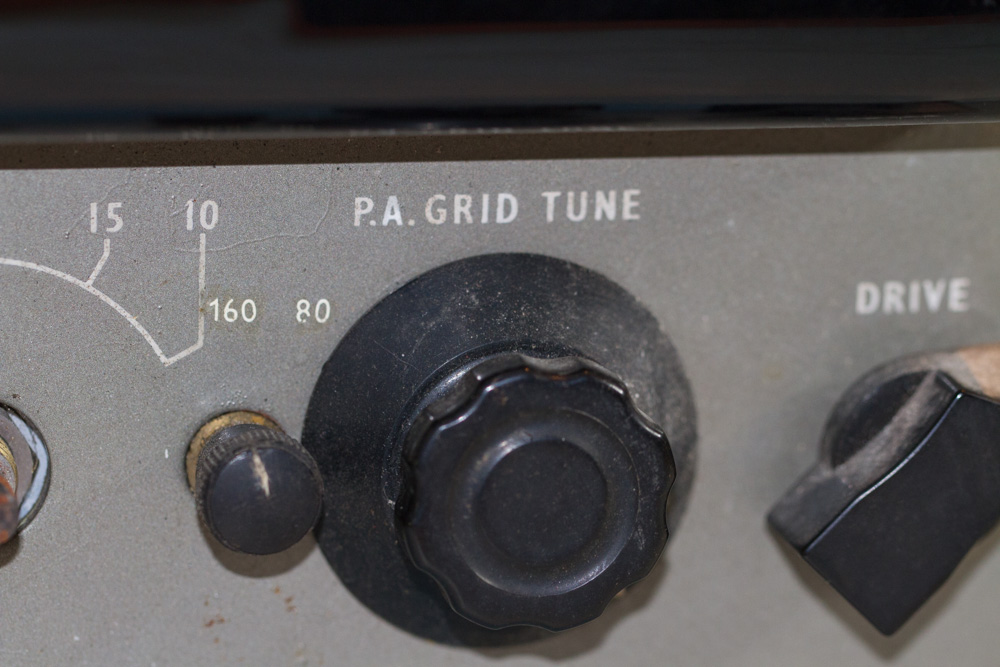
And before we get to the small knob for the top band switch we will remove the only Chicken Head knob that is fitted to the radio which is the one labelled ‘Drive’ which is done via a small grub screw in the fat end of the knob.
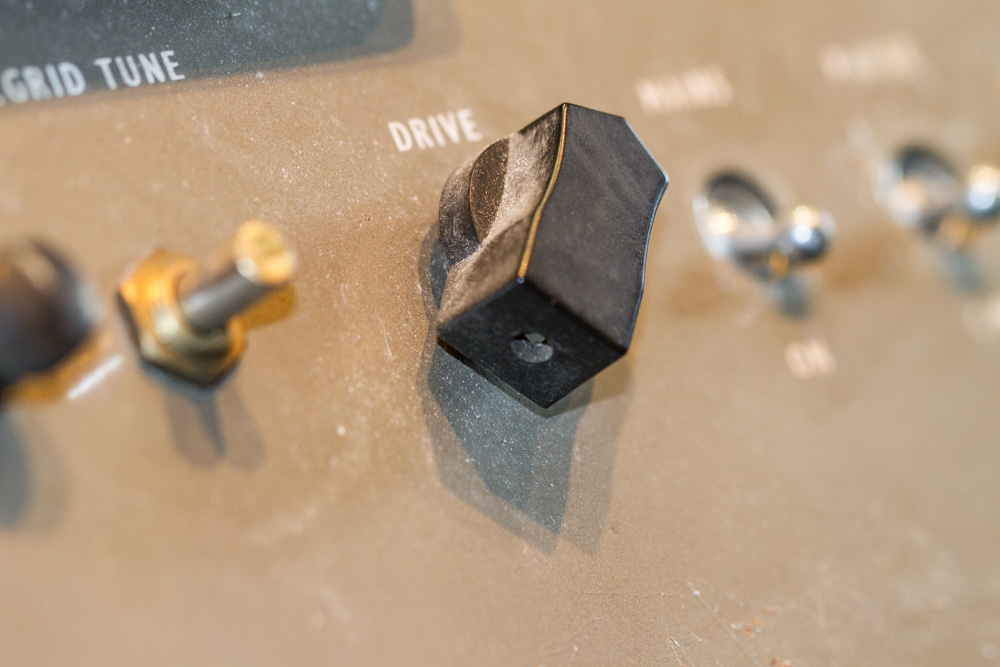
This now leaves us with the small top band switch now. I have seen a few of these that do not have a knob at all and just have a slotted end that can be switched with the aid of a screwdriver, it does seem to be easier with this sort of configuration though, that said I tried to remove the knob using a set of long-nosed pliers, and remembering to place a piece of cardboard down on the face plate to save any damage, but this was glued on solid.
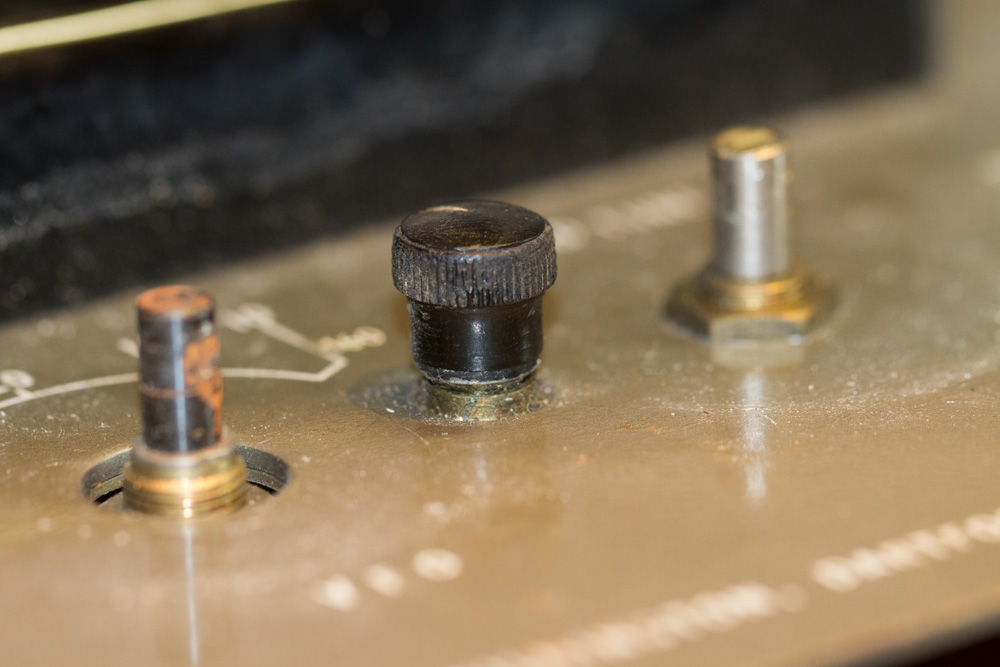
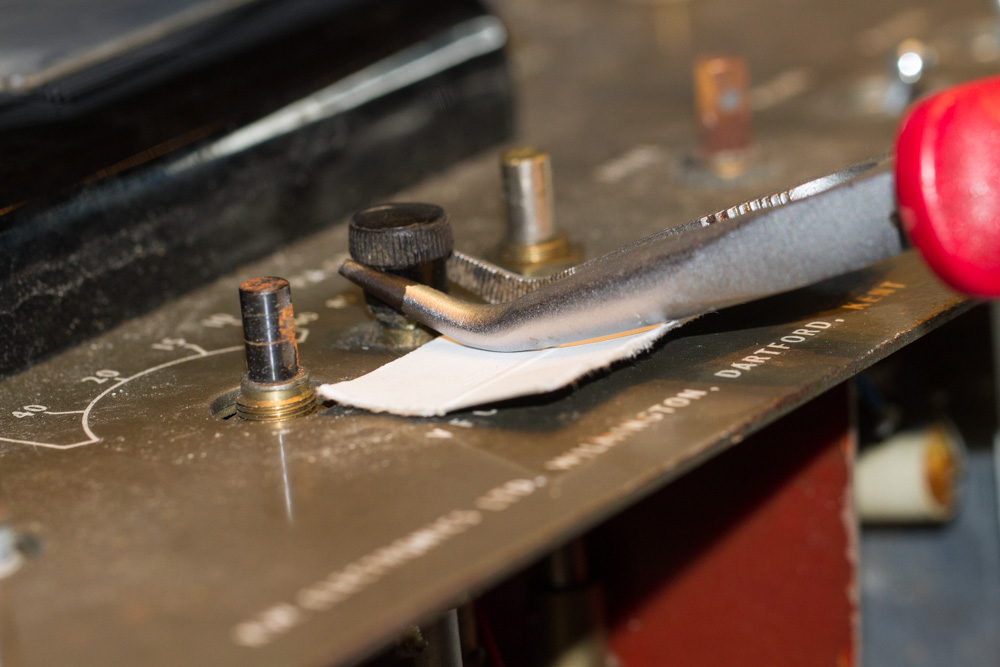
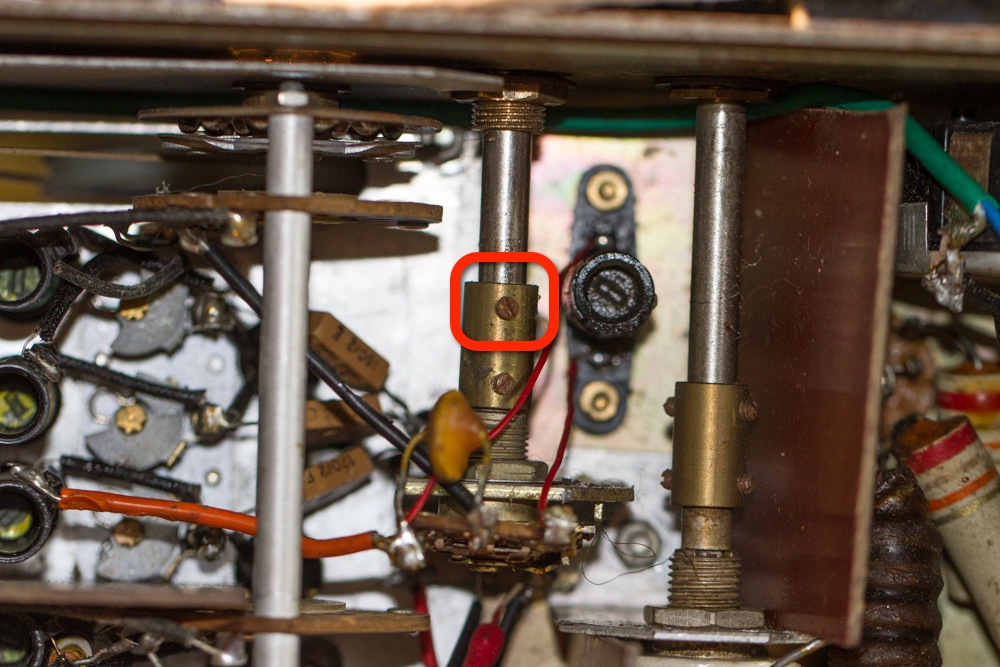
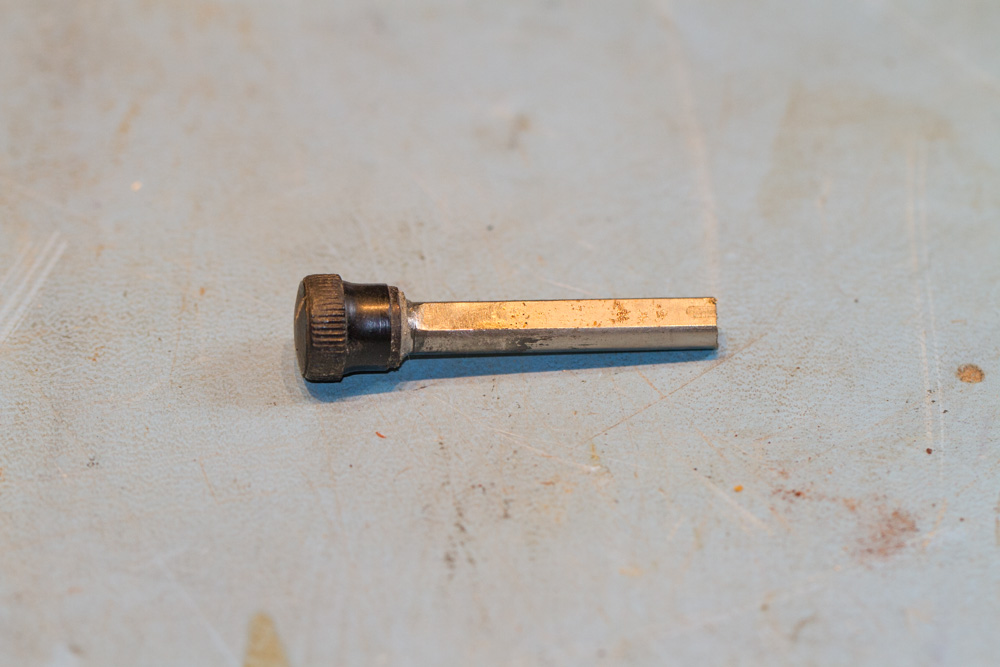
So instead I loosened off the small grub screw from the shaft of the switch, this meant that the knob with its attached shaft could be removed from the KW Vanguard radio.
Last Updated : 31st July 2024

