A little while ago I managed to find a second hand MicroKeyer III available on the internet, and being a little short on the cash front I decided to go for it.
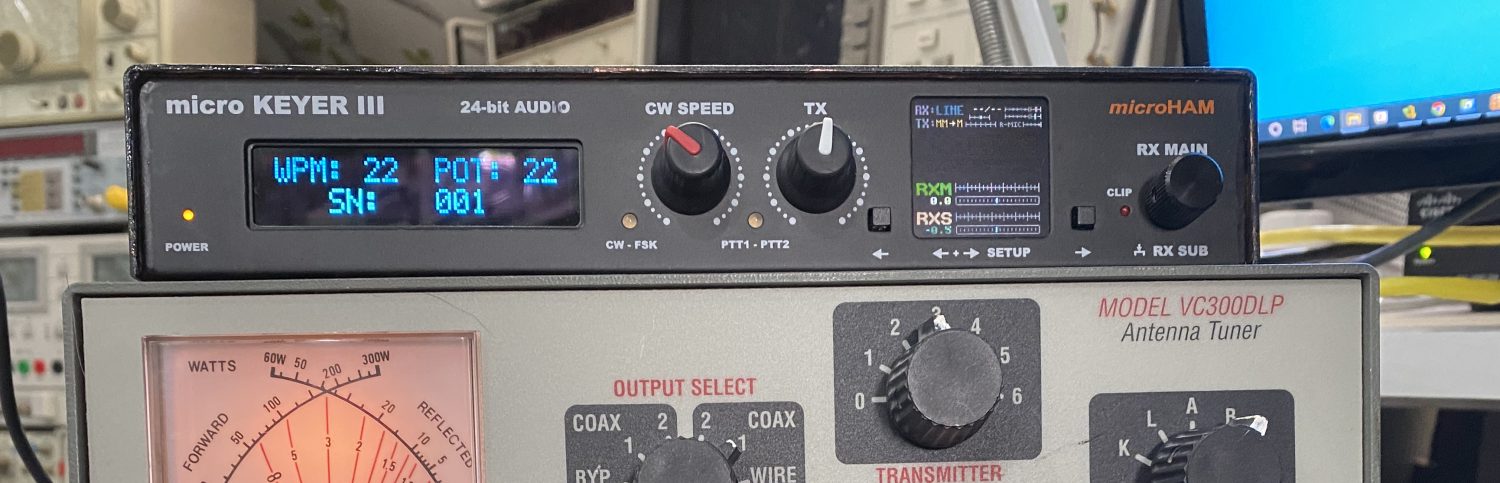
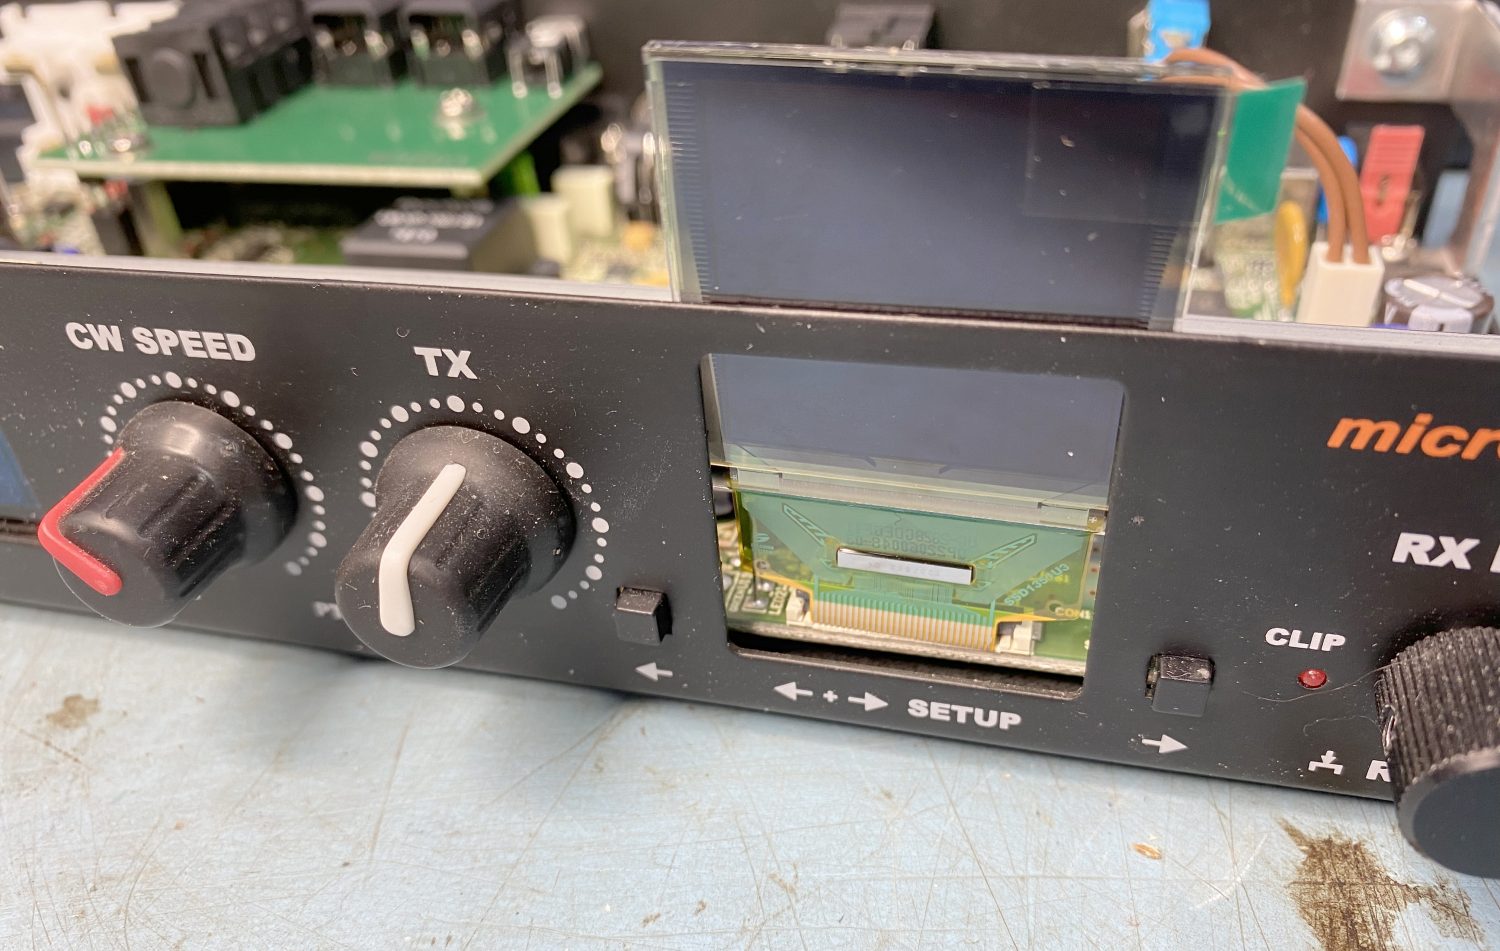
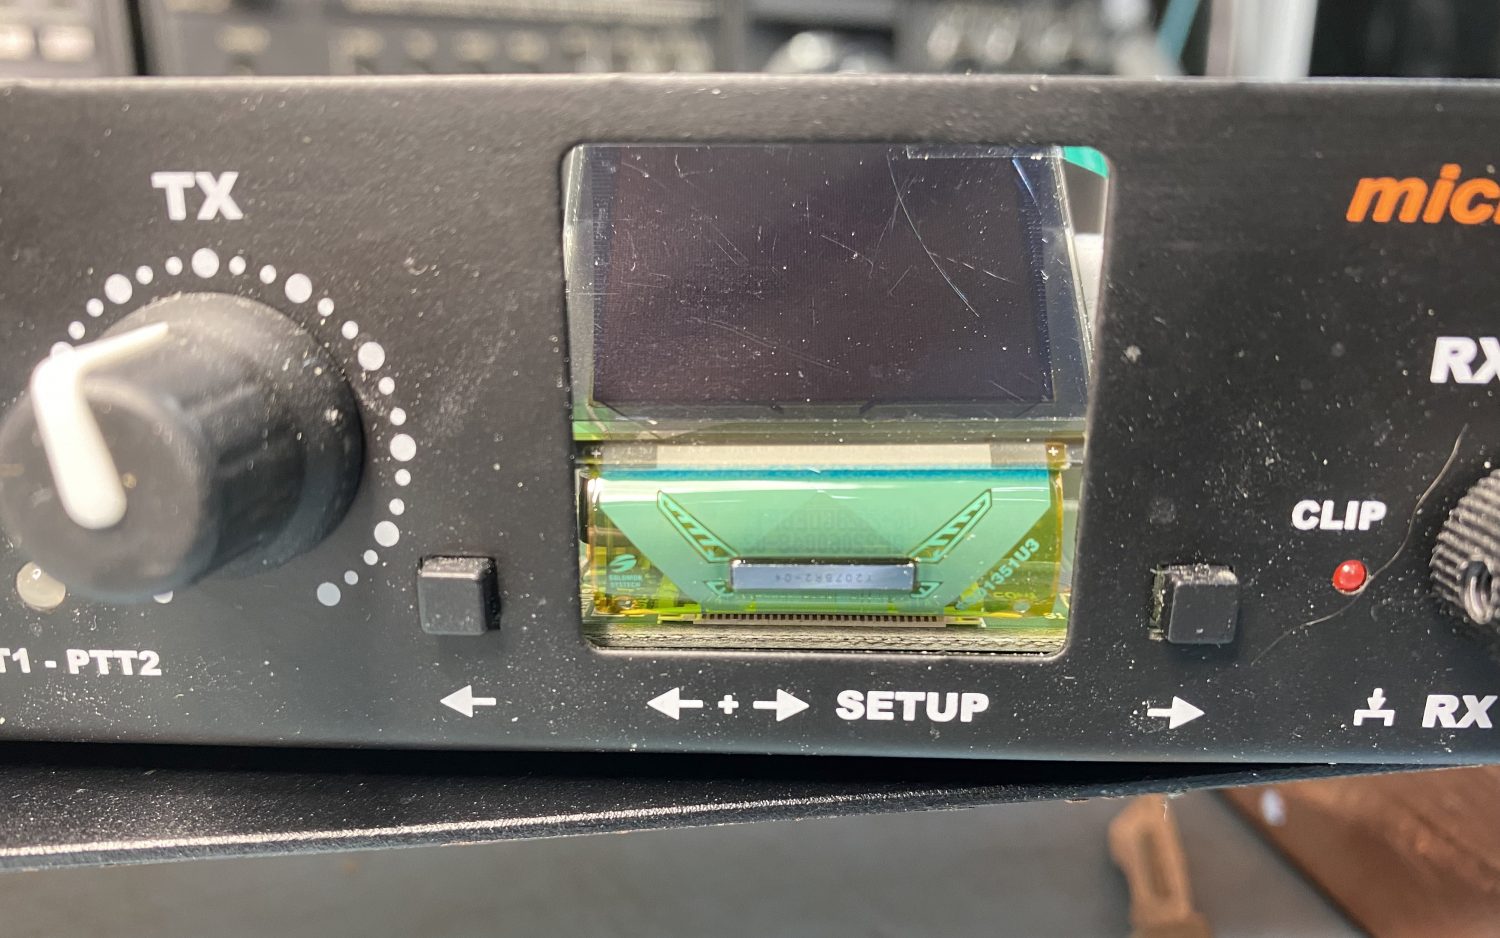
MicroKeyer III with a DIM OLED Display.
It worked but I was never truely happy with the OLED display, it was just a bit dim, so I sent off a few e-mails to MicroHam and I was told that to safe the cost of shipping it back it may be advisable to just order a replacement OLED display from the same source that MicroHam use, which was very kind of them – Or was it?
I say Or was it, Only because it is not that simple a job, the connection is end fed and to get the old one out and the new one in it will mean a total stripdown of the MicroKeyer III, So me thinks that they really did not want the hassle of stripping the MicroKeyer down so they would just let me do it, thanks guys…..
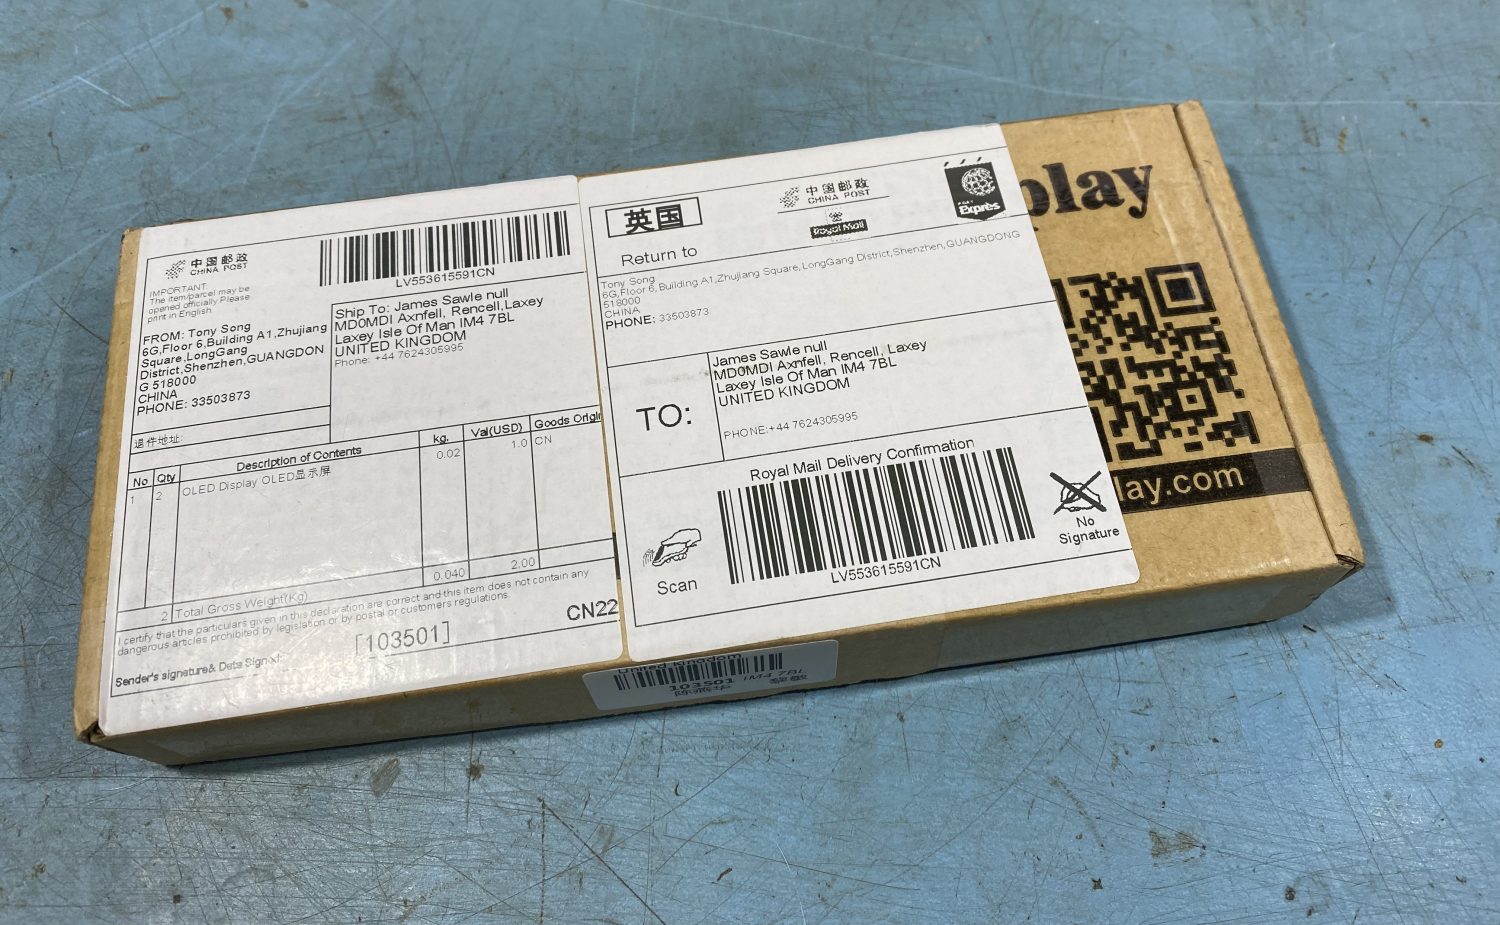
The parcel was from China (Of Course!), but arrived in just a few days so I was pleasently supprised there, even post from the UK can take longer.
Parcel Arrived with the 2 new OLED displays enclosed.
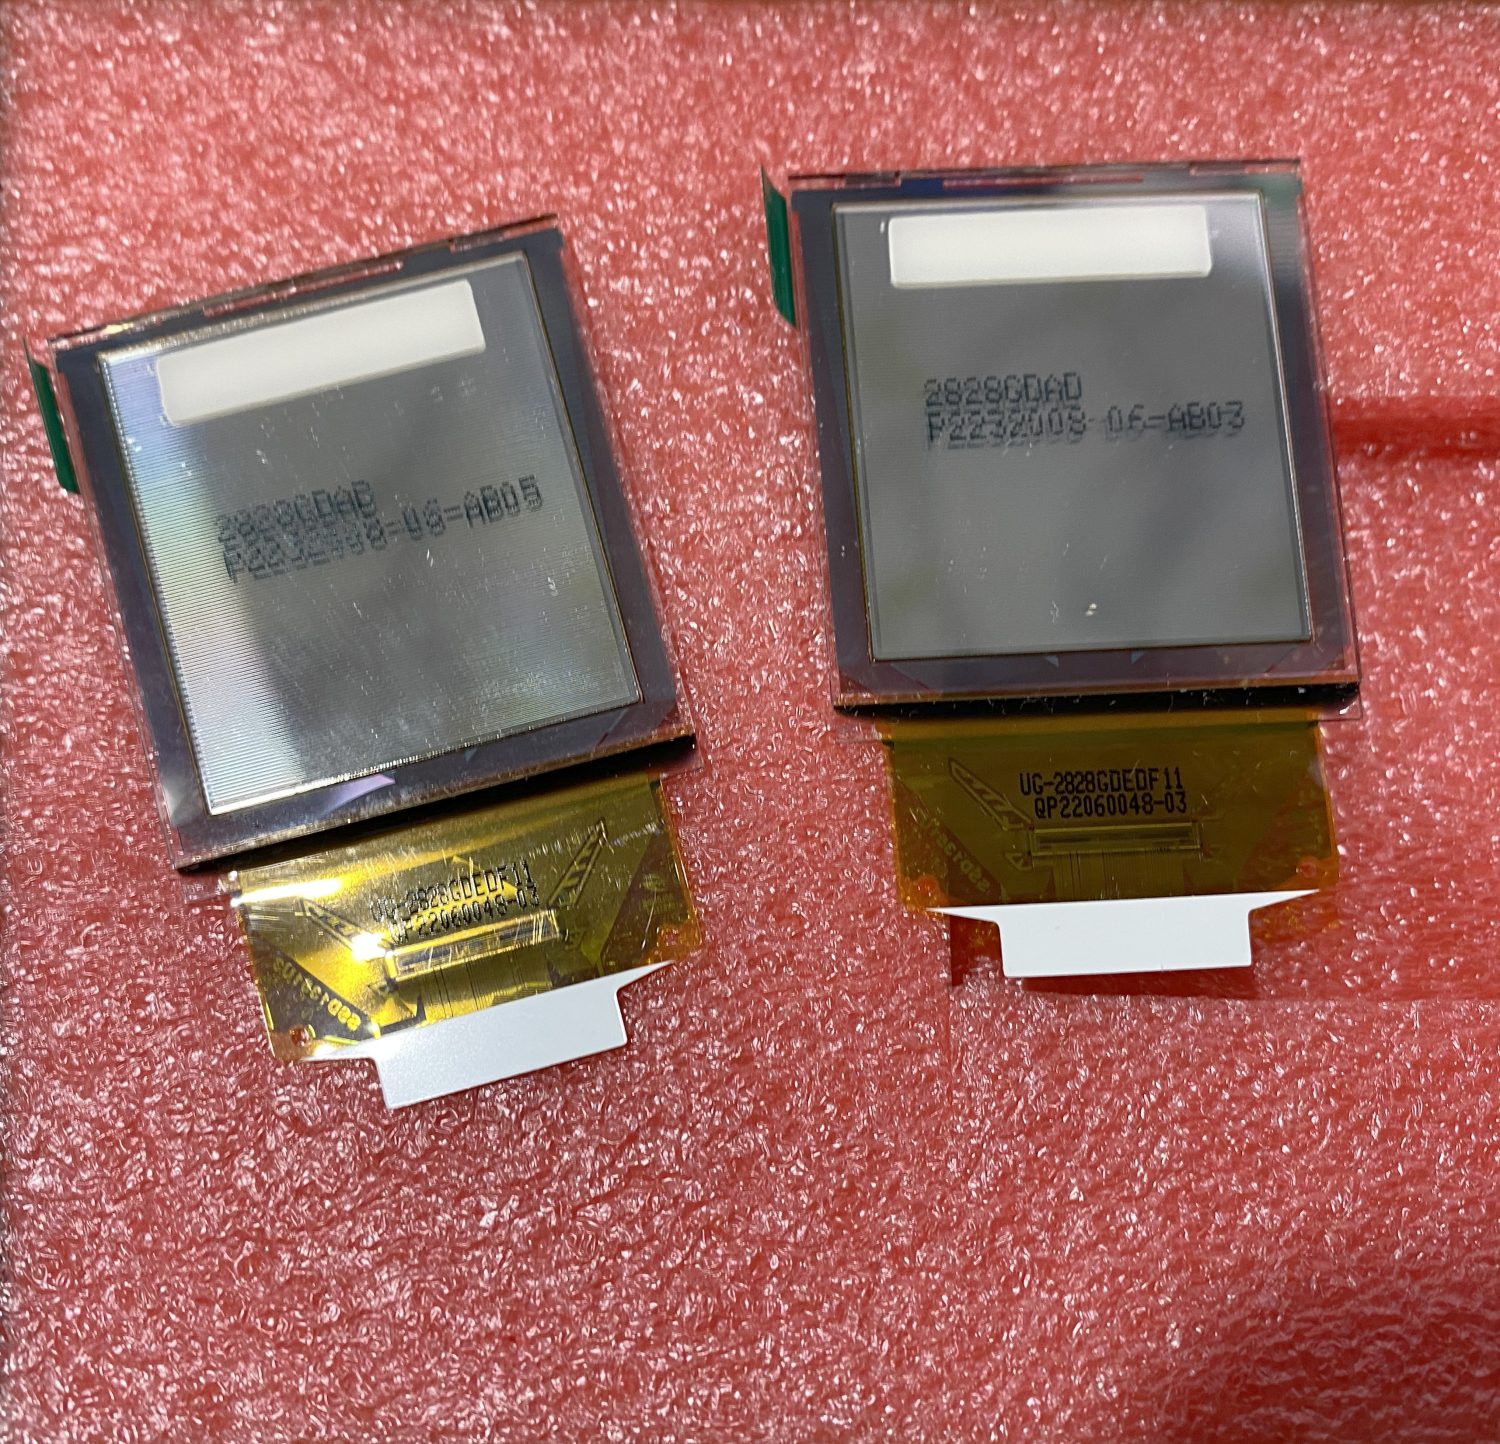
The 2 Displays very well packaged inside the box.
I got a little worried when I sore the new sockets in the box as well, but thankfully this was just added by the supplier, and not required in our case – Thank god as I still have not found the big Weller.
The two displays, so at least we know now what we are working with.
To start stripping down the MicroKeyer II we just need to remove the two screw holding the lid down.
I am no idea why I was more worried about taking this apart than I have been about any radio, these MicroHam devices are the best in my oppinion and I really do like just how easy they work, taken a perfectly good one apart that is basically working is somewhat silly to me…
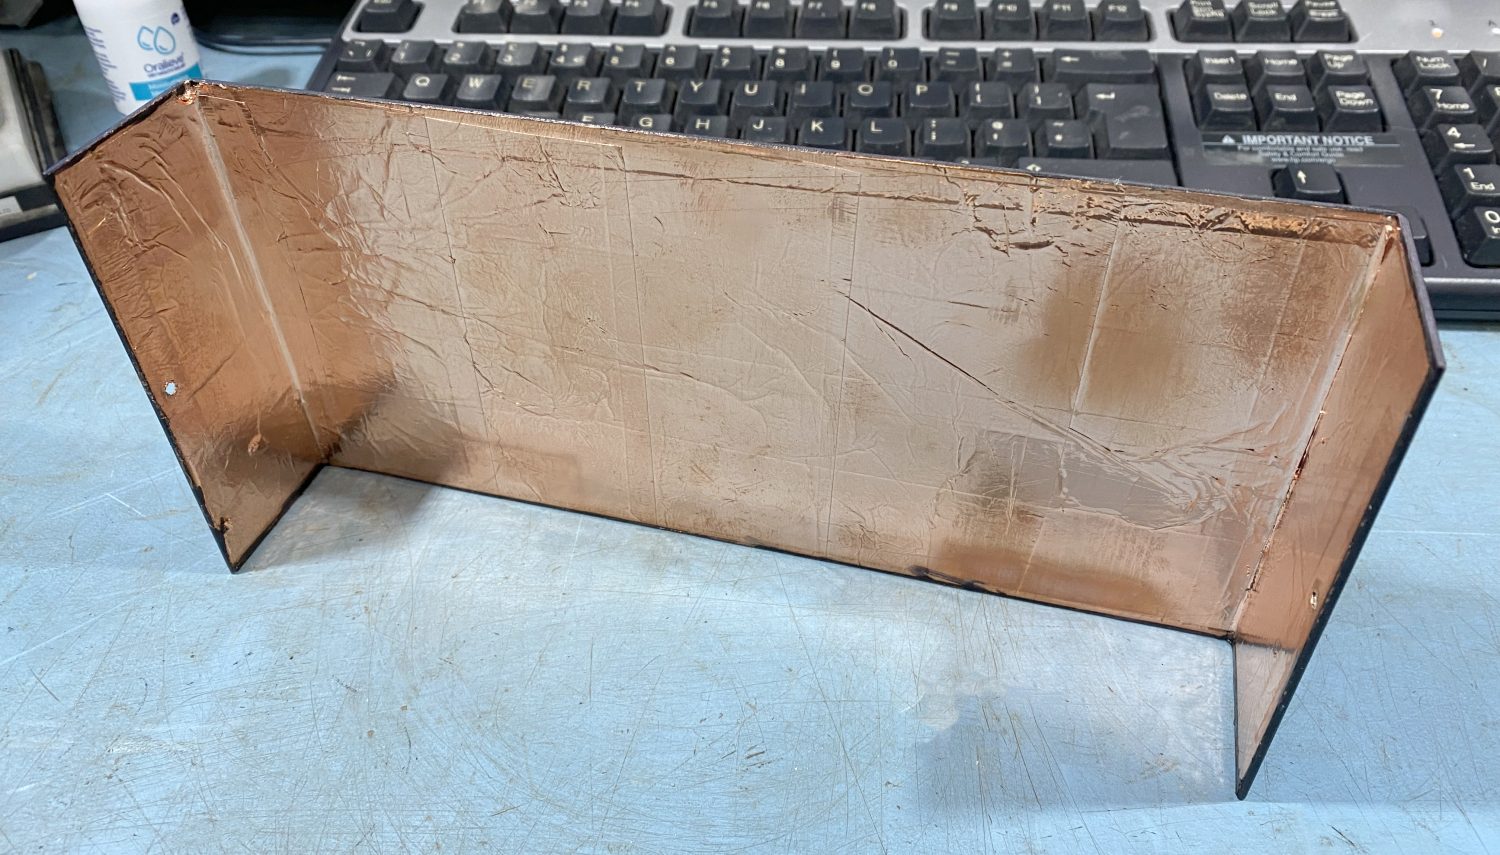
I had a nice supprise when I lifted up the lid on the MicroKeyer III, the last owner of the kit had taken time to add some Copper Tape to the inside of the lid to help cut down the RF effects that we sometimes get with these items.
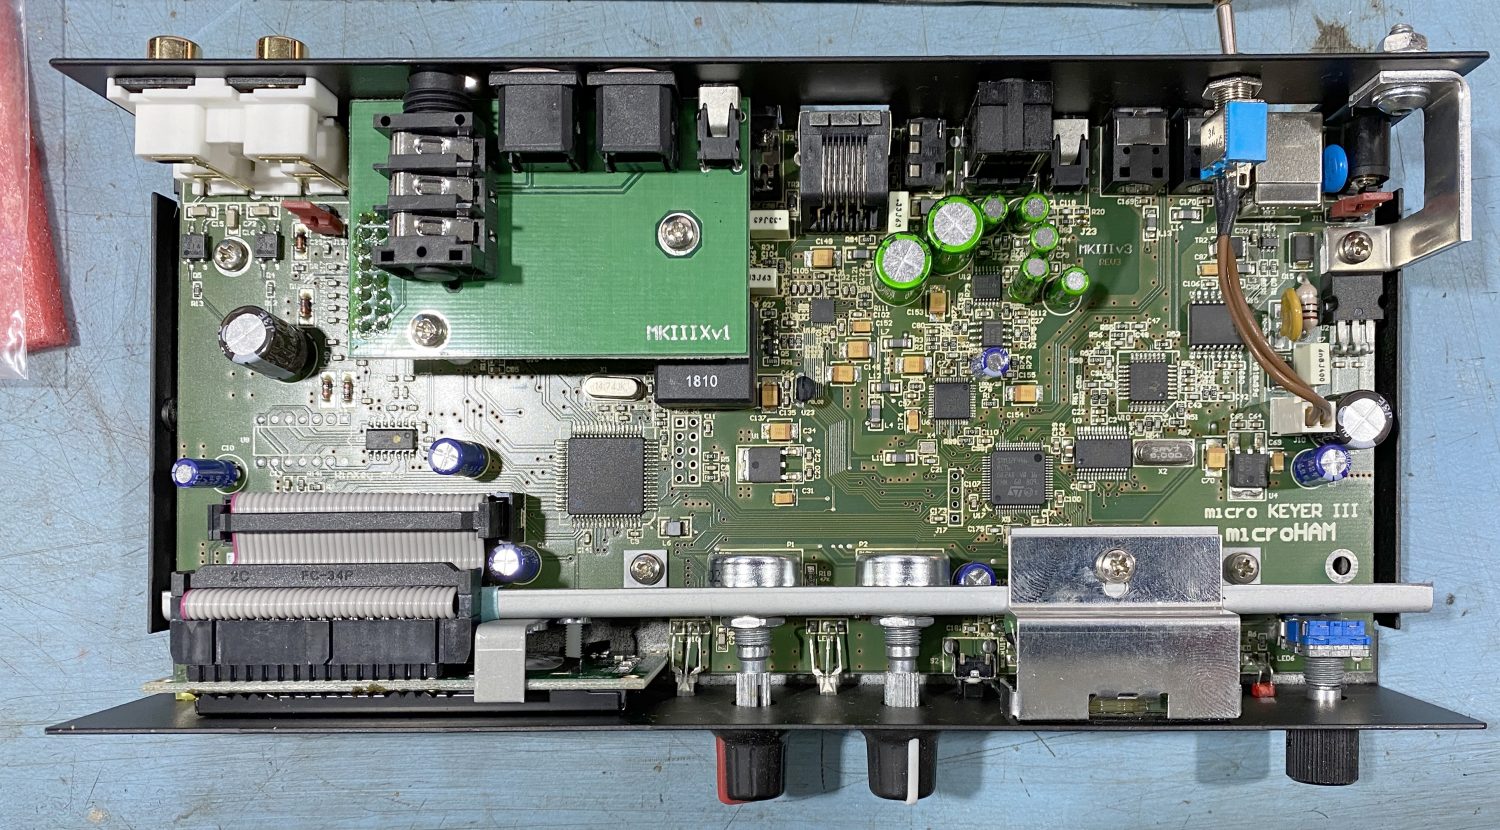
The other half of the MicroKeyer III is kind of Jam Packed with goodies, just showing you that it does a lot more than the average CAT controlling devices out there. One reason that I love these bits of kit.
It i kind of packed inside this one.
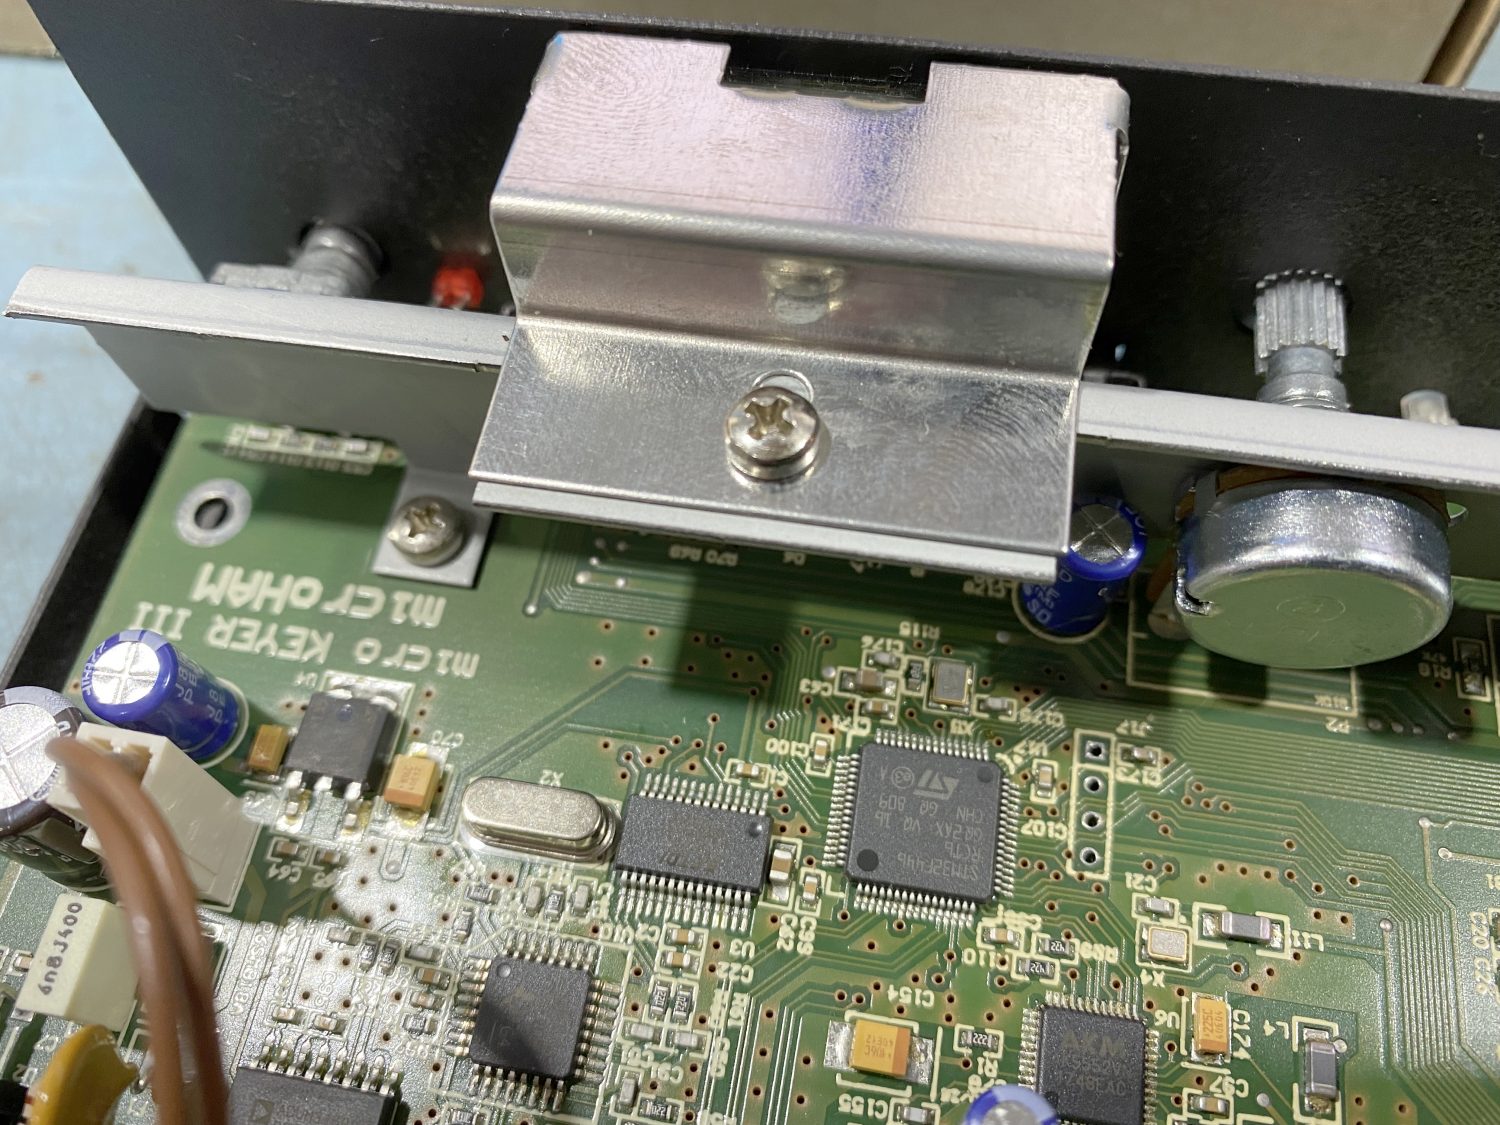
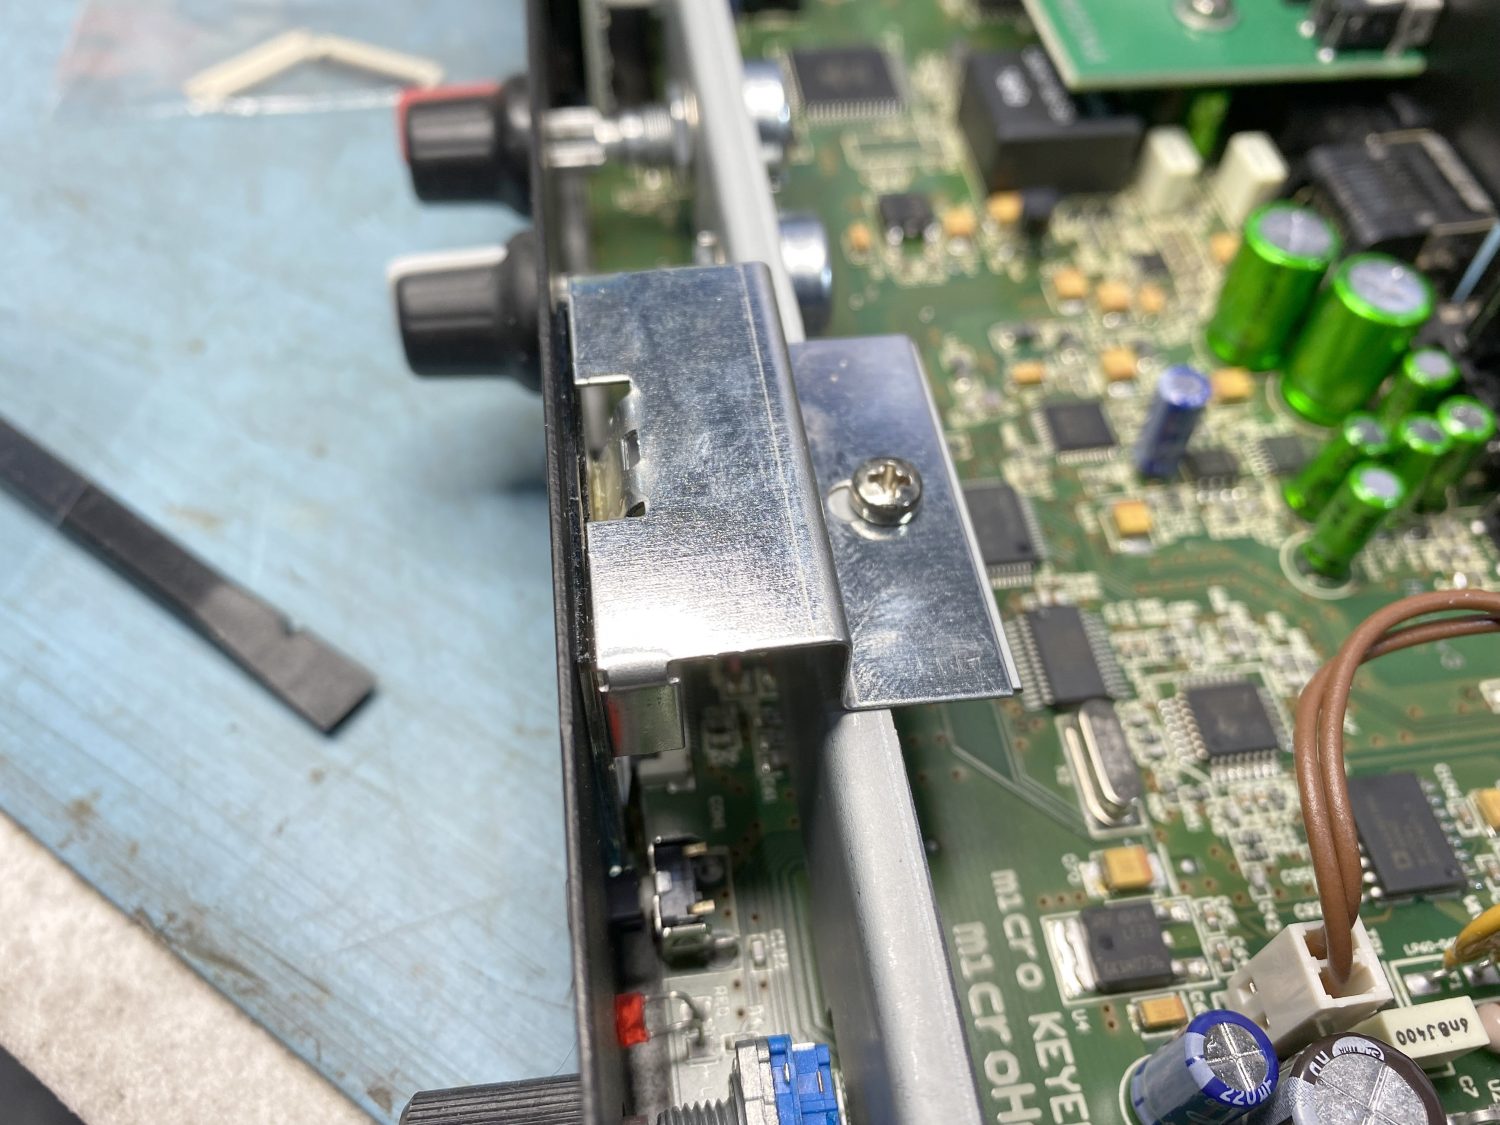
This is not the scary part, thankfully removing the screw that holds the sheilding in place.
Next Job is to remove this screw from the shielding that holds the OLD screen in place.
Be Careful it is still attached.
This will be a little scary if you have never done this before, as in like me.
I fired off a quick e-mail to MicroHam to ask the obvious which was ‘Do I need to remove the entire PCB from the bottom case to remove the screen?‘
Thankfully I did not have to wait long, again great support from MicroHam that basically told me to just unclip the connector and then gently pull the screen out.
Now I am getting a little worried here, although I do have a spare MicroKeyer III, and I also have a spare OLED screen as I ordered two just in case I crack one and they were dam cheap anyway, but trying to pull the screen out was a little scary in my beloved device.
I have no issues in stripping down a more complex radio and taking a soldering iron to it, but this is actually worrying me a little, no idea why and I know if I do mess it up then I can always just package it up and send it to MicroHam who will bail me out and fix it at of course a big cost me…
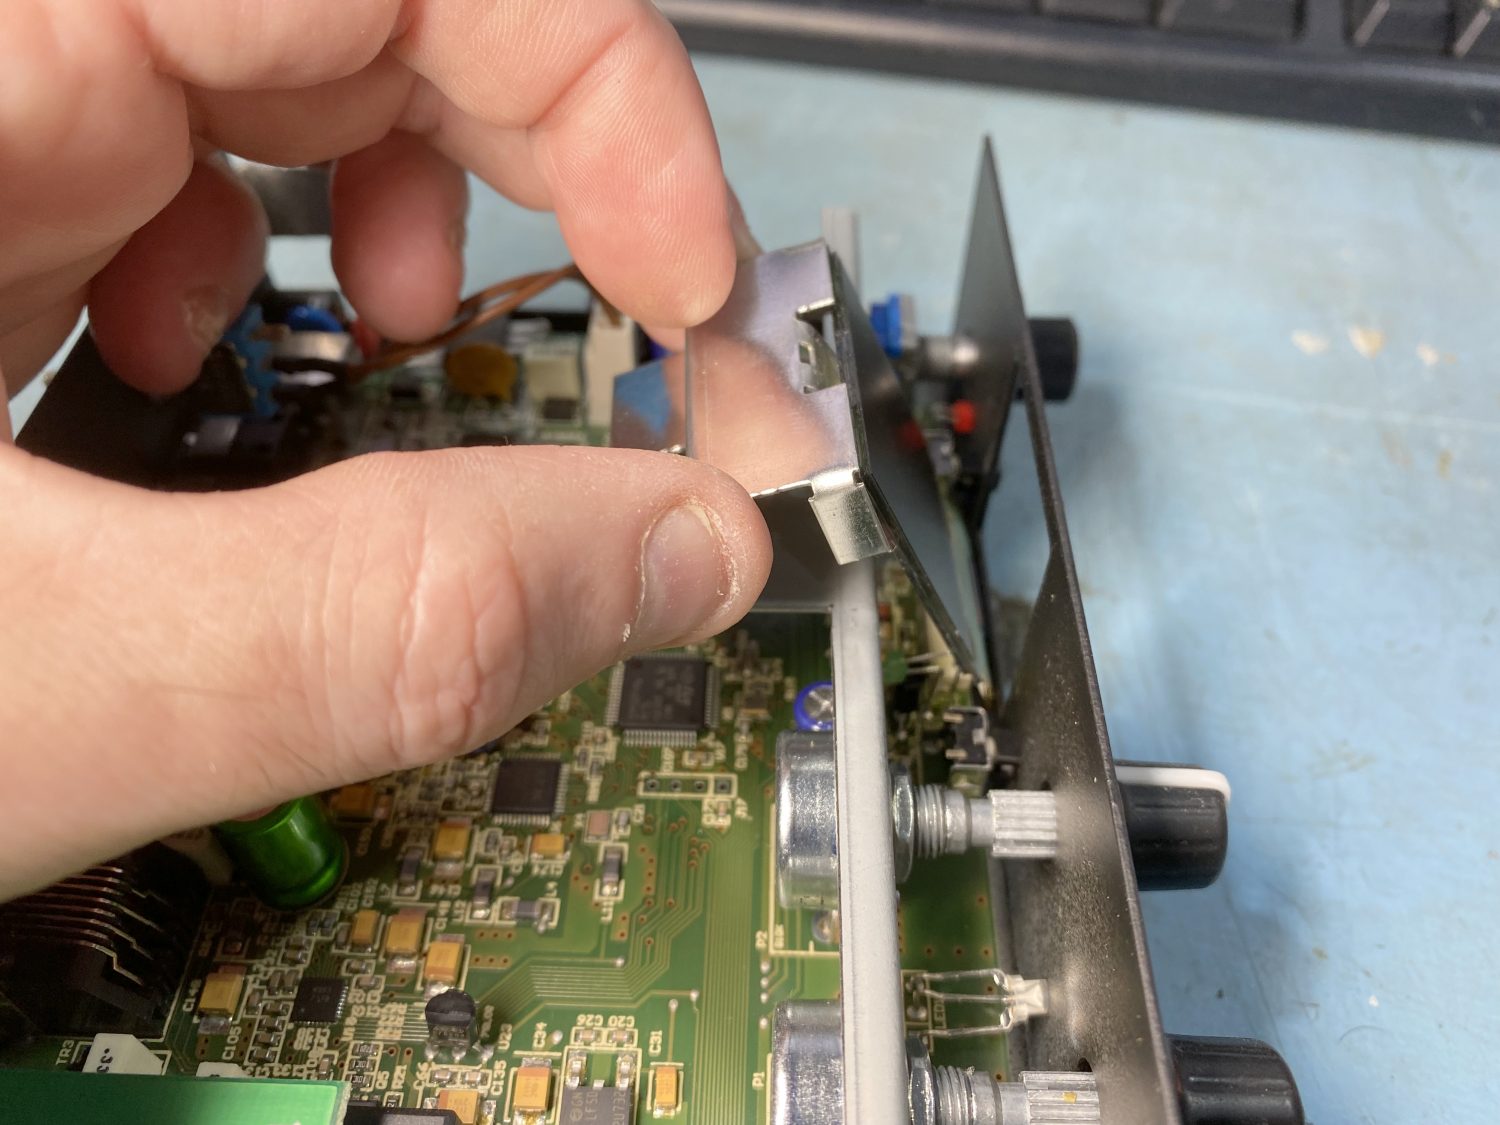
The Clip is very hard to see, but it is there.
I tried to get a good photo of the clip in question, but I am pushing what an iPhone can do.
It is a good idea to look at the package that was sent with the replacement OLED screens to see how this clip does work.
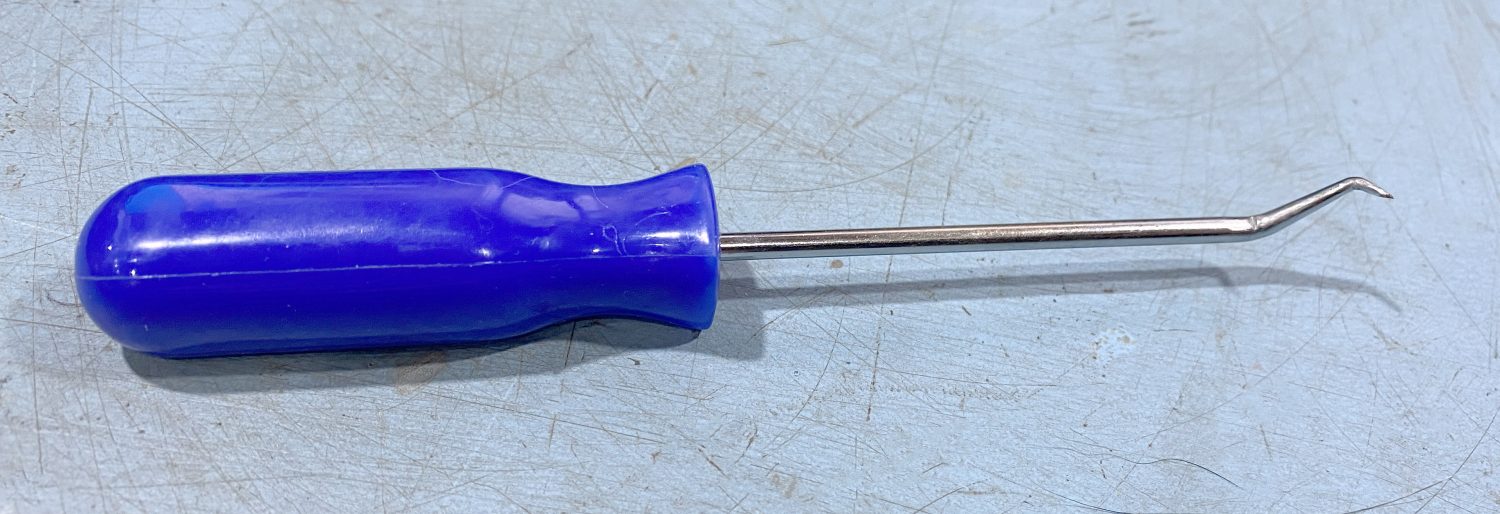
The first task was to find something suitable to unclip this without damaging the old OLED screen or anything around it, I managed to find a small tool that was basically a screwdriver handle with a bent spike coming out of it.
A Very Useful Tool.
Using this tool and basically fiddlying in the dark, I managed to work out that the clip needs to be shifted up 90 degrees to be open, this was not to apparent and I suppose that I should have unpacked the two that was supplied with the screens to see, butof course I never did, Opps!
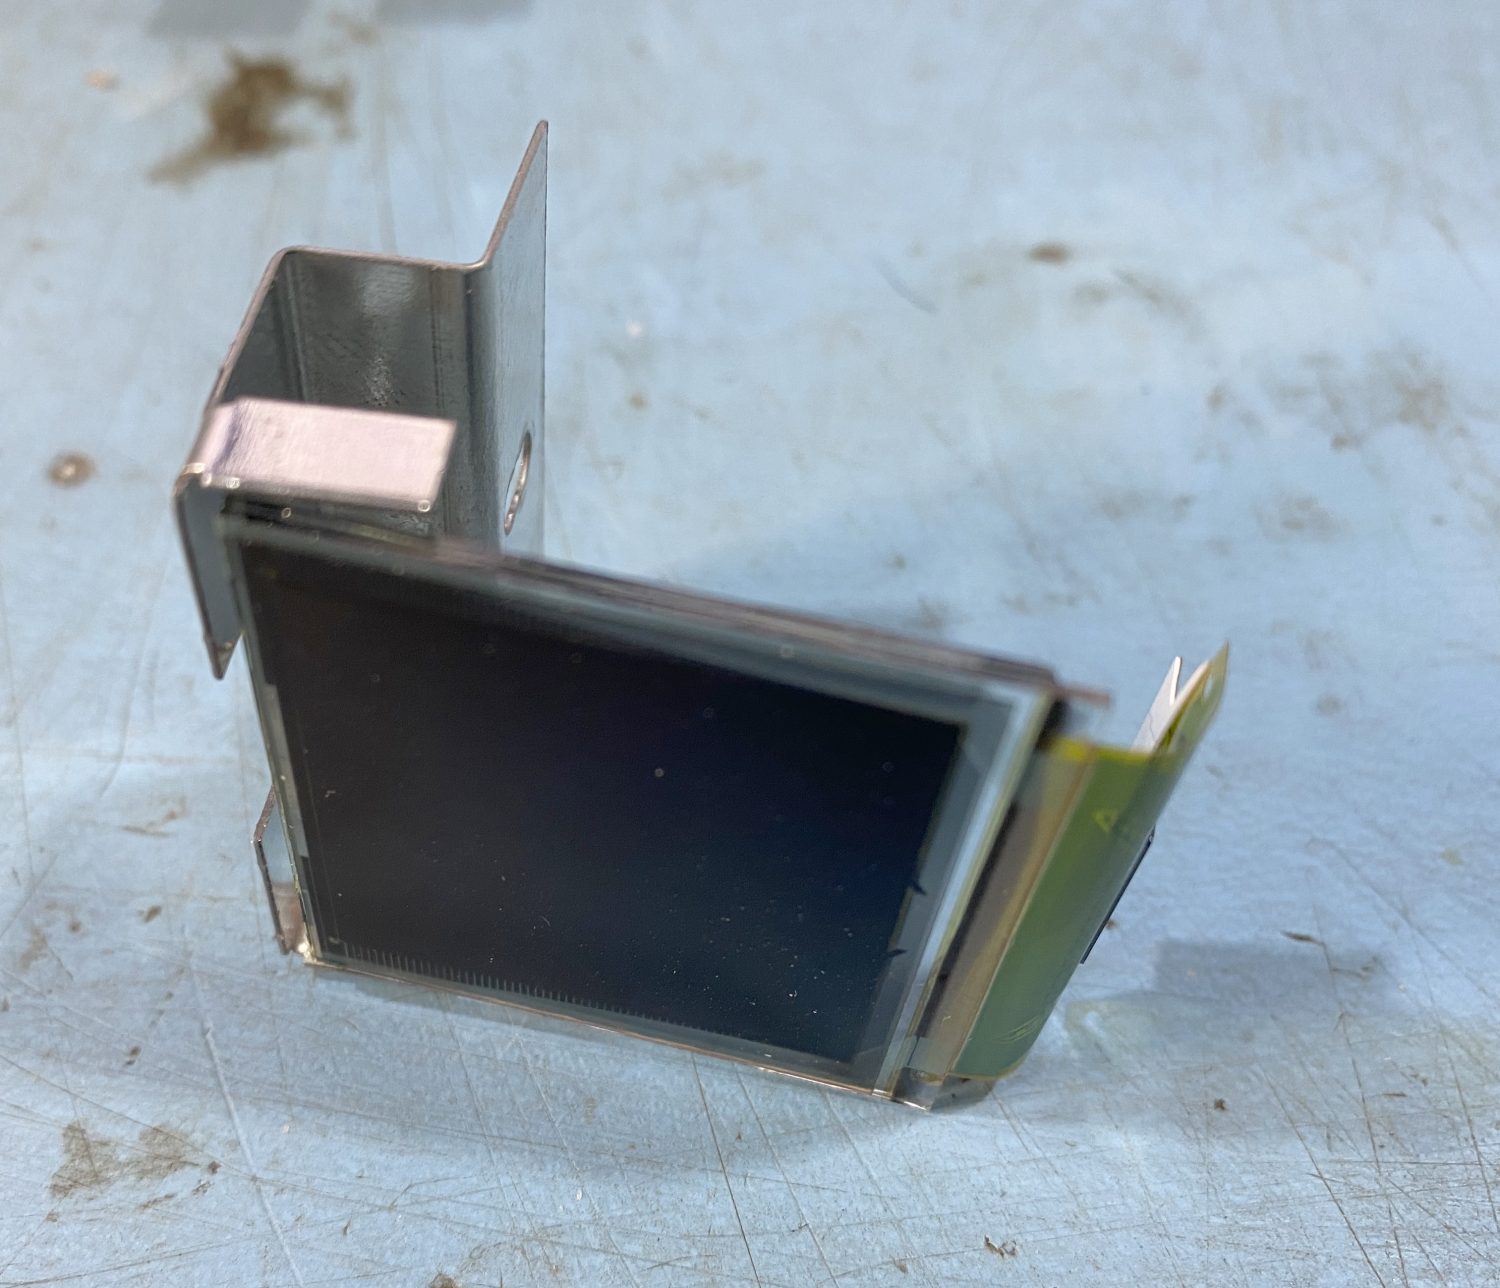
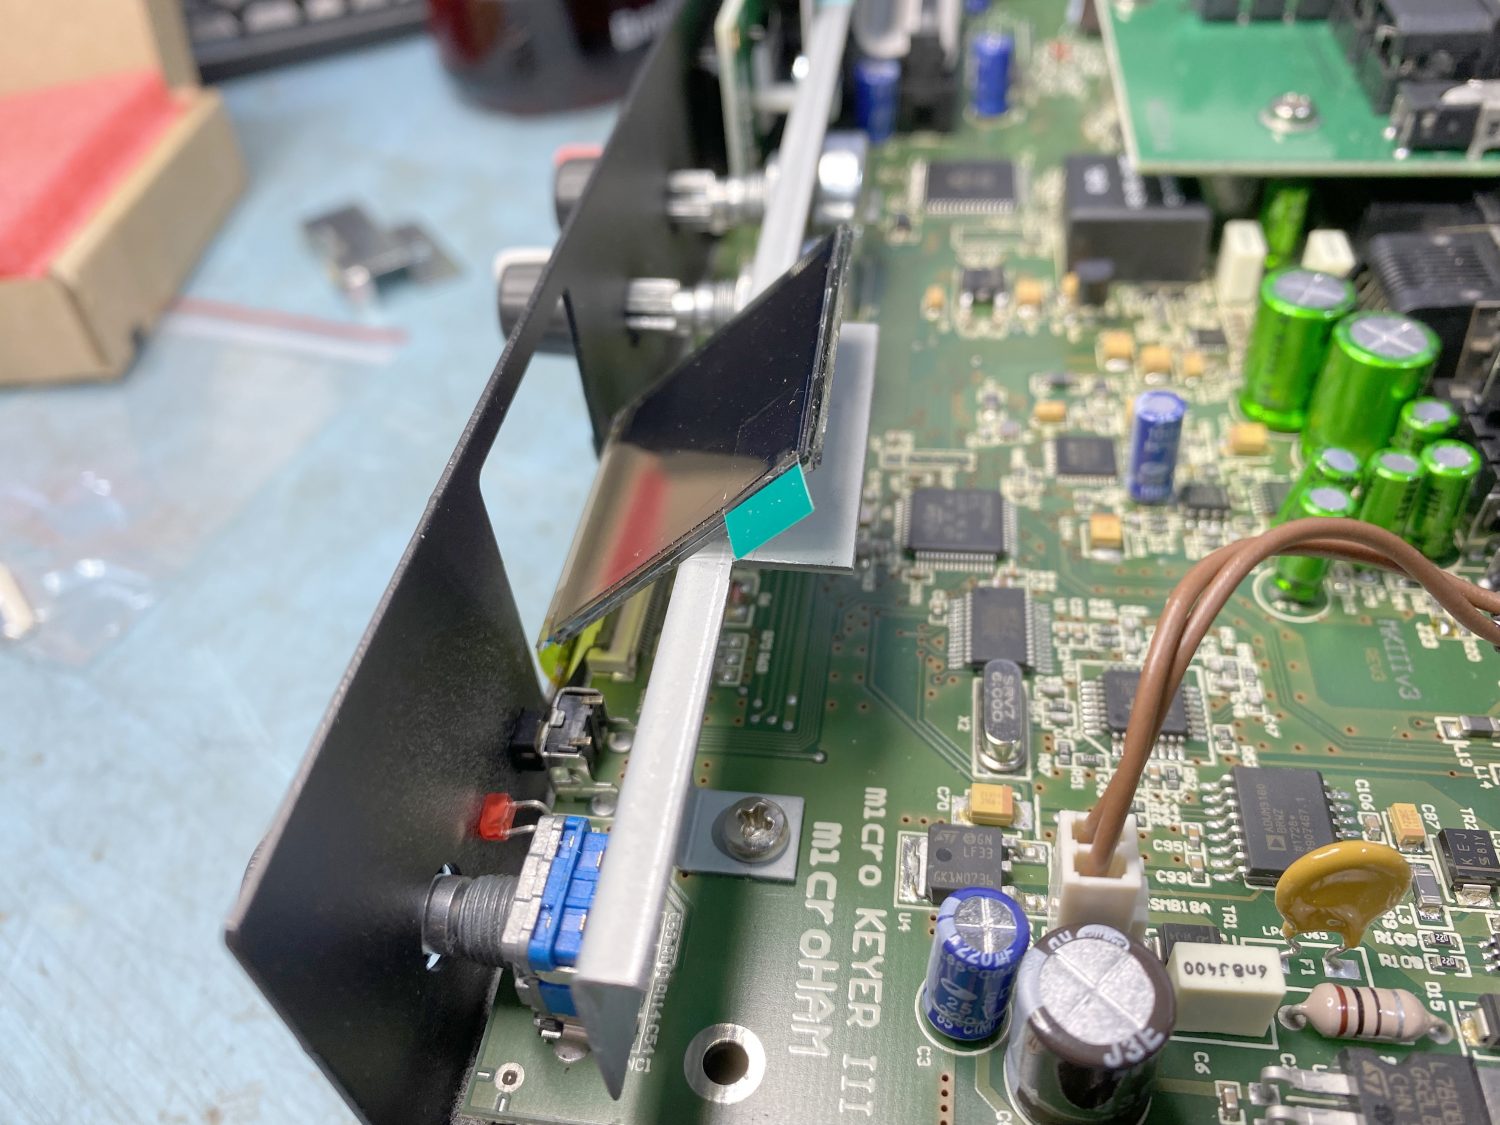
With the clip undone, it feels like the screen does not want to come out or that it is stall attached somehow.
In reality the ribbon cable is folded down the front of the cabinet and then back up to the socket, and although it is free to come out it does need a little more force than you would have thought that it would, basically give it a good and not too forceful pull and it should pull away from the unit.
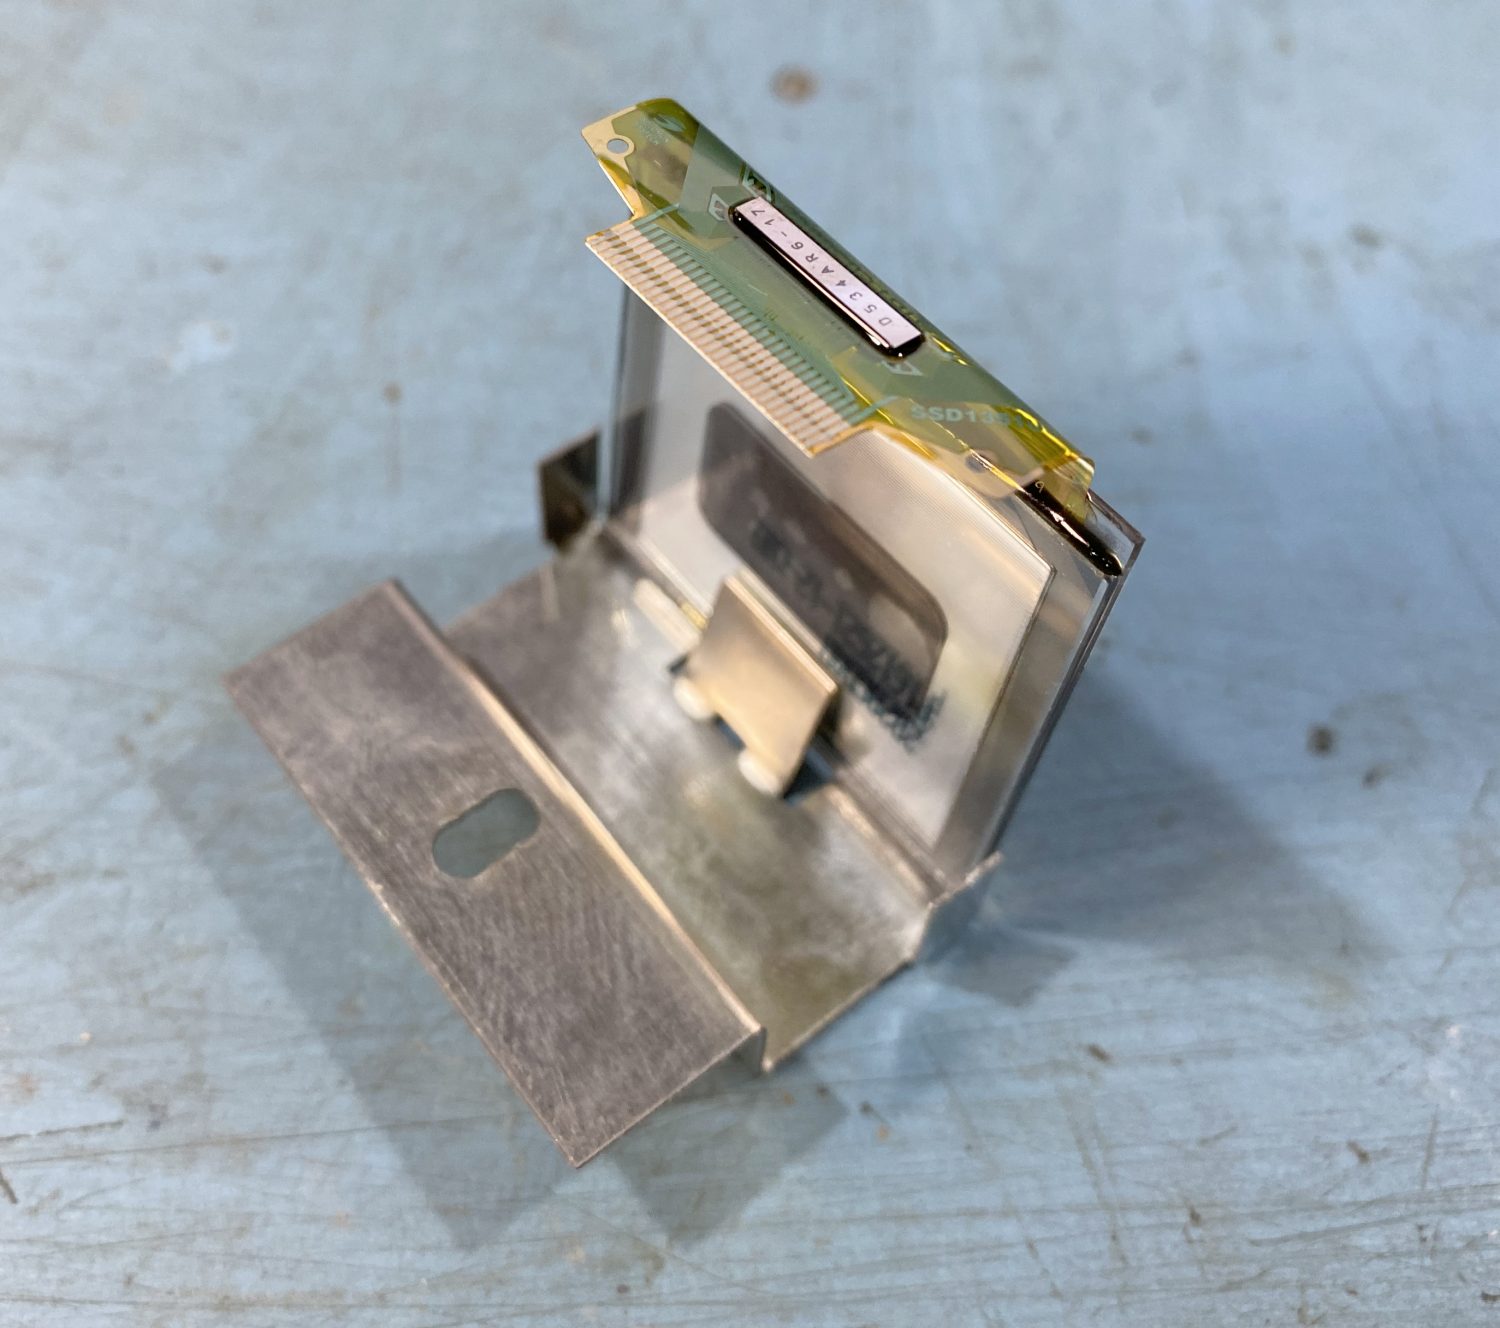
Took me a while to check that this was just a little bit of glue holding the shielding to the OLED panel.
It took me a while to double check how the OLED screen was attached to the Sheilding, in the end I just ran a scaple blade down the back and this managed to separate the two parts.
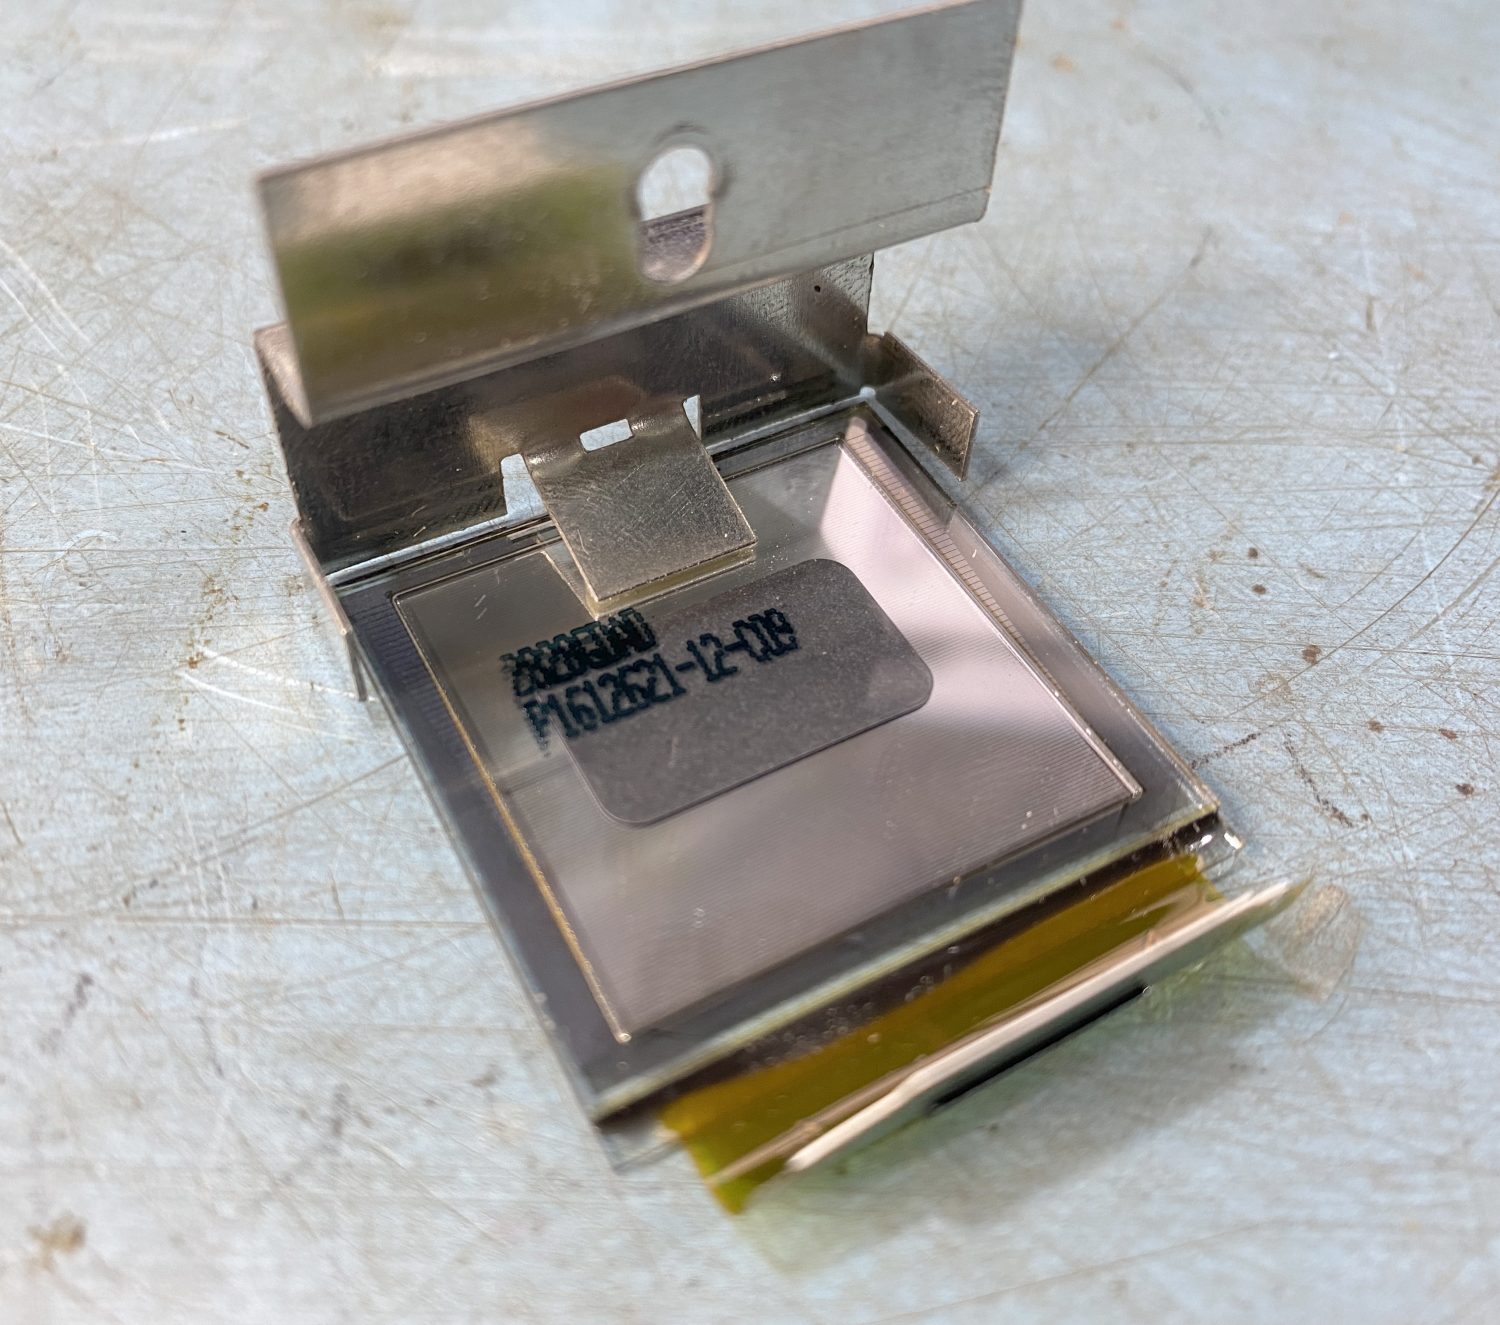
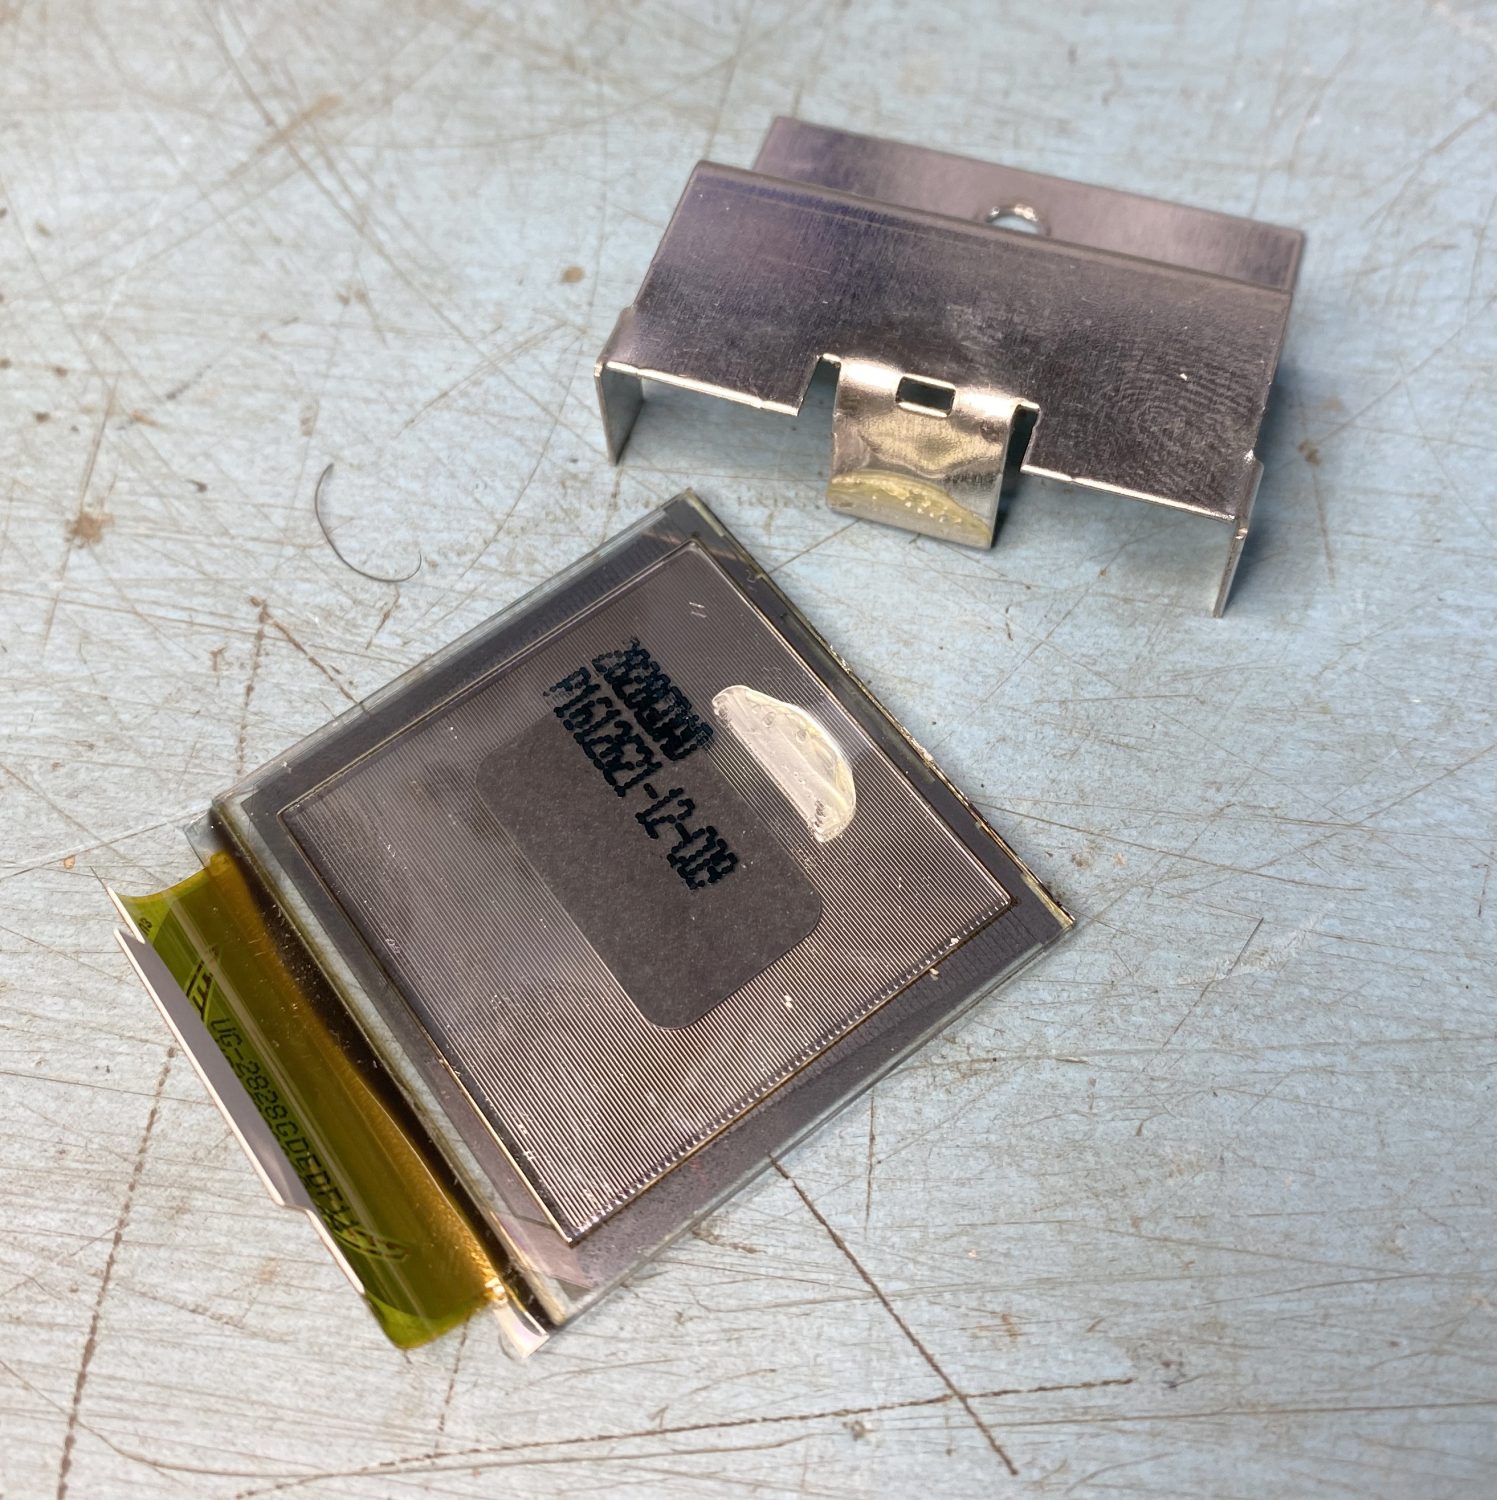
Once Sperated you get to see how it was attached.
Just slidig in the new OLED screen into place to see what needs to be done.
This is where it gets a little tricky, the feeding of the edge connector into the socket in the tight space that you have to lay with. Just putting the edge connector into its rough position and applying a very small amount of force will do all the work for you, all that needs doing then is to use our Useful Tool from earlier to close the clip and hope it is all done.
The next part is quite tricky but you need to take care, you need to lower the OLED screen to it is nearly in the correct position and using something very blunt, gently push the ribbon cable down between the front of the Keyer between that and the PCB edge. It will go and you only need to get it started, applying a little pressure to the top of the OLED display and it will suddenly give way and settle into place.
Once this has been achieved and before we go any further we need to test that the connection and the OLED display is alright. So a quick power up and we are able to see that all is well.
A quick test to check all is well.
With the screen tested we can now start to put the Keyer back together, first thing that we need to do is take off the protective film.
Last Job to do, remove the protective film.
Next we need to very carefully place the Sheil back into place, this will hold the OLED display soundly in place, there is no need to re-glue this part but if you feel like it then you need to find something that can be cut free at a later date.
Set the screen right against the front of the Keyer and then gently screw the shield down.
Put the lid back onto it and screw it down, we now have a very good Keyer with a very clean display.
I am now retired and living on the Isle of Man, my background is as varied as it gets, ranging from Information Technology to Graphic Designer and 3D VFX Artist, using and teaching Autodesk Maya, Softimage, and Smoke, one of more enjoyable positions. Since Moving to the Isle of Man I try to keep myself to myself and work on the house, I don't do much with regards to Amateur Radio or Electronics anymore, but I am still interested in the hobby and may well get back into it one day....